
The FASTEST way to host your code sample with W3spaces
A four-step guide to hosting your website on W3schools
4 years ago
4 mins readHello, there 👋
In this article, I will show how you can create a code sample for your technical content the quickest way.
Click here to see the demo of what we will be building.
Prerequisite
Here are a few things you need to get started
- A W3school spaces account, you can create one here,
- A code to share, I will provide a sample in this article,
- and an Internet connection, you're reading this blog already.
If all these are ready, then let's begin.
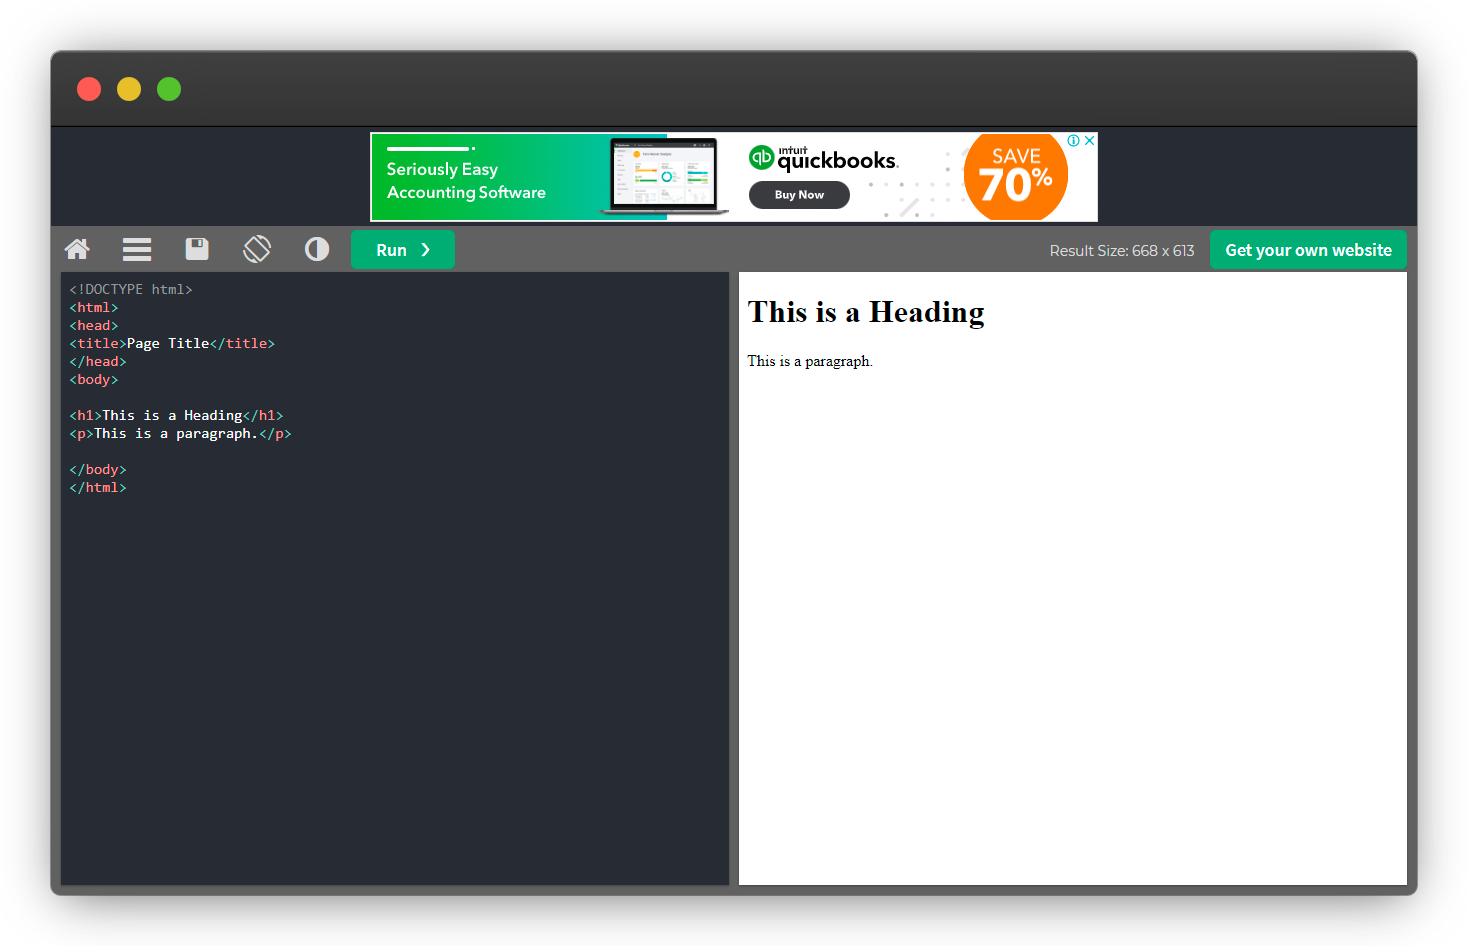
1. Visit W3Schools try it yourself page
W3school has a try it yourself page, where you get to try out your HTML, CSS, and JavaScript code, without having to leave your browser tabs, the page has an online editor with a preview window by the side.
You should be familiar with this if you're a W3school student 😉.
🔗 Link: www.w3schools.com/html/tryit.asp?filename=tryhtml_default_default
2. Write some code 👨💻
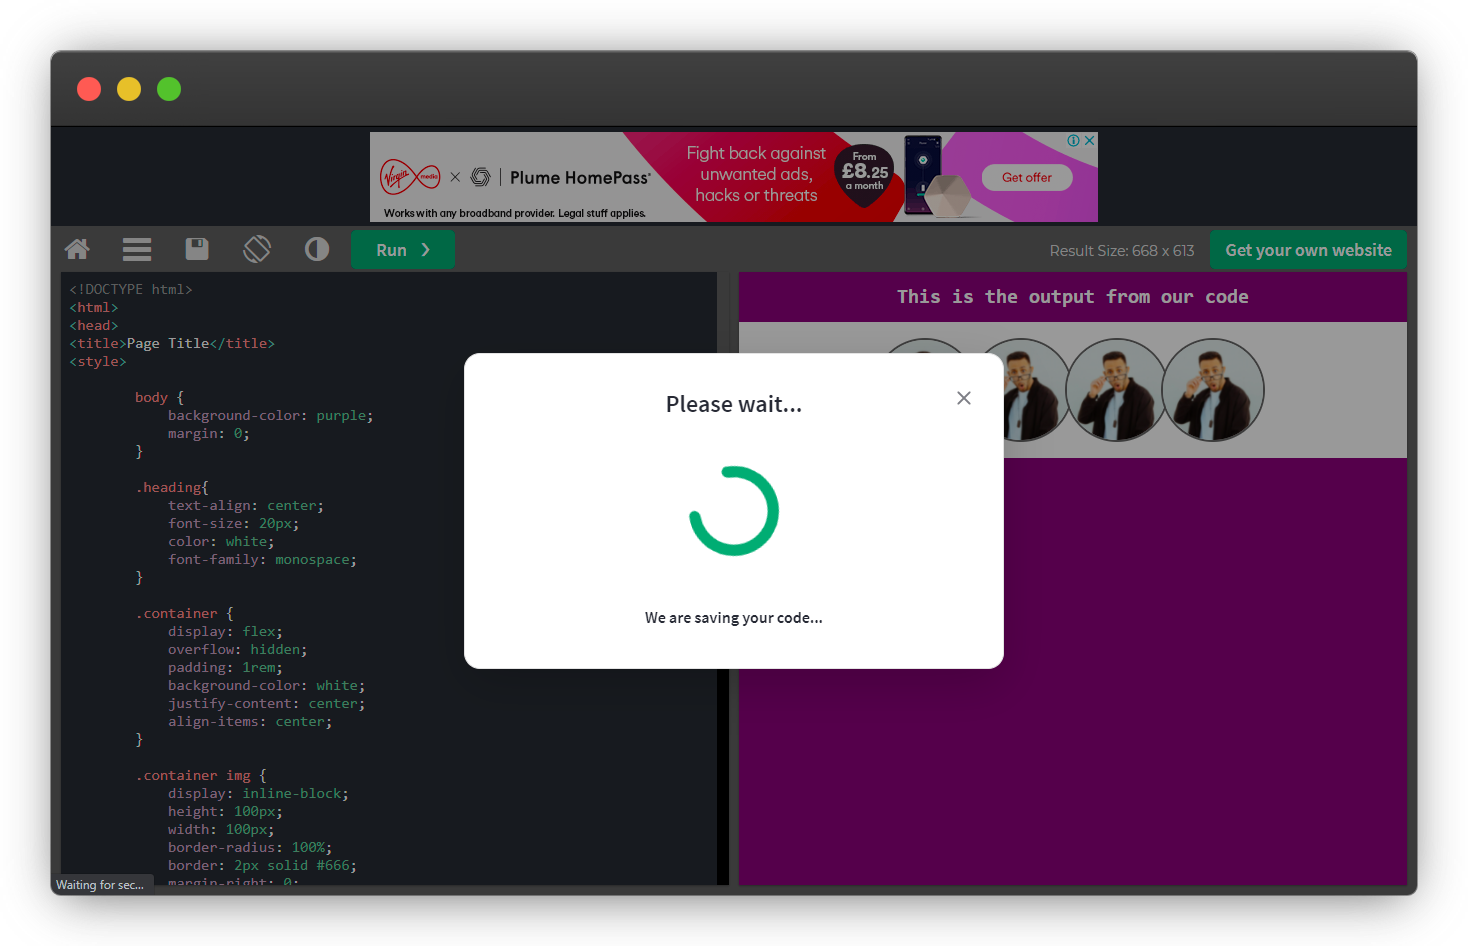
Paste or write your code in the online editor and click on run to see the preview by the right-side.
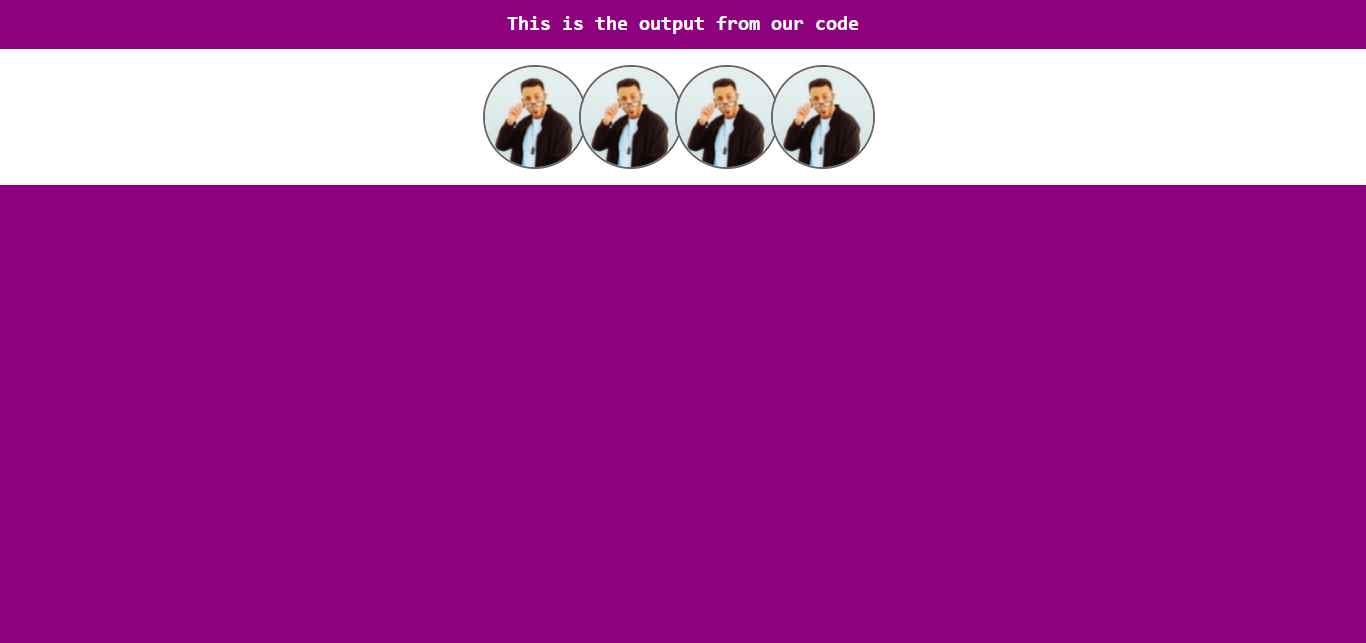
You can also make a screenshot like the one below for your blog content, your audience will be able to view the code and output at a glance.
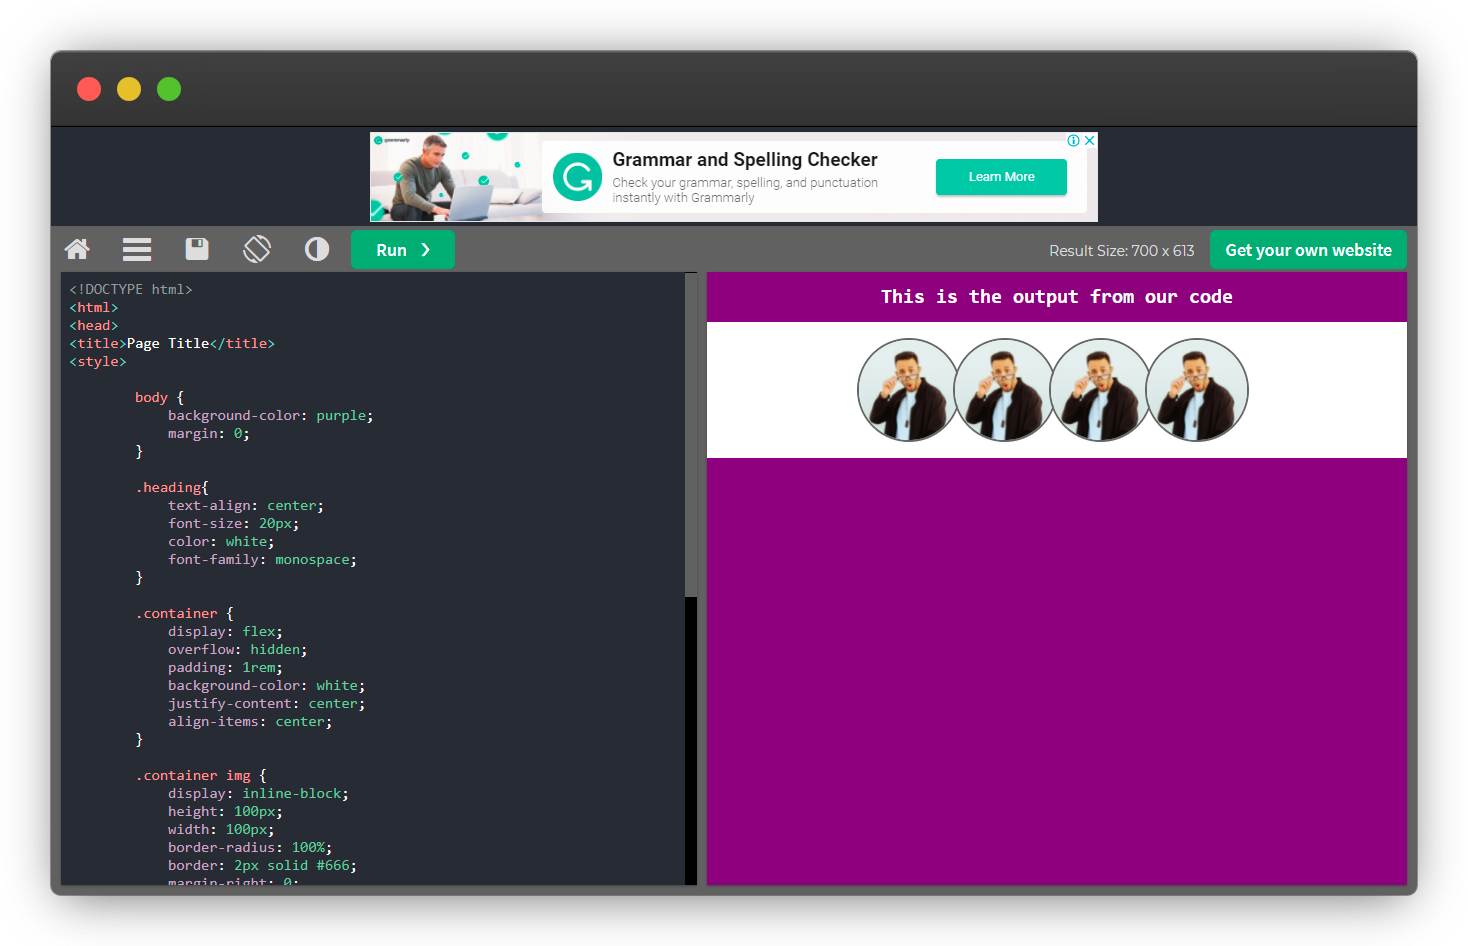
Here is the complete code of the page above; you can copy it and make it yours 🤗
<!DOCTYPE html>
<html>

<head>
  <title>Page Title</title>
  <style>
    body {
      background-color: purple;
      margin: 0;
    }

    .heading {
      text-align: center;
      font-size: 20px;
      color: white;
      font-family: monospace;
    }

    .container {
      display: flex;
      overflow: hidden;
      padding: 1rem;
      background-color: white;
      justify-content: center;
      align-items: center;
    }

    .container img {
      display: inline-block;
      height: 100px;
      width: 100px;
      border-radius: 100%;
      border: 2px solid #666;
      margin-right: 0;
      margin-left: -0.5rem;
    }
  </style>
</head>

<body>

  <h1 class="heading">This is the output from our code</h1>

  <!-- Images -->
  <div class="container">
    <img src="https://yt3.ggpht.com/ytc/AKedOLQiHCSiNWvnEbYeKItfxddMtw8-ik5WX2ZJVX8mQA=s900-c-k-c0x00ffffff-no-rj"
      alt="">
    <img src="https://yt3.ggpht.com/ytc/AKedOLQiHCSiNWvnEbYeKItfxddMtw8-ik5WX2ZJVX8mQA=s900-c-k-c0x00ffffff-no-rj"
      alt="">
    <img src="https://yt3.ggpht.com/ytc/AKedOLQiHCSiNWvnEbYeKItfxddMtw8-ik5WX2ZJVX8mQA=s900-c-k-c0x00ffffff-no-rj"
      alt="">
    <img src="https://yt3.ggpht.com/ytc/AKedOLQiHCSiNWvnEbYeKItfxddMtw8-ik5WX2ZJVX8mQA=s900-c-k-c0x00ffffff-no-rj"
      alt="">
  </div>

</body>

</html>
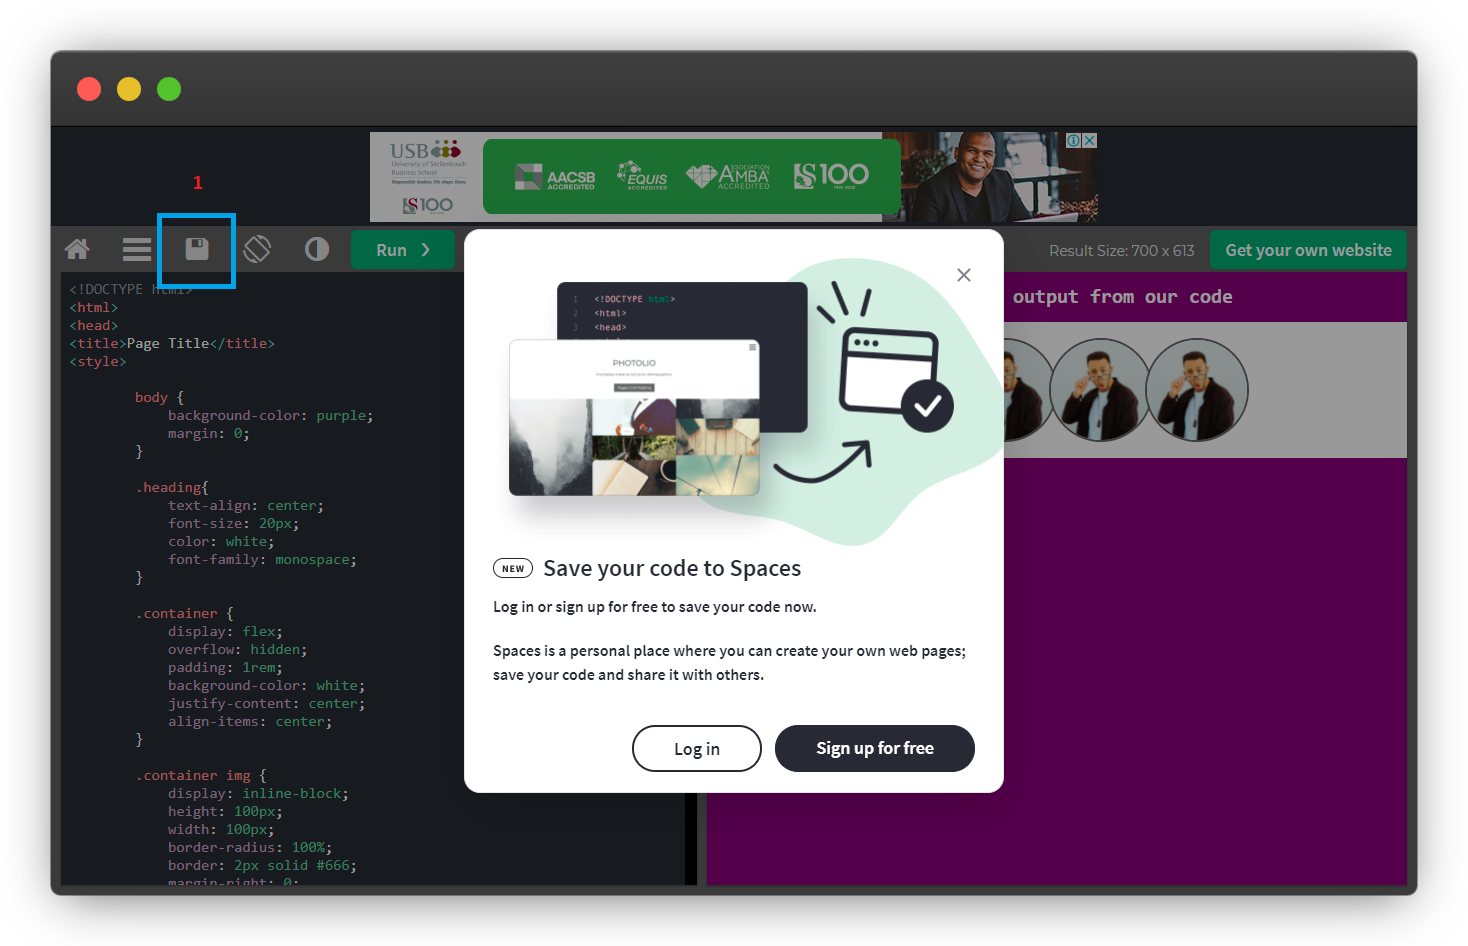
3. Save your work
Once you're done with your code, click on the save icon as shown in the screenshot below, you will be prompted to log in or signup for an account if you have not created one before.
Proceed to log in to your account if you're an existing user.
Select a space if you have more than 2 spaces and give your code file a name.
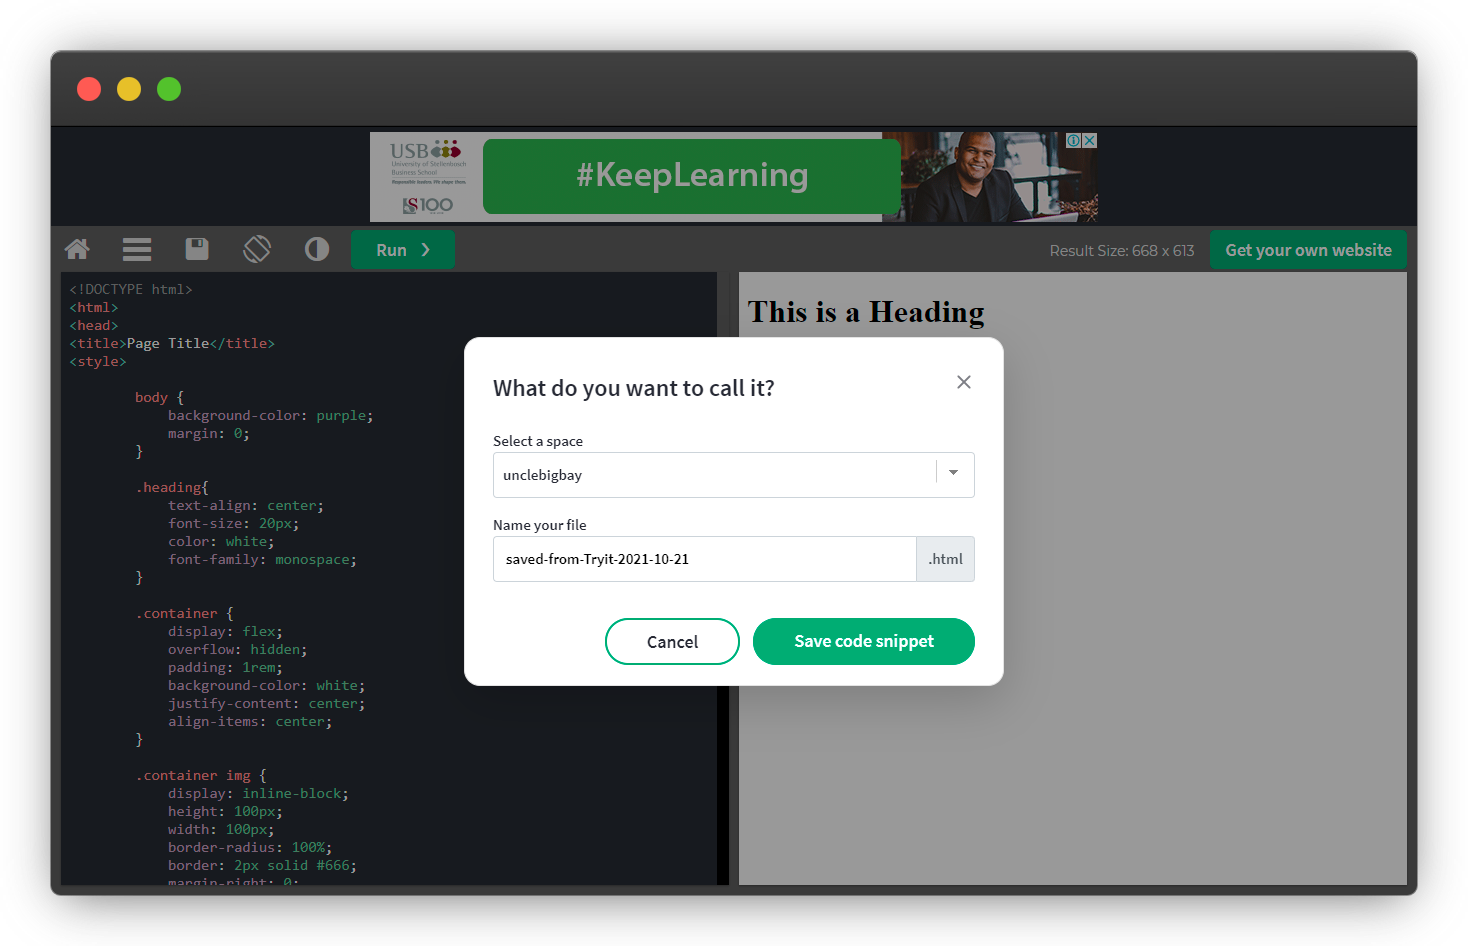
Click on the save code snippet button and wait for the site to save your file.
4. Share your code preview link.
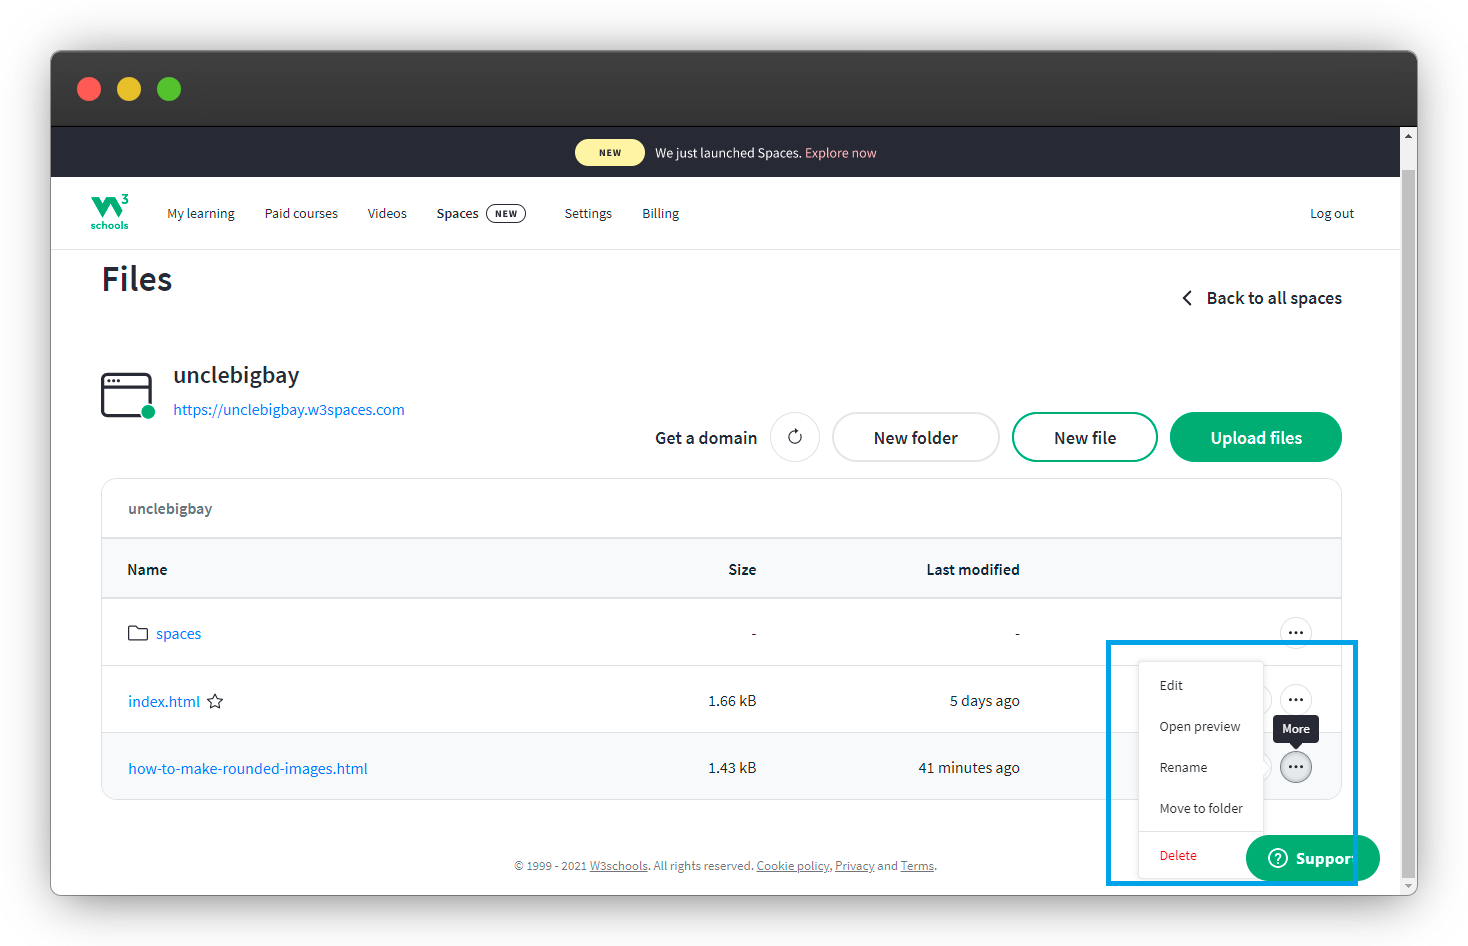
Your code file will be saved in the selected space in step 3, and a public URL will be generated, which you can share with your reader or audience on social media.

And now you can visit my code preview at:
https://unclebigbay.w3spaces.com/how-to-make-rounded-images.html
You can also find and further edit your code by visiting your spaces dashboard.
Usecases
1. Business landing page/Portfolio website hosting.
2. A quick preview of your code to clients or other developers.
3. Hosting of websites built with HTML, CSS, and JavaScript.
4. Centralized hosting platform for your code samples.
To learn more about hosting your web projects on W3schools spaces, below are useful links:
1. Guide to hosting your website on w3shools spaces
2. 10 amazing features on w3schools for developers
3. 10 reasons to try out w3schools spaces
4. Watch me build a business landing page on spaces
Wow, what a journey, I am glad you made it to the end of this article, if you enjoyed it and found it helpful, then you shouldn't miss the next one, you can subscribe to my newsletter to get notified of my upcoming projects and articles.
I will also like to connect with you, let's connect on:
See you in the next project intro. Bye Bye 🙋♂️

If you found my content helpful and would want to support my blog, you can support me by buying me a coffee below, my blog lives on coffee 🙏.
Enjoyed this article?
Subscribe to my YouTube channel for coding tutorials, live project builds, and tech discussions.
Subscribe