Hosting your Site on W3School Spaces
Learn how to host your website on W3School without stress
5 years ago
5 mins readYes, you read that well, lately, the w3school team have been making a huge upgrade to their website, from improving their UI designs to creating more premium courses with certificates, and now you can host your static websites on their platform for free 😍, isn't that cool of them 😎.
You will learn how to host your own website on W3School. You might want to check out my own space on w3school Here before you continue on this journey to creating your own space.
Prerequisite
Trust me when I say w3school is one of the best sites you can easily get programming knowledge from, so the good people working at w3school have made it easier for both pros and beginners to get their own space setup.
But to be more realistic you must have the following ready for your own space.
- Your HTML Code (of course)
- CSS Code (optional -HTML might be ugly though)
- JAVASCRIPT Code (optional)
If you have at least an HTML code in your .html file then you're good to go.
Without any further ado!!!
📢 Hey unclebigbay get straight to the point
Let's get started 👇
1. Creating W3School Profile Account
Before you have access to this feature on the W3School site, you must have a profile account on their website.
- Proceed to create your personal profile on W3school with just your email and password 🤭.
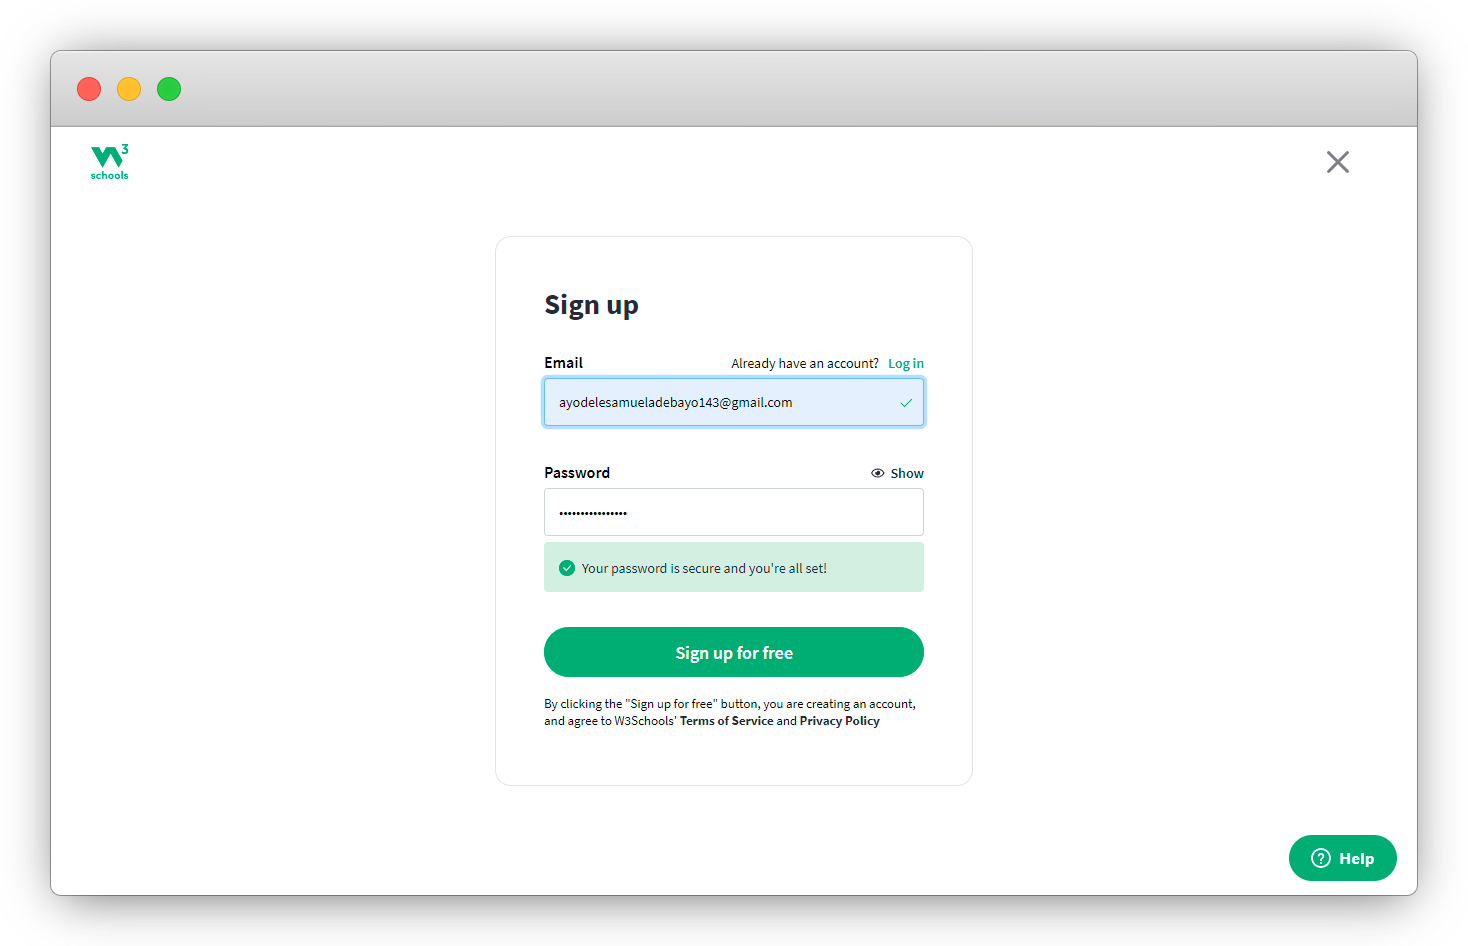
- Fill in the next form with your names and click on submit, a mail containing your confirmation link will be sent to your registered email, click on it and your account should be verified at a glance 👇.
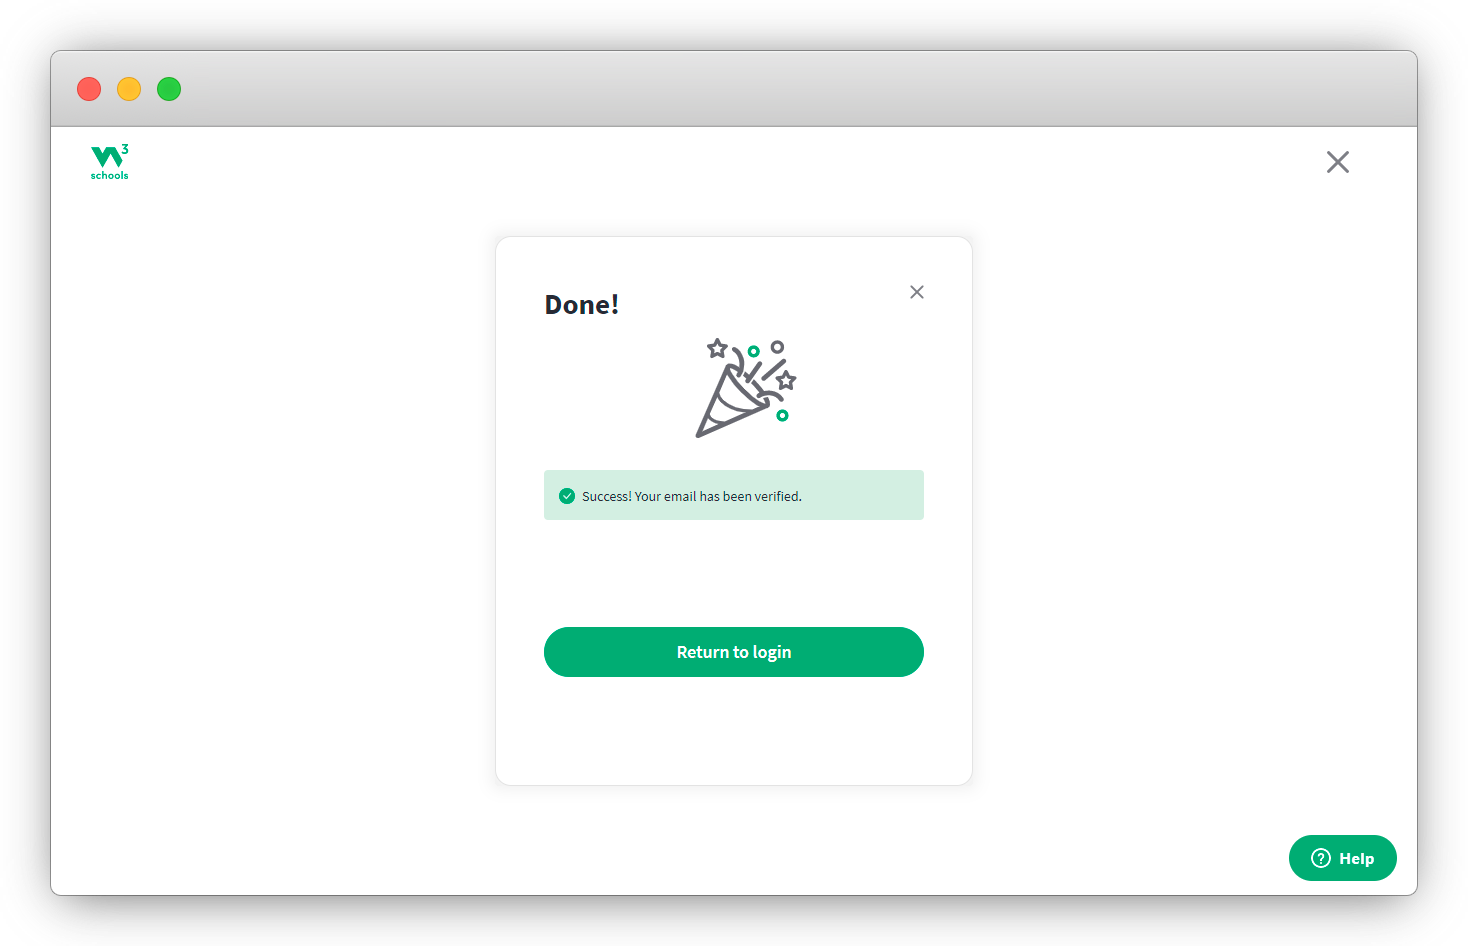
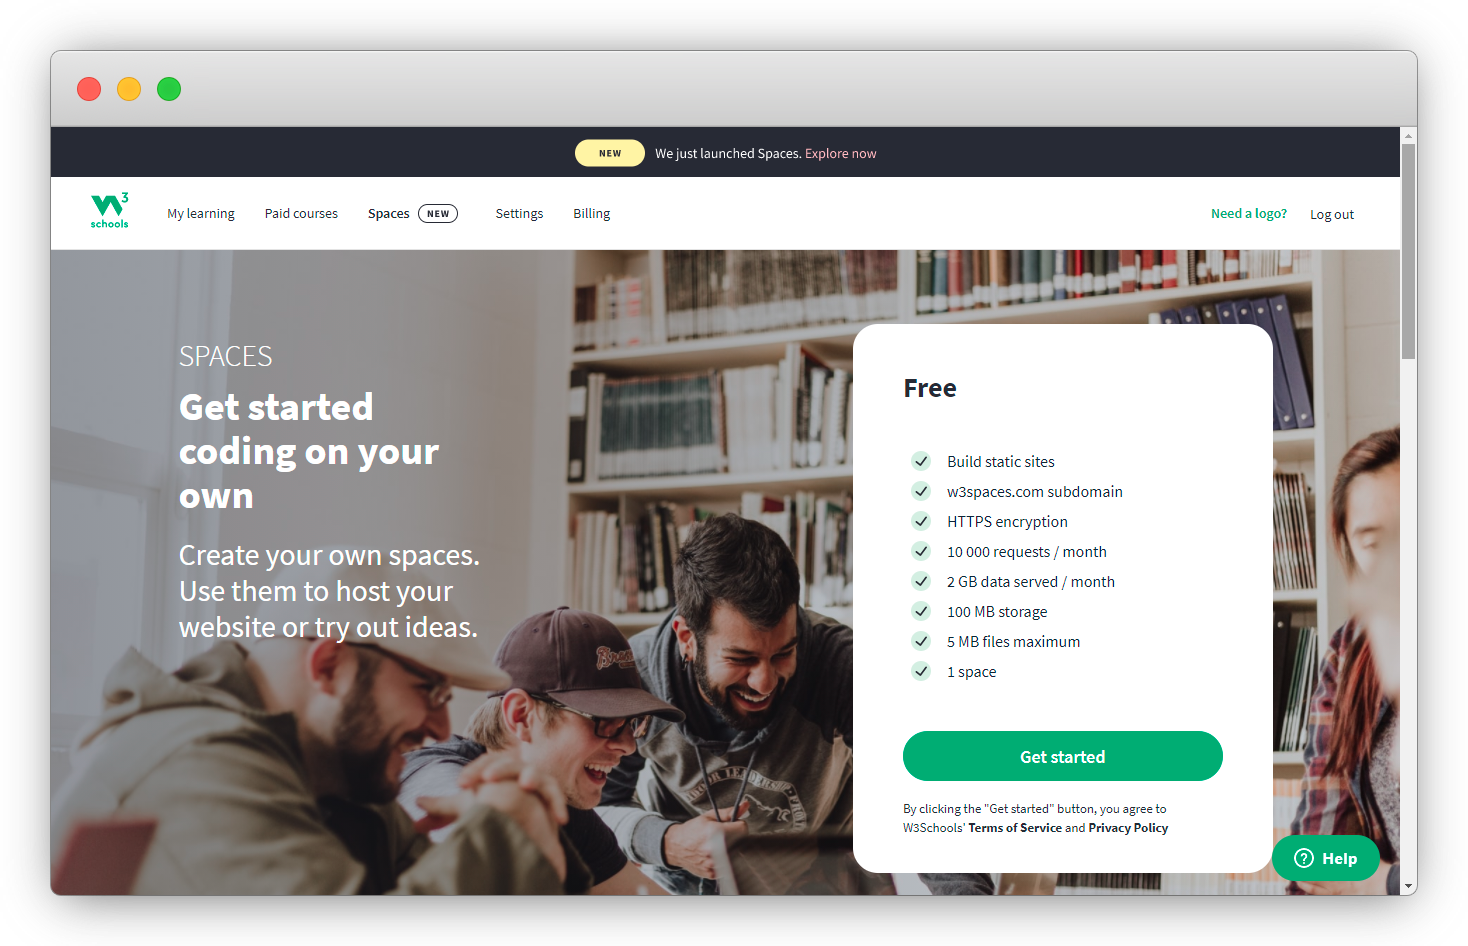
- Click on the return to login button and login with your registered credentials on the login page, you should be redirected to your dashboard, which will look something like below 👇
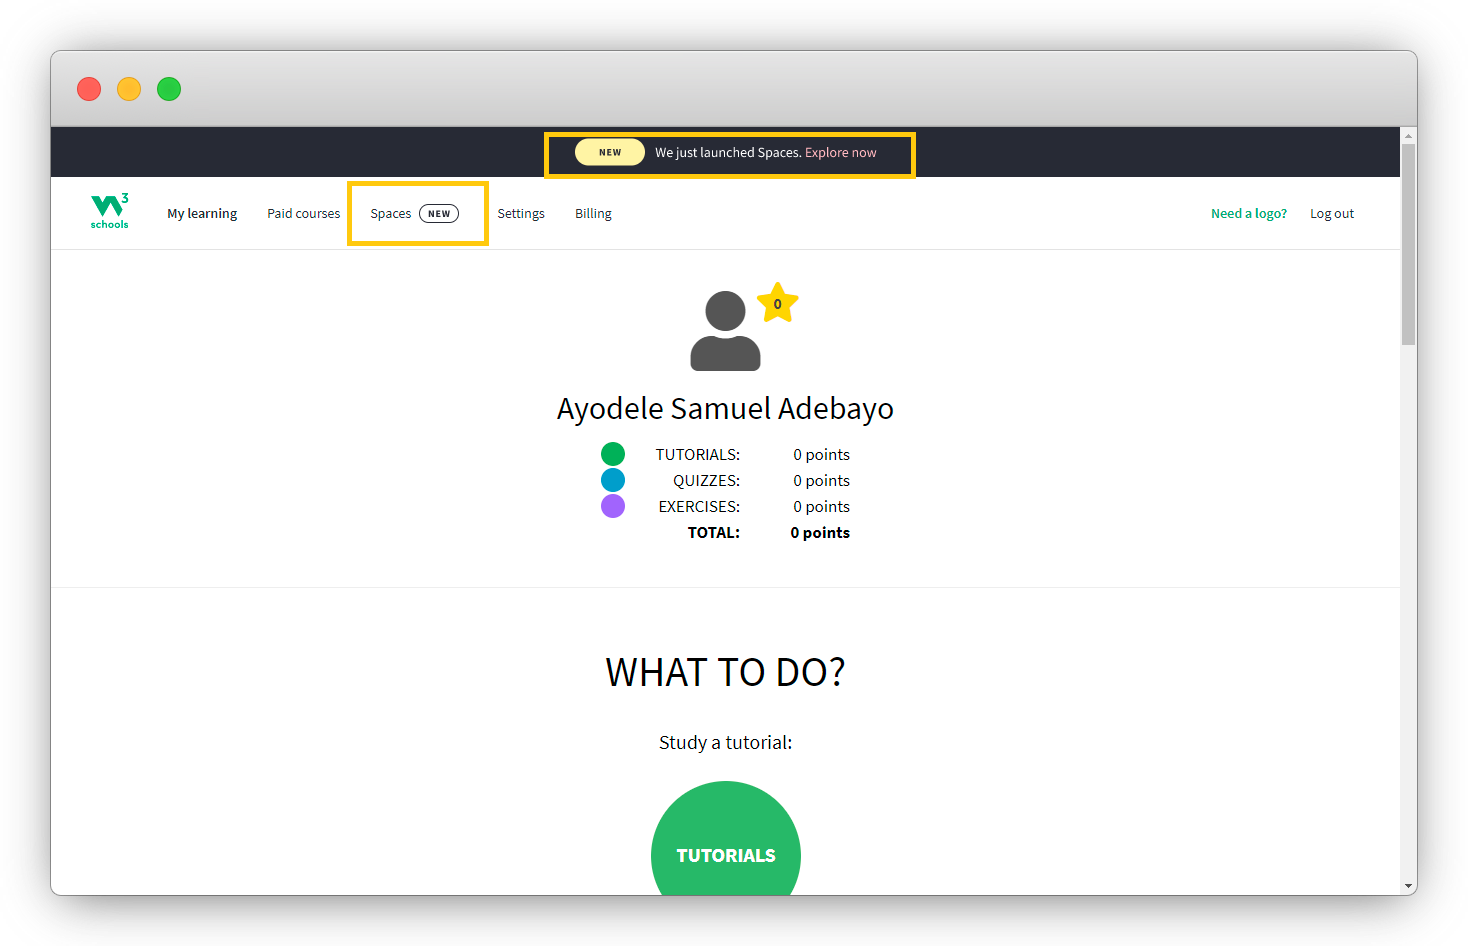
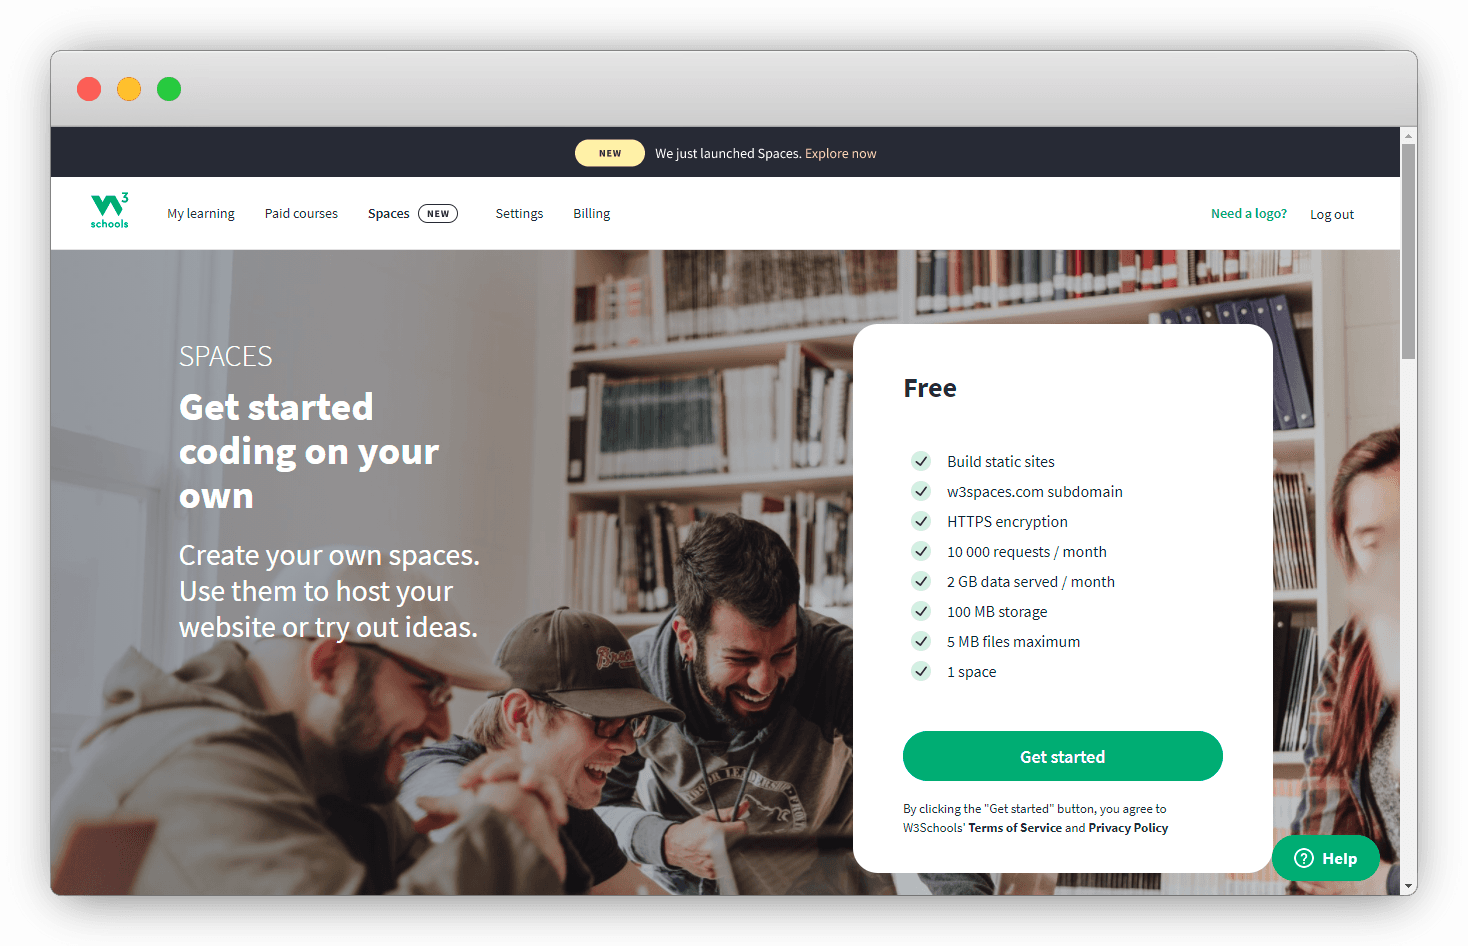
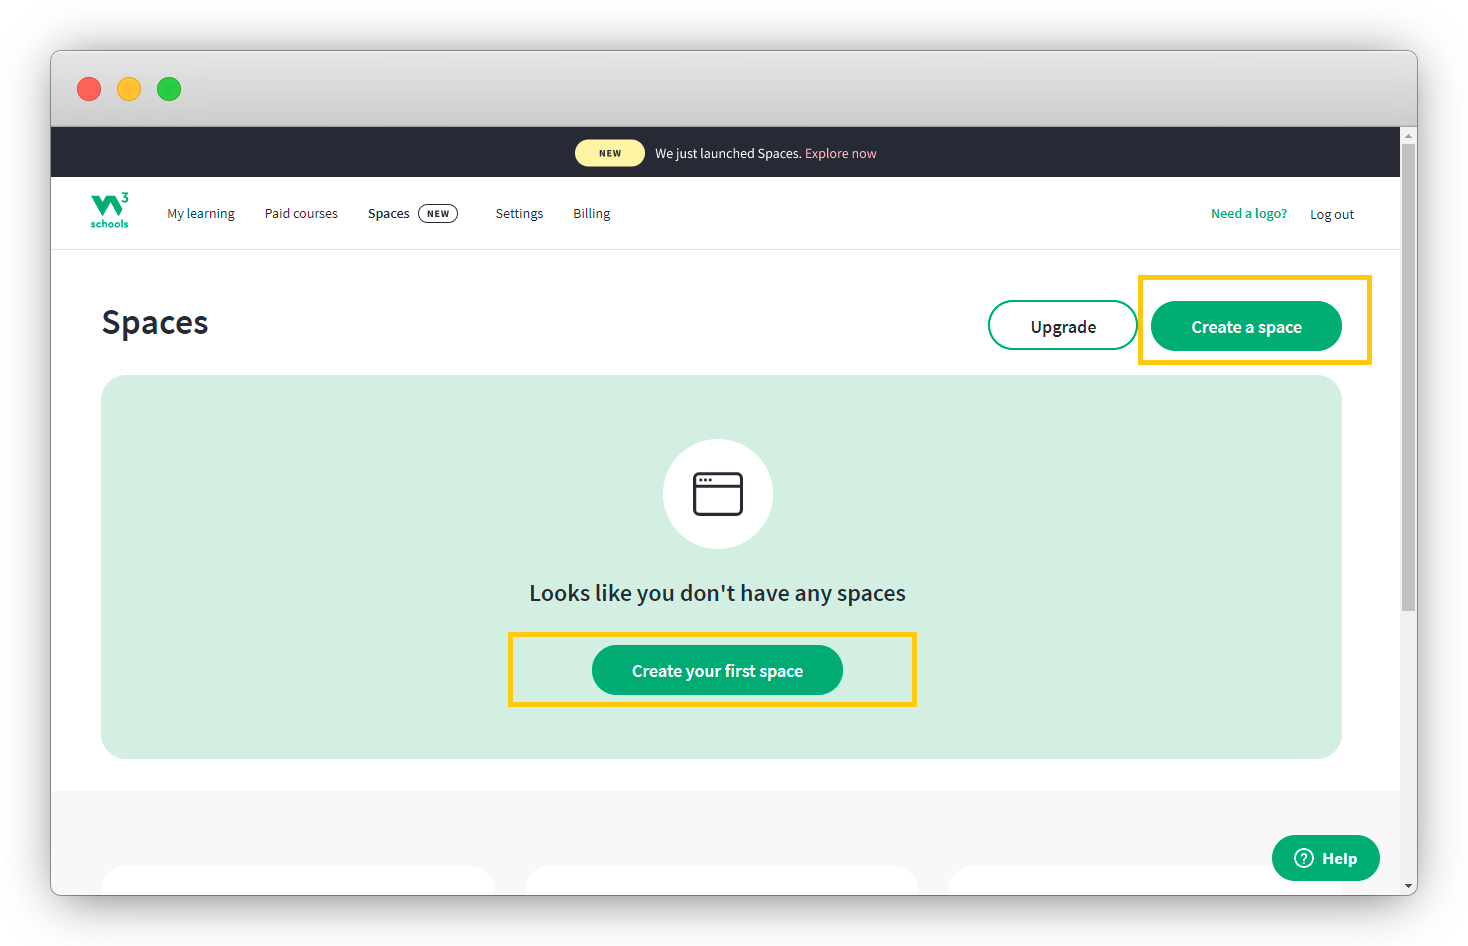
- Click on the Spaces button 👆, this will redirect you to the W3School spaces landing page, where we will get you started.
- Click on any of the highlighted buttons to create your own space 👇.
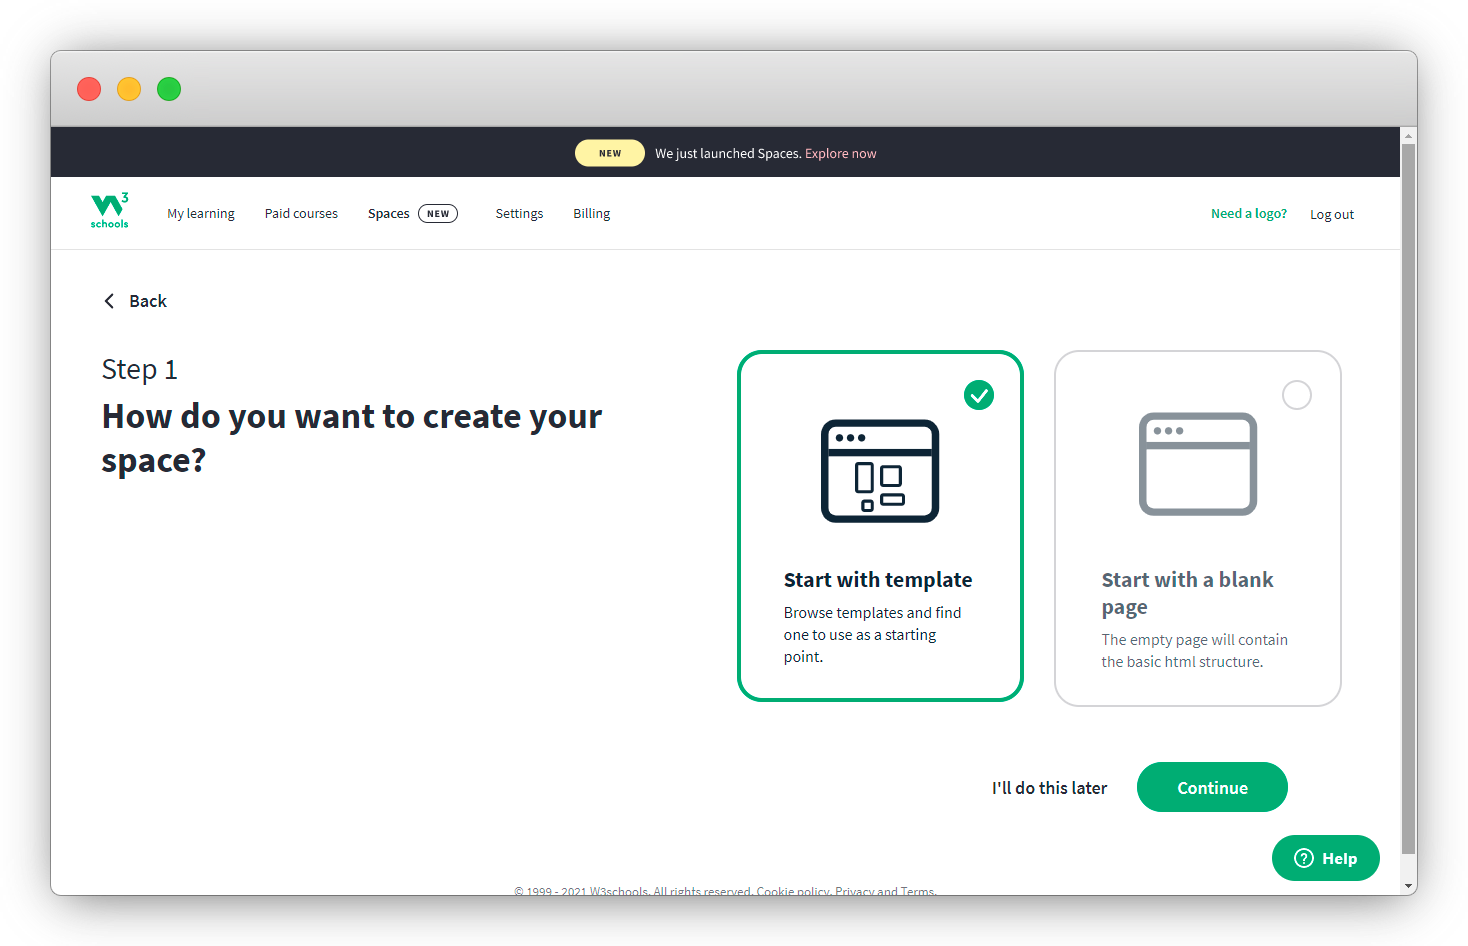
You can select an option to either choose from W3School web templates or to create a custom webpage yourself, we will be exploring the custom option because we know HTML (kidding) 😆.
Select the Start with a blank page option and click on continue. Don't do it later 🔥🔥🔥
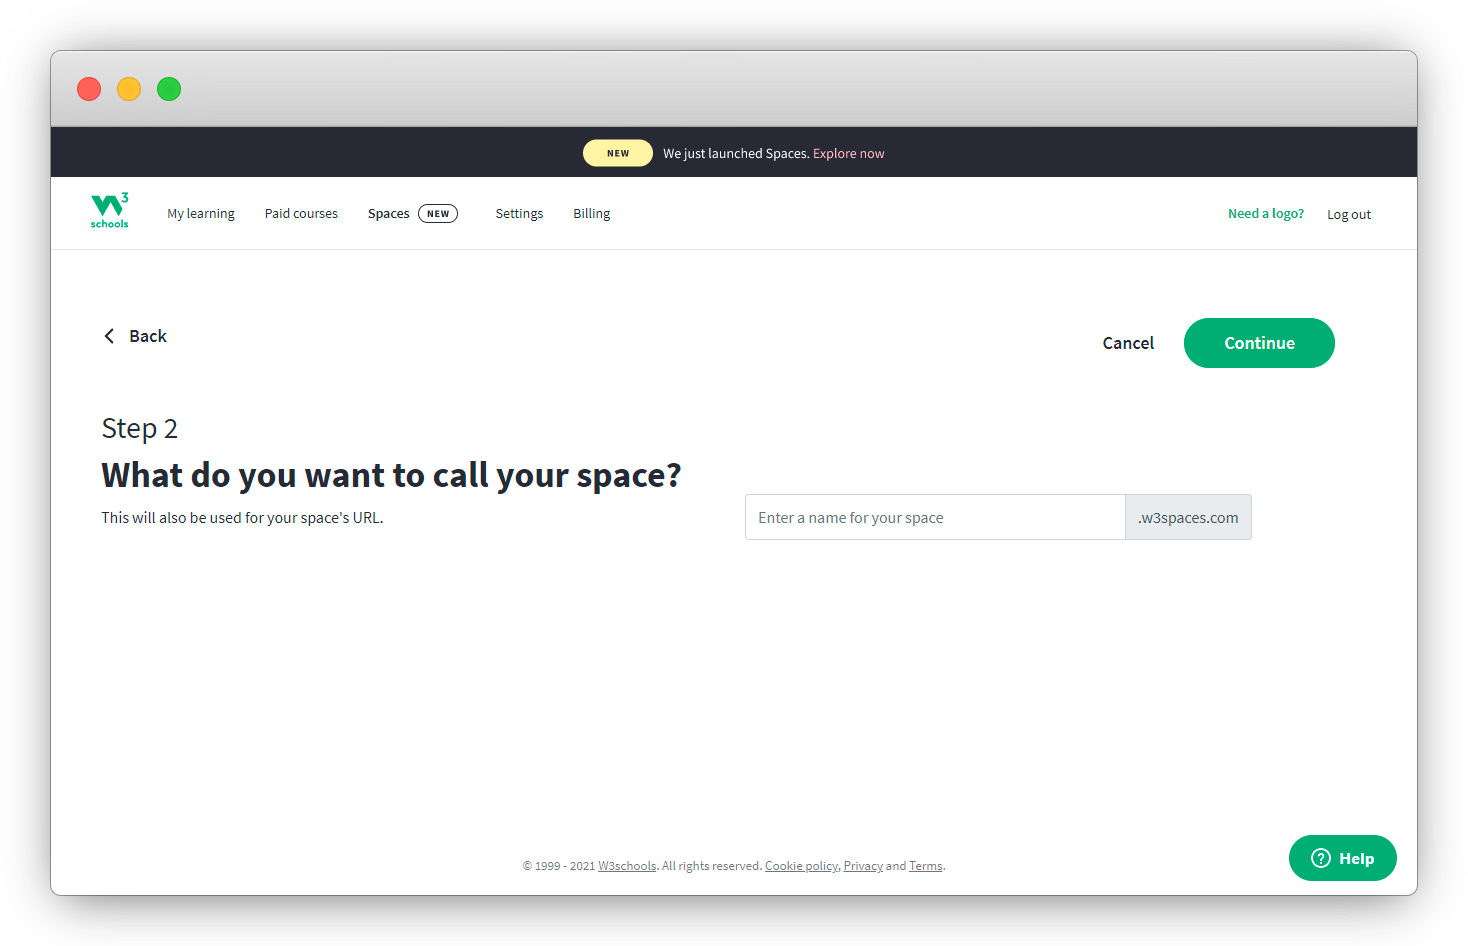
2. Naming your Space (URL).
Note that your space name (website) will be accessible on the internet through the custom URL for instance your-space-name.w3spaces.com
- Click on continue when you've found a nice space name.
- Wait a little bit for the great people of w3school to set up your space.
And Boom!!! 🌟🌟🌟 your space is ready 💃💃💃
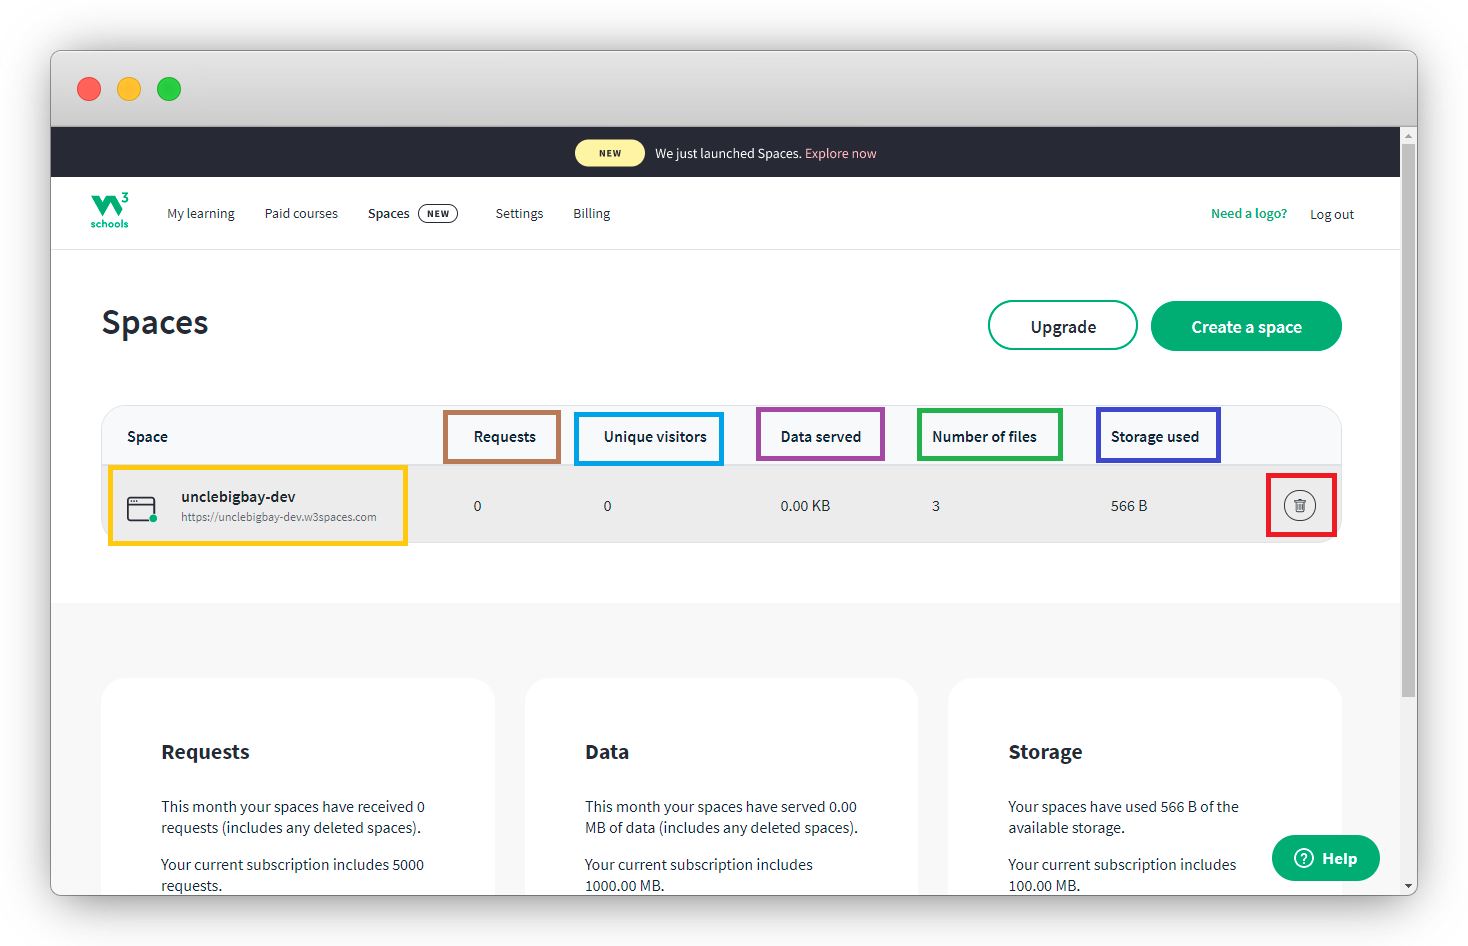
From the screenshot of the space menu above,
- You can see your space custom domain.
- You can also easily monitor the number of requests from your site.
- View the number of people visiting your website (space).
- Know the number of data served.
- Know the number of files your space contains.
- Know the size of your file and finally
- You might want to delete your space
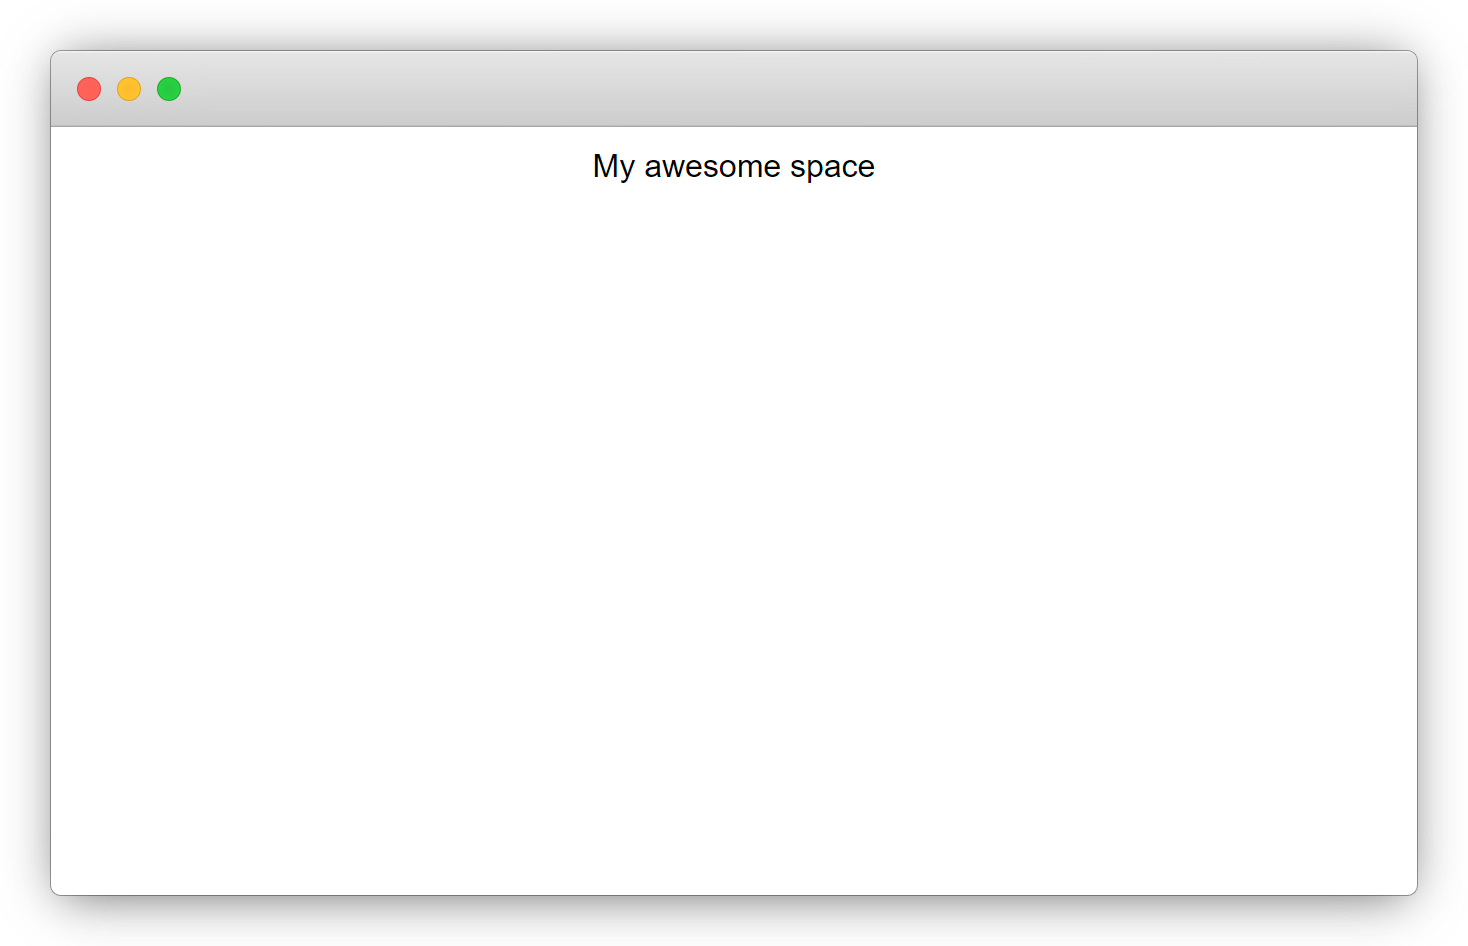
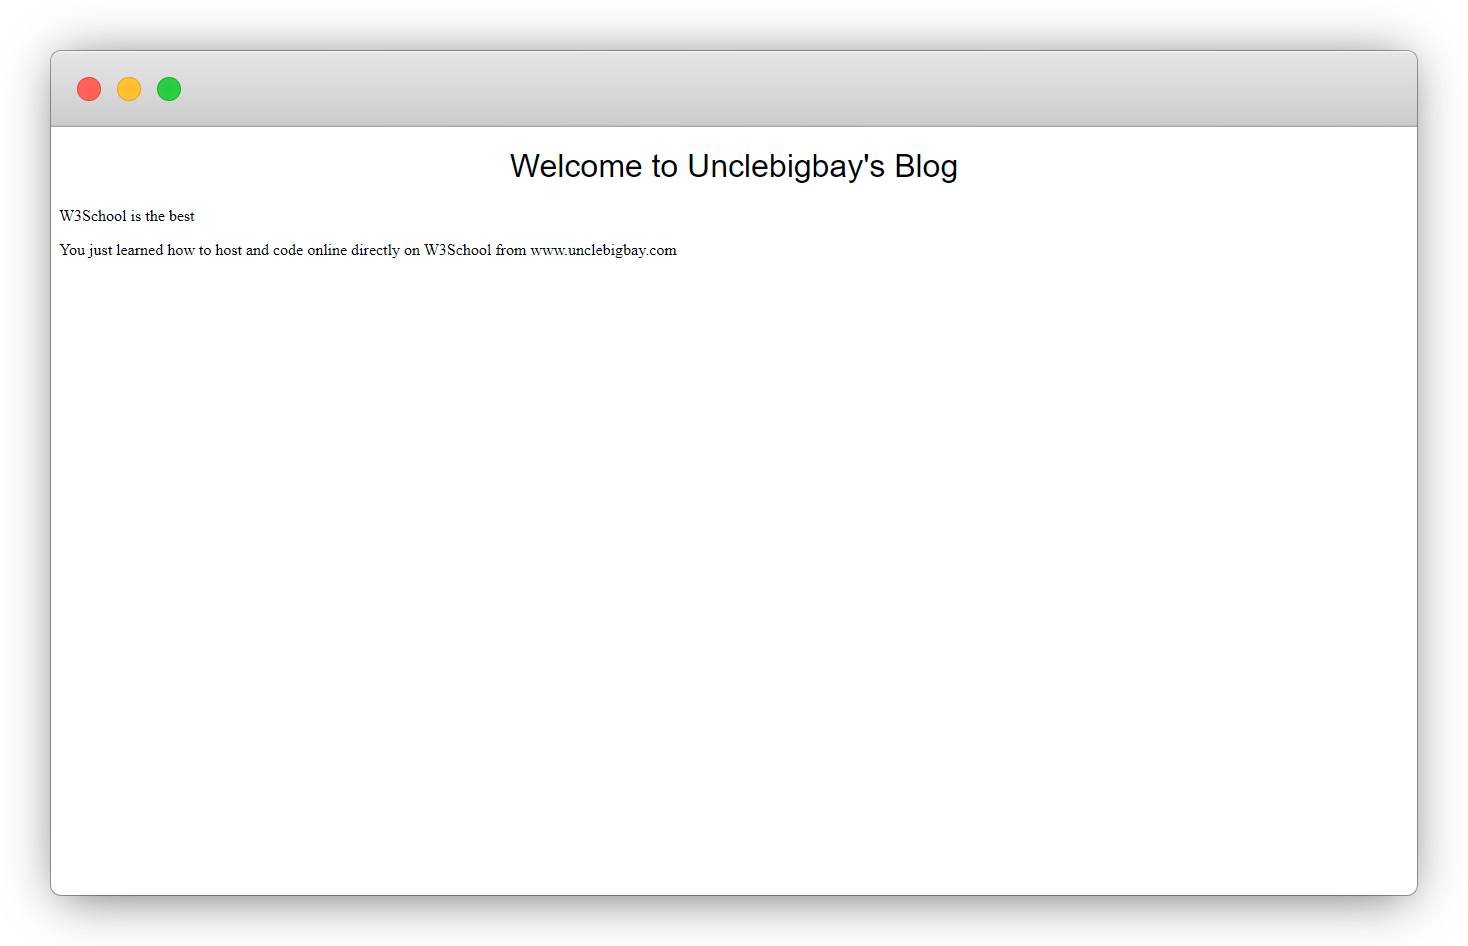
- Visit your custom domain you should have this displayed 👇
W3School also provides us with multiple options to set up webpages on our space, available options include 👇
- Making use of the default HTML, CSS, and javascript files (you see why you only need the code).
- You can choose to create new files on your dashboard without leaving your browser.
- You can choose to upload your own HTML, CSS, or JavaScript files.
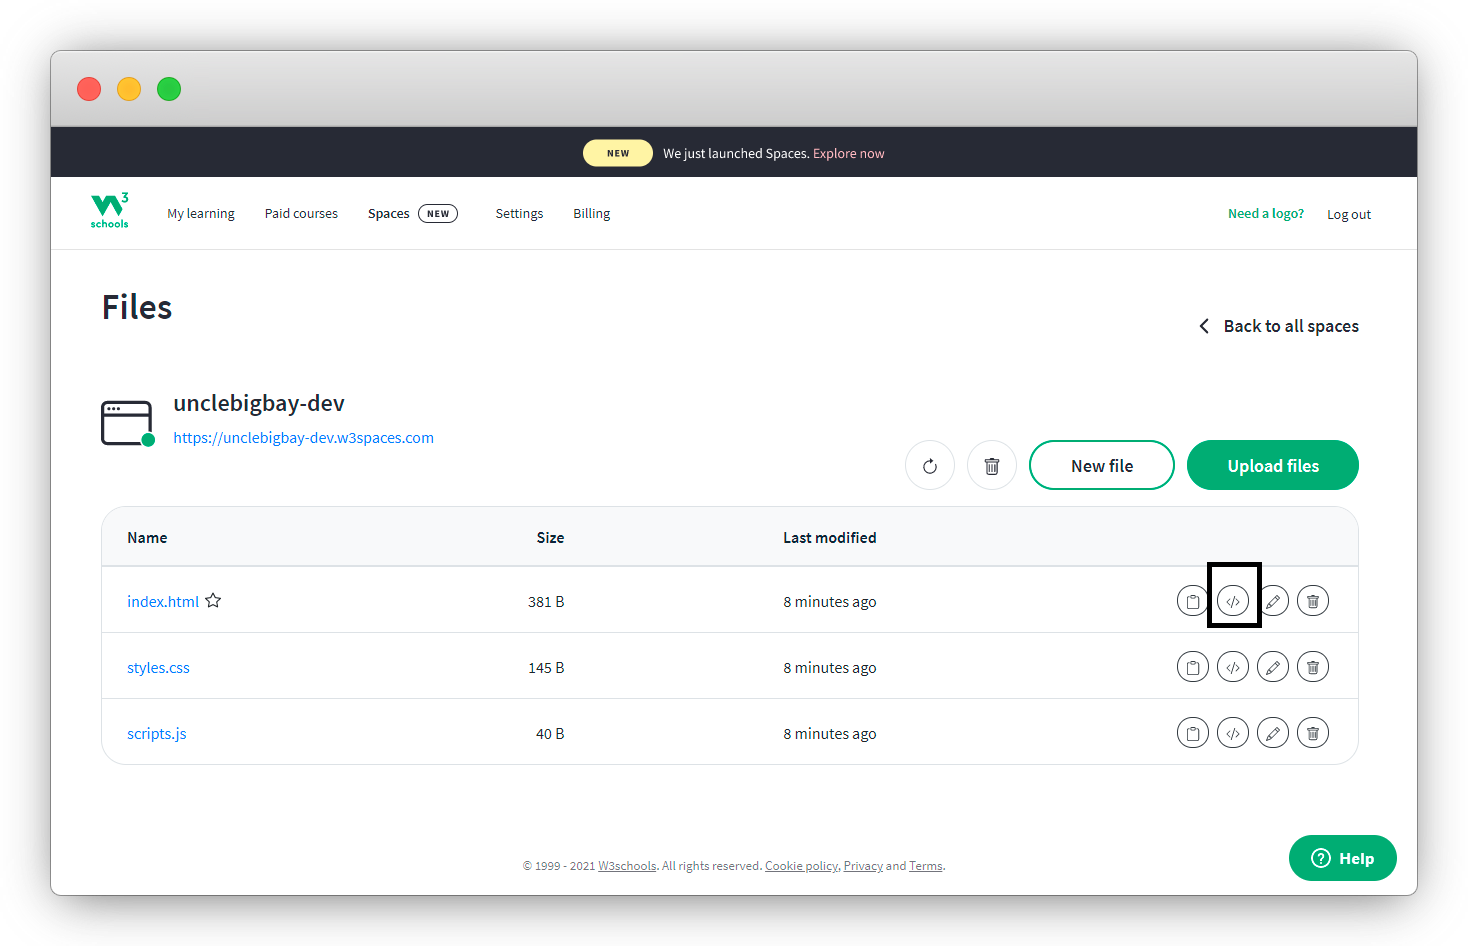
In this article, we will be making use of the 1st option, which is to make use of the default files w3school has provided for us.
1. Click on the code icon to edit your HTML file 👇
- W3School is amazing, your editor should look like below 👇
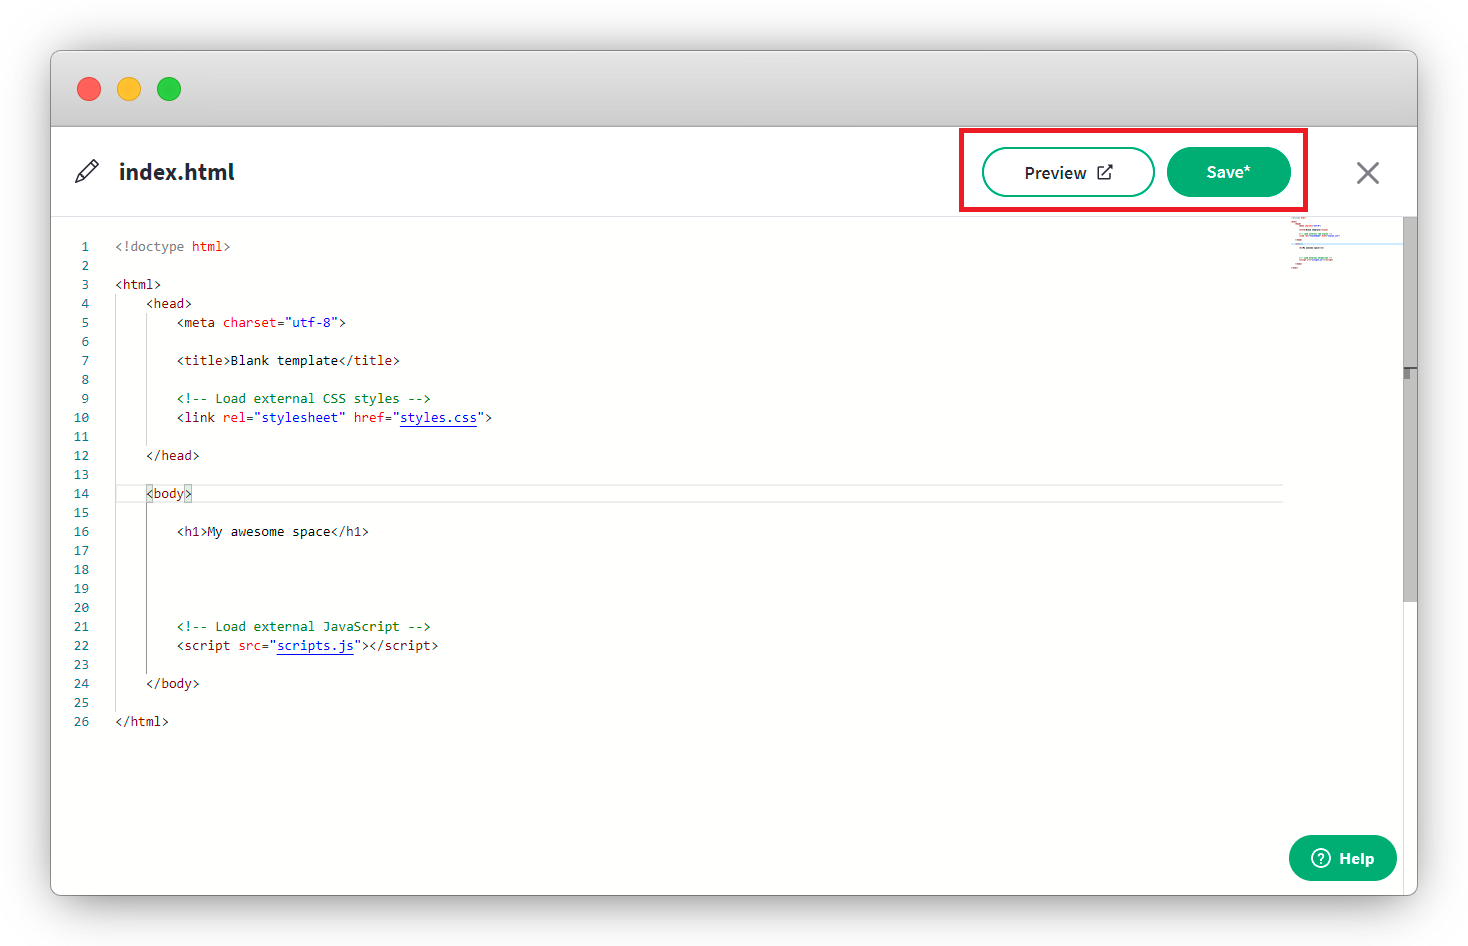
- You can save and preview your webpage in another tab 👇

All you need to do is refresh the preview page each time you save your work.
2. Write some HTML, save and refresh the preview tab👇
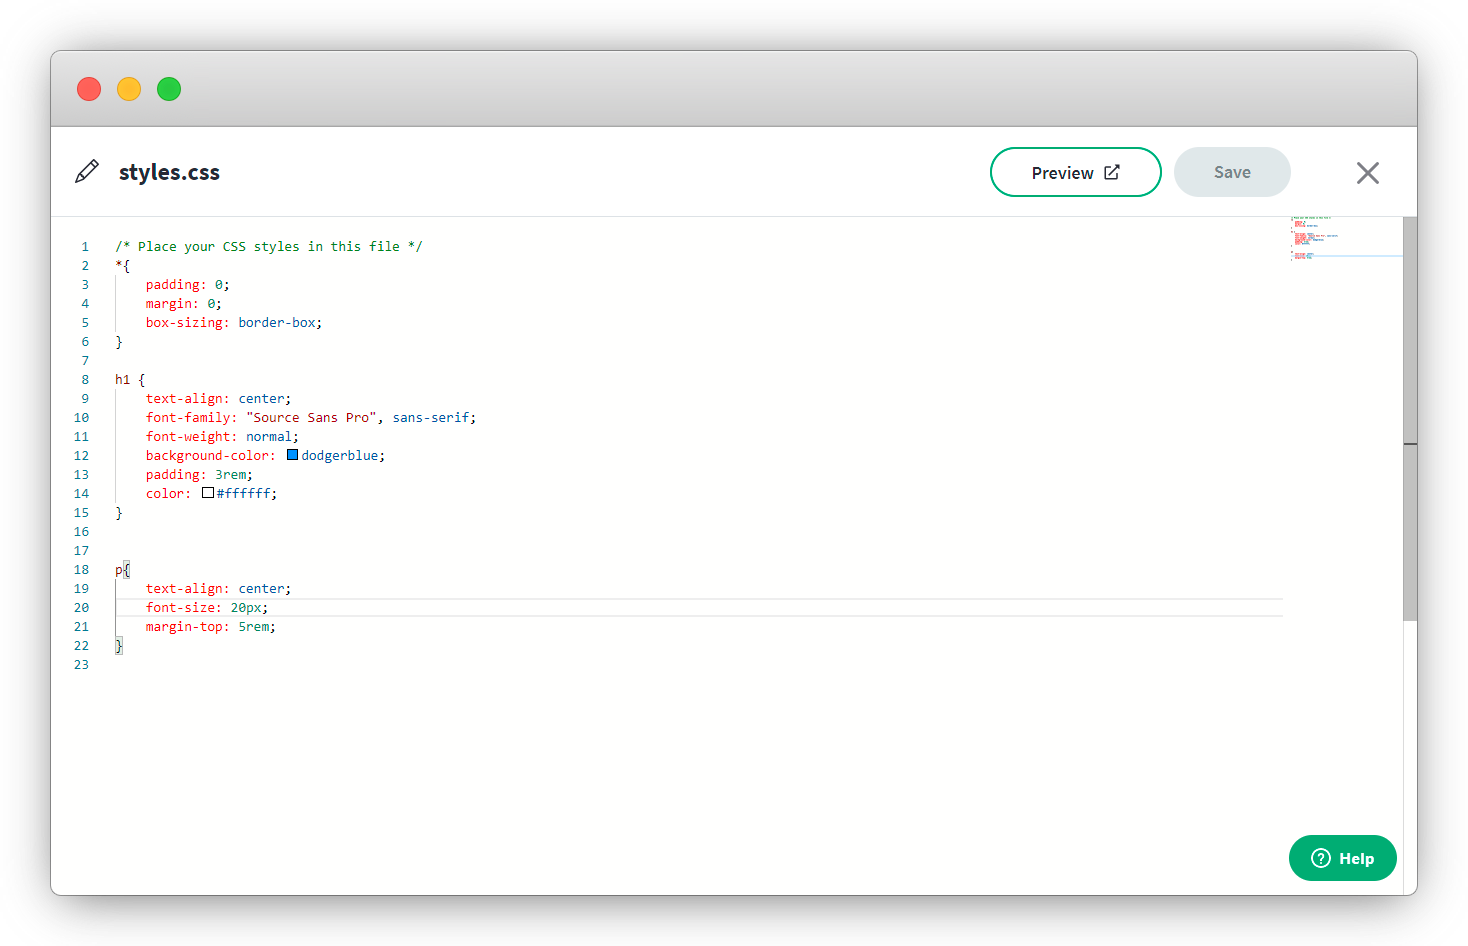
3. Write some style for the HTML elements
- Click on the cancel icon at the top right to edit the CSS also.
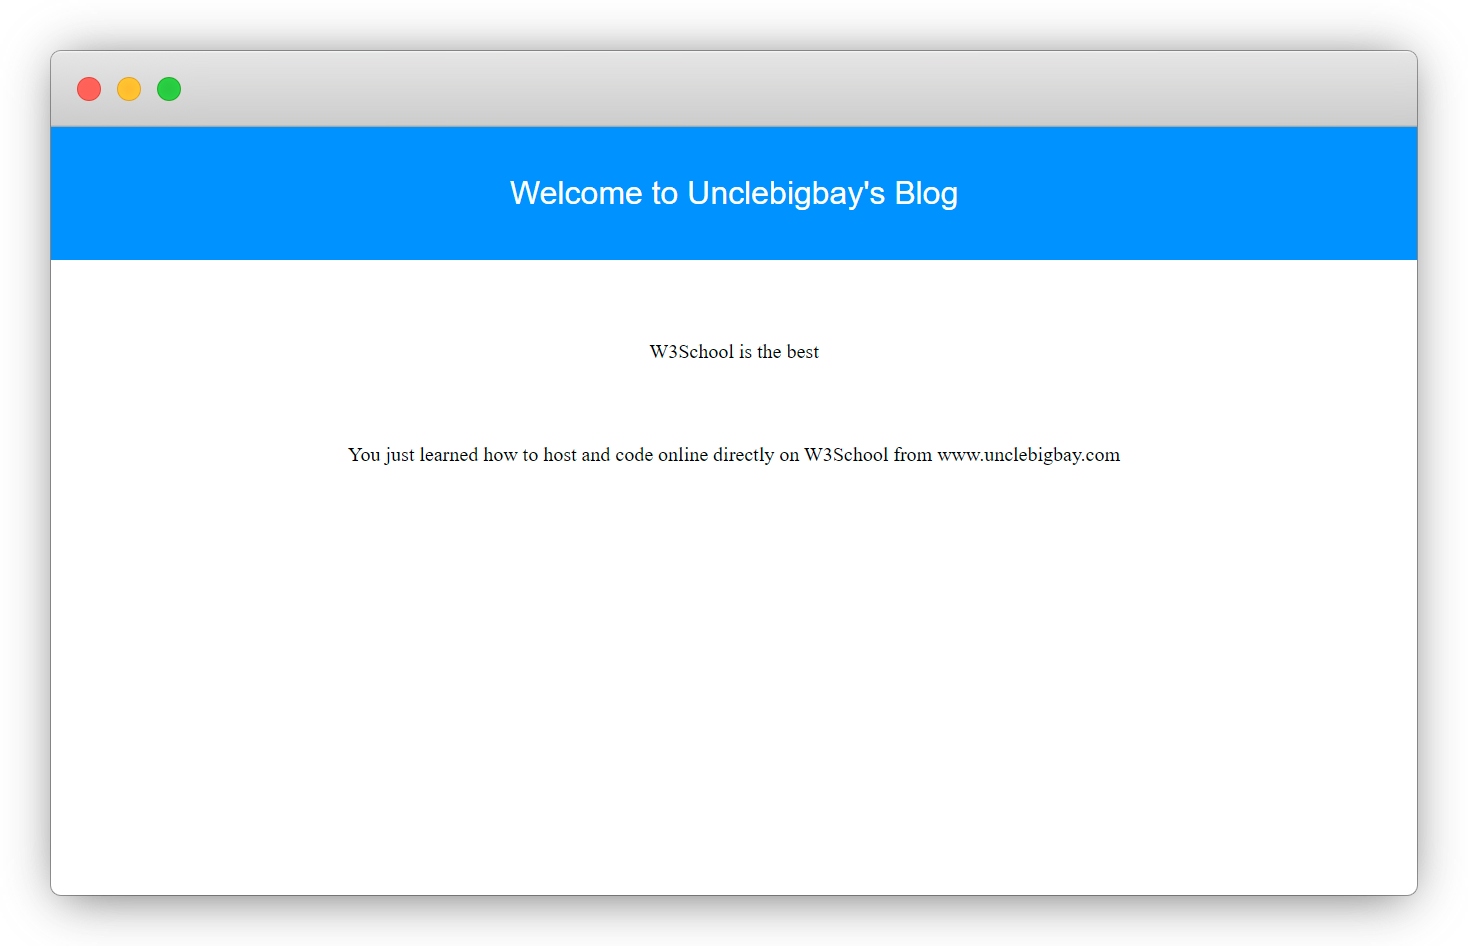
Save your file, but don't click preview, rather, visit your custom URL to preview, this is normal
4. CSS Output
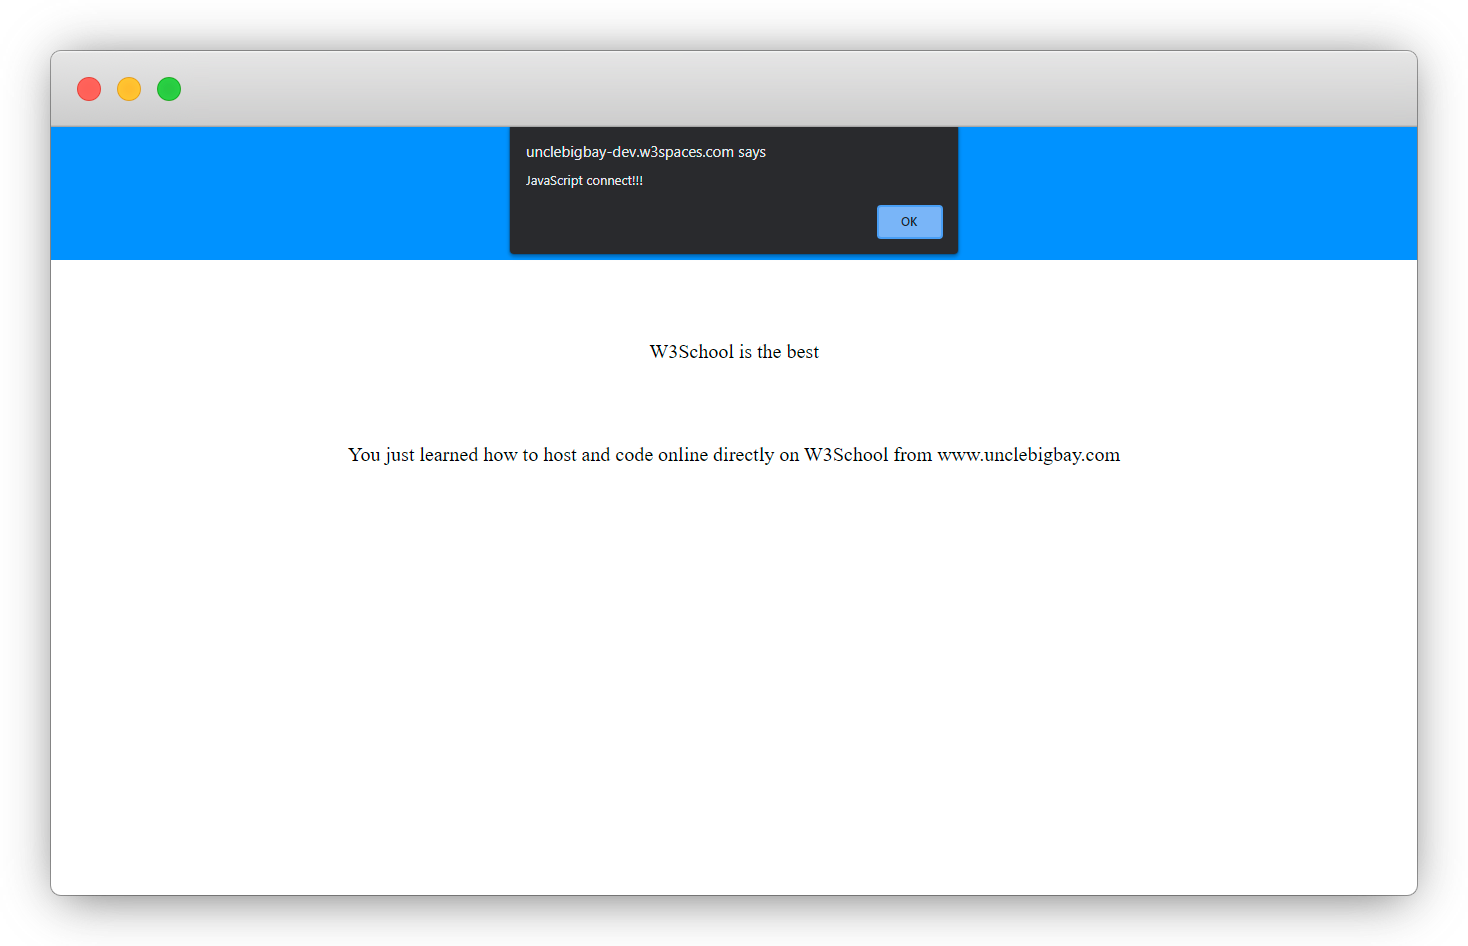
5. Write some javascript and refresh your space
Wow, what a journey, I am glad you made it to the end of this article, if you enjoyed and learned from this article, I will like to connect with you.
Let's connect on
My friend and I are holding a meetup every Saturday to discuss JavaScript and other programming tips and to support ourselves.
You can be a part 👇 of the community by joining our WhatsApp group
See you in the next article. Bye Bye 🙋♂️
If you found this helpful and want to support my blog, you can also buy me a coffee below.
Enjoyed this article?
Subscribe to my YouTube channel for coding tutorials, live project builds, and tech discussions.
Subscribe