
React Form Validation without State and third Party Packages
4 years ago
5 mins readForms are technologies used to collect data from users, such as personal information, address, authentication details, credit cards, and many more you can think of.
Form validations ensure the user provides the right form values while filling a registration form, login form, or any other form in your web application.
Summary
In this article, you will learn how to validate your react form application without using any third-party packages like formik or react-hook-form.
We will be using the native JavaScript
ifstatement to validate forms in our react applications.
At the end of this article, we will cover
- How to use the
ifstatement to validate form submission. - How to use
document.getElementById()to get the input value in react.
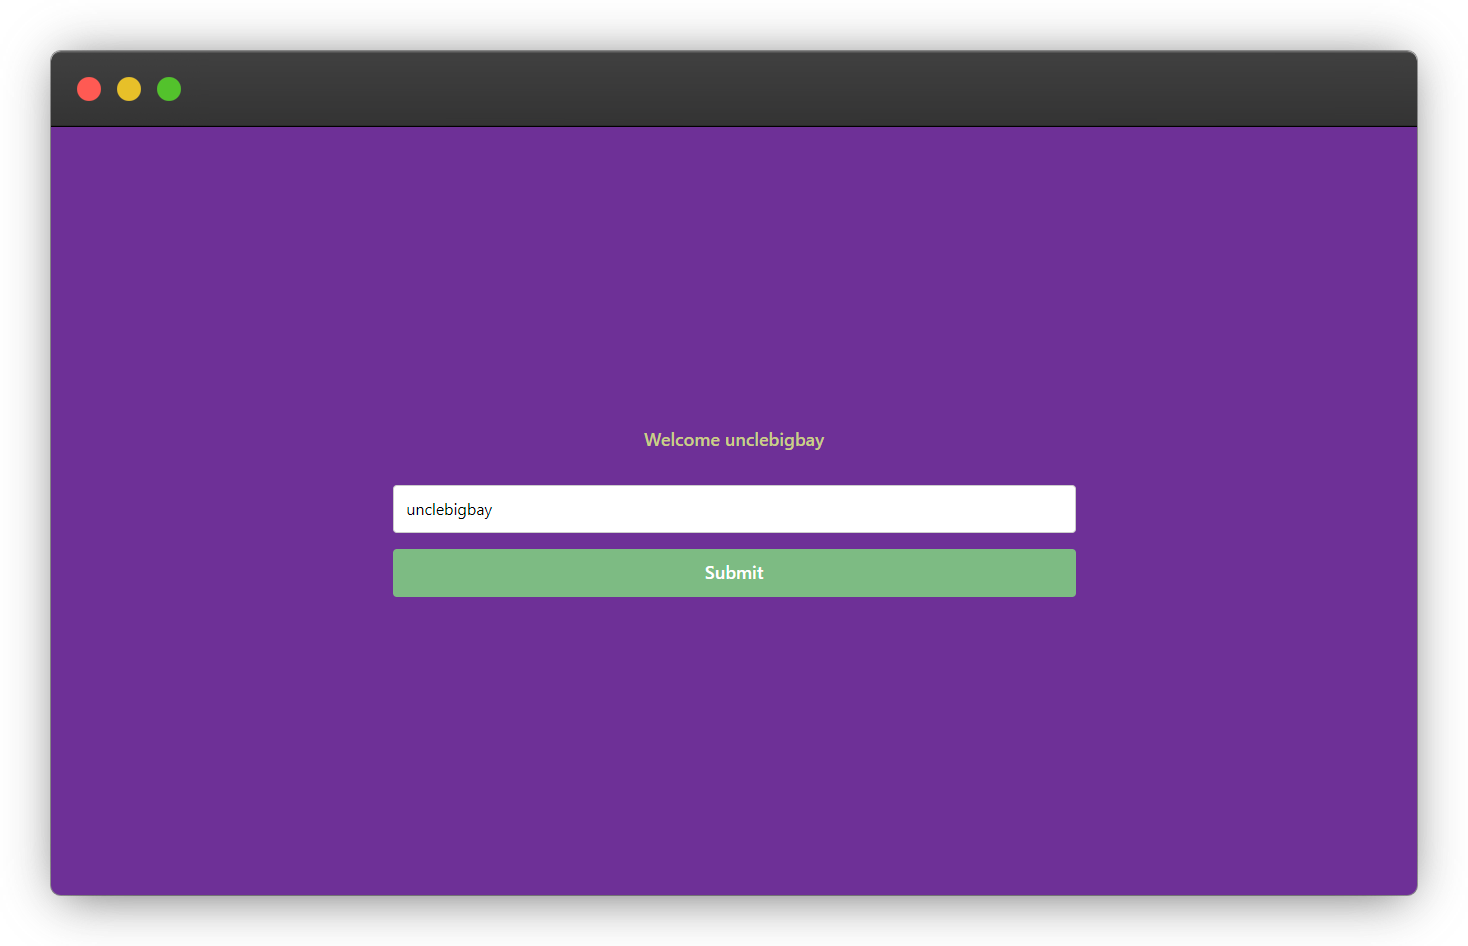
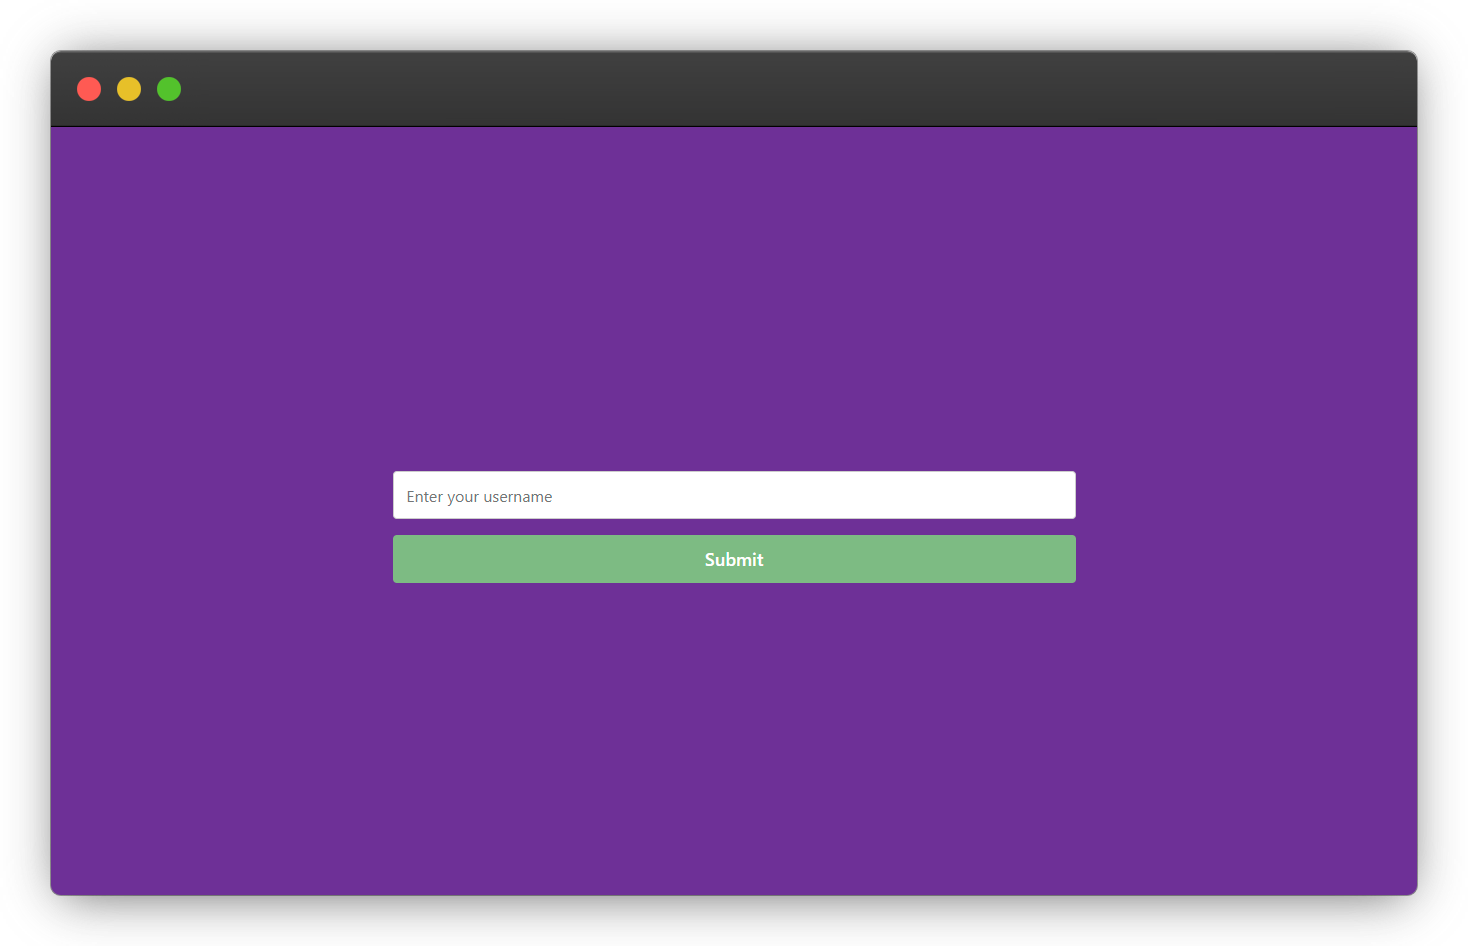
We will be building a validation form component that will only welcome a valid username, that looks like this.
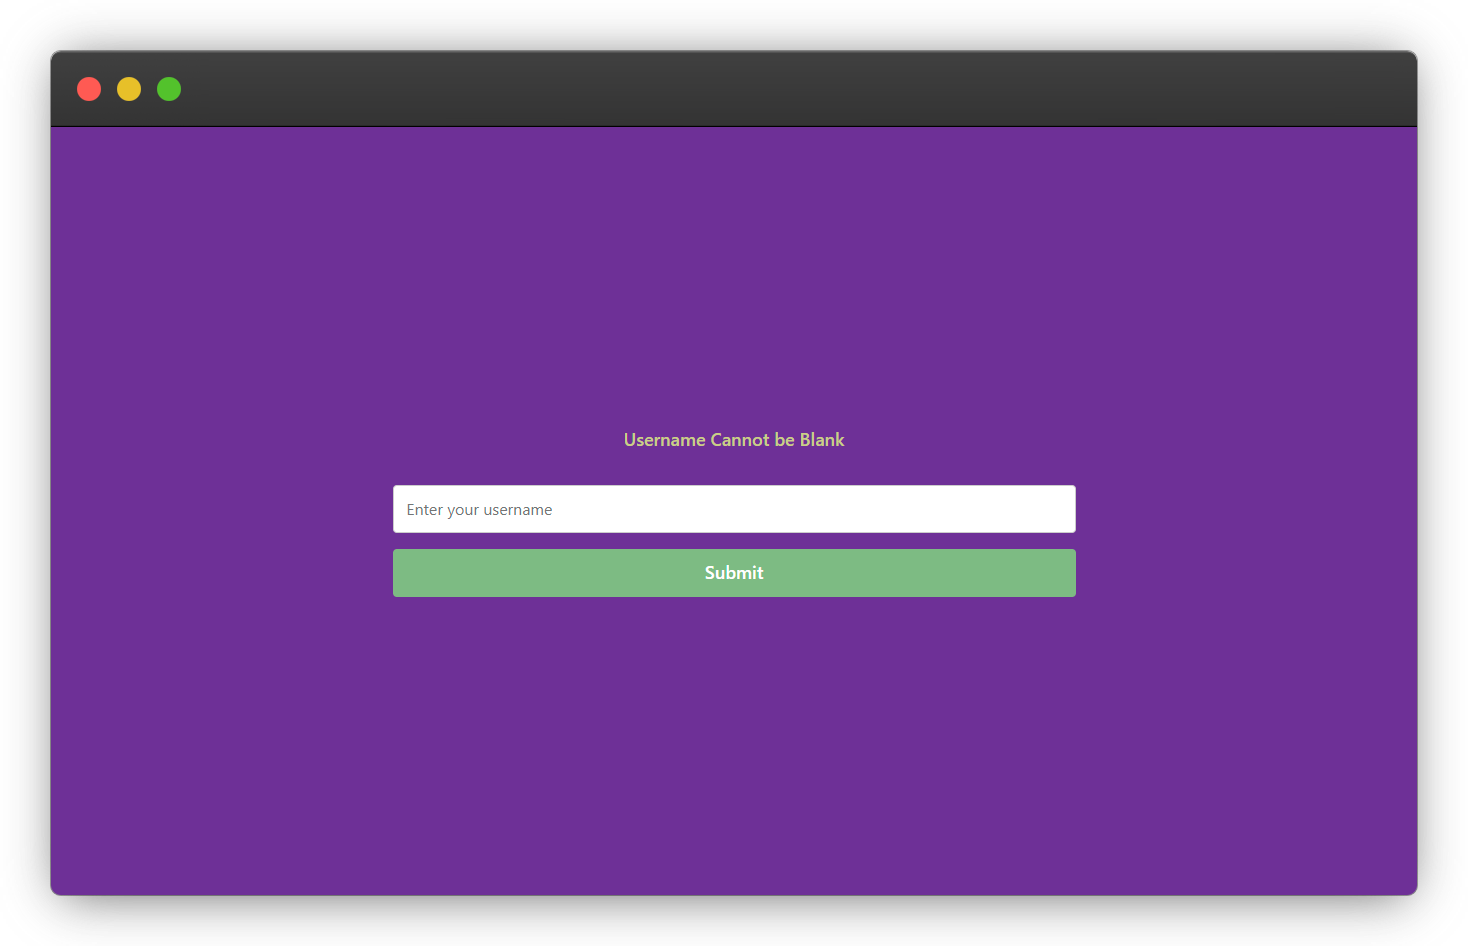
It will throw an error message if the username is blank
Prerequisite
You should know how to set up a react application and create components.
A basic understanding of JavaScript is required, I shouldn't be explaining how the
ifstatement works or whatdocument.getElementById()means.You must be familiar with Html tag attributes like
id,type,onSubmit, andplaceholder.
Creating the Form Component
Add a form input that takes a username in your form component and a p tag to display the validation message to the user.
import React from 'react';

export const FormComponent = () => {
  return (
    <React.Fragment>
      <div className="form-wrapper">
        <form>
          <p className="message"></p>
          <input type="text" id="userNameInput" placeholder="Enter your username" />
          <button type="submit">Submit</button>
        </form>
      </div>
    </React.Fragment>
  );
};
Validation Logic
In order to ensure that the user does not submit an empty form, we will create a validation function to handle the form values when submitted.
If the form input that you want to validate (userNameInput in this case) is empty or does not satisfy any of the validation rules, the validation function will return false and prevent the form from submitting.
This is to ensure that the user does not submit an empty name at any point in our form component.

const validateForm = (e) => {
    e.preventDefault();
    const message = document.querySelector('.message');
    const userNameInput = document.getElementById('userNameInput');
    const userName = userNameInput.value;
    if (!userName) {
      message.innerHTML = 'Username Cannot be Blank';
    } else {
      message.innerHTML = 'Welcome ' + userName;
    }
  };
Explanation
1. The e.preventDefault(); will stop the default behavior of the form from reloading the page, you can read more about the e.preventDefault(); from here.
2. We can display the validation message to the user through the <p> tag message class identifier by using the document.querySelector('.message').
3. We will have access to what the user has typed inside the input box by using the document.getElementById("youInputId").value method.
You can read more on the difference between getElementById() and querySelector() from here.
4. The if statement checks if the username is empty (!userName), if the username is empty, the if statement will display username cannot be blank and if the username is not empty, it will welcome the user by their username.
Adding CSS Styles
Since this article does not focus on CSS styling, you can proceed to style the form component anyhow you want or copy and paste the CSS styles below.
Save the CSS file in your react application and import it into your form component like this import './form.css';
form.css or yourcomponent.css
.form-wrapper {
  background-color: rebeccapurple;
}

form {
  display: flex;
  justify-content: center;
  align-items: center;
  flex-direction: column;
  gap: 1rem;
  min-height: 100vh;
}

.message {
  color: #cacf85;
  font-size: 18px;
  font-weight: 600;
}

input {
  height: 3rem;
  padding: 0.8rem;
  border: 1px solid #ccc;
  border-radius: 0.25rem;
  width: 50%;
}

button {
  border: none;
  border-radius: 0.25rem;
  background-color: #8cba80;
  height: 3rem;
  color: white;
  width: 50%;
  font-weight: 600;
  font-size: 18px;
}
The final output of the CSS styles above 👇.
Try it yourself Result
When the form field is not empty the if statement block will be executed
When an empty value is been submitted, the else statement block will be executed, alerting the user that the form field is required.
Note: The else statement block will only run when the if condition is not satisfied.
You can learn more about the conditional statements from W3Schools here
Conclusion
Form validation is a very important concept worth learning as a web/mobile developer, and I hope this tutorial article is able to explain why form validation is needed and how you can get started with form validation in React applications.
Resources
The links below contain useful resources where you can learn more about the concept covered in this article.
PS
There are other methods of retrieving the form input value through the react component state or formik which is a form state management package, validating the form submission using third-party packages such asYup and Joi.
You can check them out if you want to learn more.
Wow, what a journey, I am glad you made it to the end of this article, if you enjoyed it and found the project useful, then you shouldn't miss the next one, you can subscribe to my newsletter to get notified of my upcoming projects and articles.
I will also like to connect with you, let's connect on:
See you in the next project intro. Bye Bye 🙋♂️

If you found my content helpful and would want to support my blog, you can support me by buying me a coffee below, my blog lives on coffee 😂.
Enjoyed this article?
Subscribe to my YouTube channel for coding tutorials, live project builds, and tech discussions.
Subscribe