
Learn How to Install & Implement Tailwind CSS on Next.js
2 years ago
7 mins readIntroduction
Tailwind CSS is a utility-first framework popular among front-end developers with over 64 thousand stars on GitHub and over 4.6 million downloads on NPM. It provides the ability to build highly scalable and customizable components with zero to few CSS.
This article will guide you on how to add Tailwind CSS to a Next.js project. The guide can also be used to set up Tailwind CSS on fresh or existing Next.js projects.
What is Next.js?
Next.js is one of the leading JavaScript frameworks built on top of React.js by the creator of Vercel. It offers functionalities such as Server Side Rendering (SSR), Static Site Generation (SSG), image optimization, fast refresh, and more.
The combination of Next.js and Tailwind CSS will enable you to build a performant, modern, easy-to-maintain, and scalable full-stack project.
In the next sections, we'll take a look at various methods of how to set up a Next.js project with Tailwind CSS.
Setting Up Next.js and Tailwind CSS using the with-tailwind-css Template
The easiest way to set up a Next.js project with Tailwind CSS configuration is by using the official Nextjs Tailwind CSS example template named with-tailwind-css.
This is a public repository on GitHub, maintained by the Next.js team, and can be used as a starter kit for a new Next.js project. The advantage of using this method is that it's fast and error-free, and it follows the best practices of setting up Tailwind CSS in Next.js.
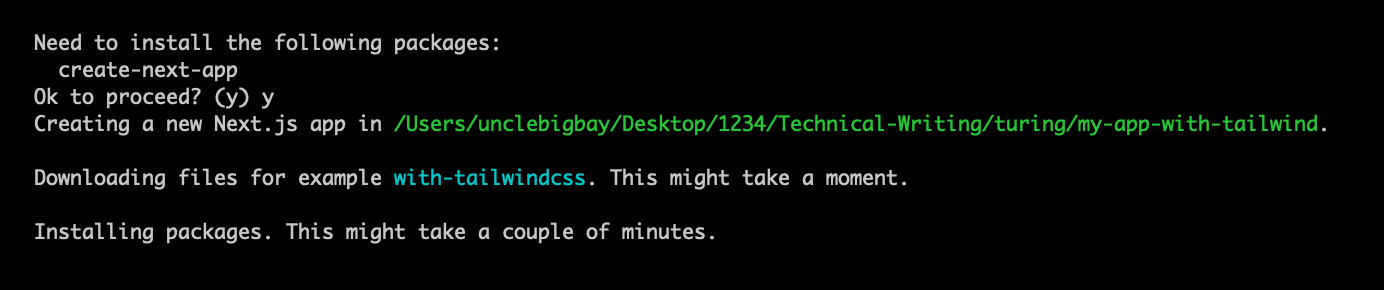
Run the command below to setup a new Next.js project using the with-tailwind-css template:
npx create-next-app --example with-tailwindcss my-app-with-tailwind
The command above will install a new Next.js app named my-app-with-tailwind with Tailwind CSS already installed.
Wait for the installation to be completed and navigate to the newly created directory from your terminal:
cd my-app-with-tailwind
Then, run the command below to start your development server.
Using npm:
npm run dev
Or yarn:
yarn dev
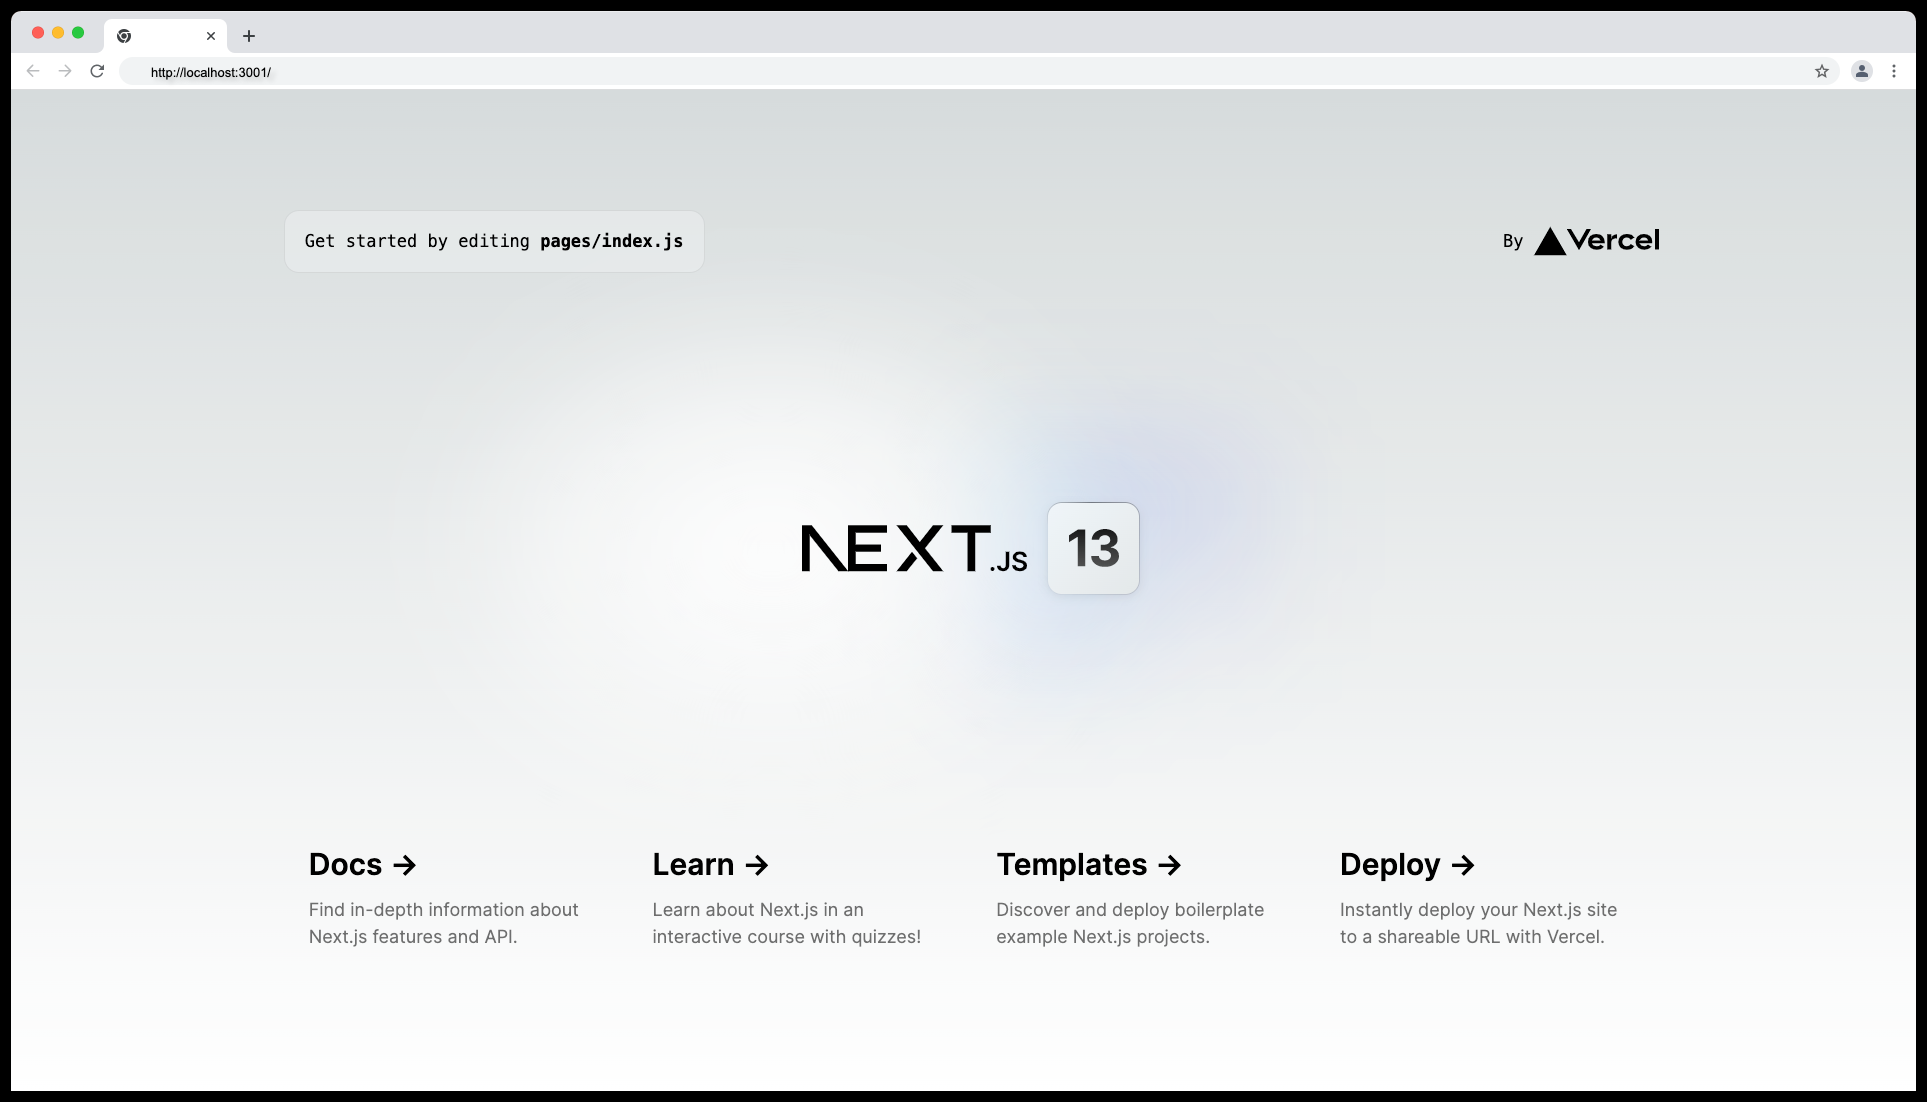
Visit the localhost port on which your Next.js app is running on your browser. Your app should look something like the below:
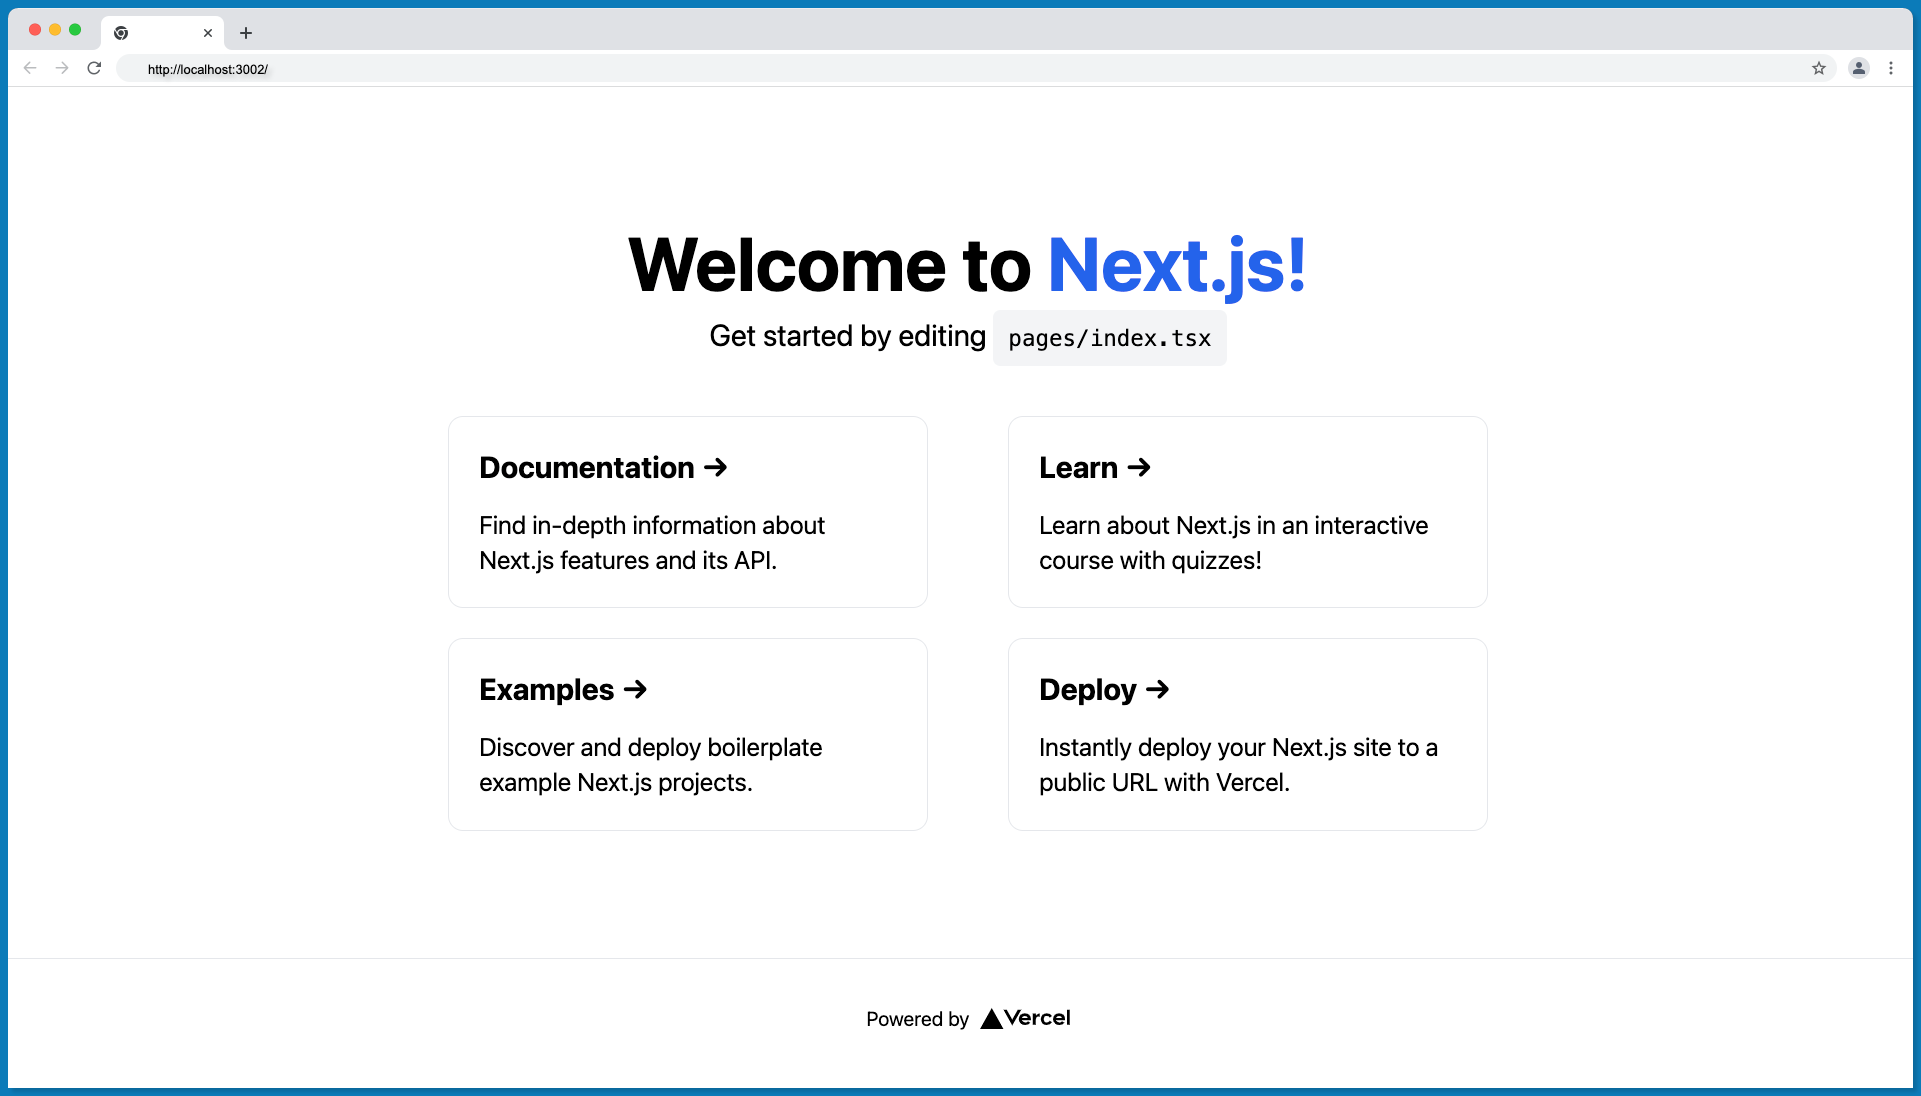
When you open your project in your favorite editor (I love VScode), you'll observe the project contains Tailwind CSS setup files and the index.js file you see on the browser is designed using Tailwind CSS. With this, you do not require any additional setup to start working with Tailwind CSS in your project.
This method only works best with a fresh Next.js project, the next section will outline the steps to set up a Next.js app and manually set up Tailwind CSS for it.
Setting Up a New Next.js Project
You can skip this section if you're installing Tailwind CSS in an existing Next.js app.
Getting started with Next.js is quite easy. You can set it up automatically by using the create-next-app command or manually by installing the next, react and react-dom dependencies.
It is recommended to set up a Next.js app using the create-next-app command as it's stable and automatically sets everything up for you.
Run the command below to install the latest Next.js app with the create-next-app command:
npx create-next-app@latest
If you prefer yarn, then use the command below:
yarn create next-app
The command above will prompt you to create a name for your project and ask you to configure your project as demonstrated below:
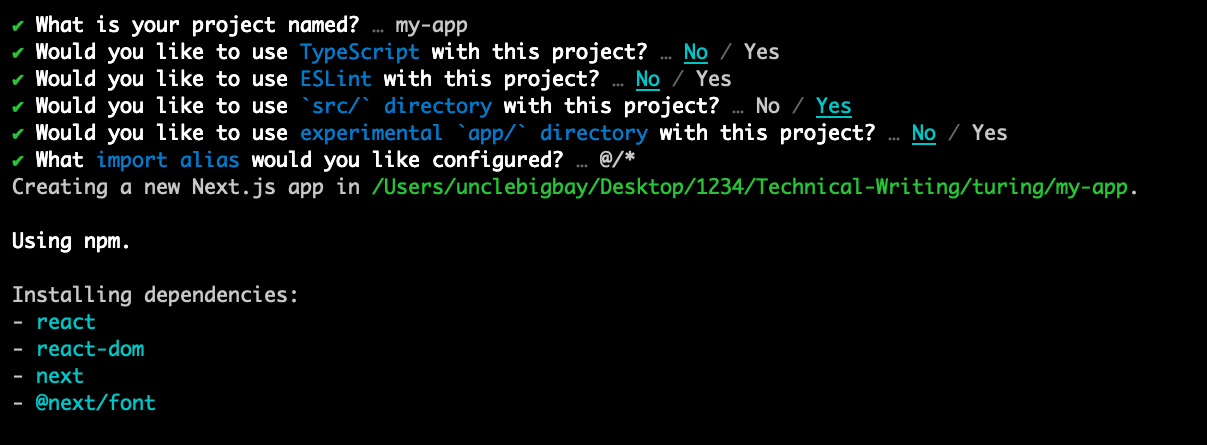
After providing the required information and configurations; wait for the installation to be completed and navigate into the newly created directory (your app name) using the command below:
cd my-app
Run any of the commands below to start your server on the available port on your system.
Using npm
npm run dev
or yarn
yarn dev
If you visit the localhost port your app is running on your browser, your app should display something like this:
In this section, we set up a new Next.js project using the create-next-app@latest command. The next sections will cover how to install and configure Tailwind CSS in your Next.js project.
Installing Tailwind CSS
The guide to installing Tailwind CSS in this section applies to both new and existing Next.js projects.
Follow the four (4) steps below to install and set up Tailwind CSS in your Next.js Project.
Step 1: Install tailwindcss, postcss and autoprefixer with the command below:
npm install -D tailwindcss postcss autoprefixer
These three (3) packages are the required dependencies for using Tailwind CSS in any framework.
Step 2: Run the tailwindcss init command to generate both tailwind.config.js and postcss.config.js at the root of your project. These files are where we'll define our Tailwind configurations and plugins.
npx tailwindcss init -p
Step 3: Open your project in your preferred code editor (I'm using Vscode) and specify the paths to all of your template files in the tailwind.config.js file.
The paths are where you'll be using Tailwind CSS in your Next.js project i.e where your JSX components will be located.
pages directory configuration:
If you're using the Next.js pages directory; your tailwind.config.js file configuration should look something like this:
/** @type {import('tailwindcss').Config} */
module.exports = {
  content: [
    "./pages/**/*.{js,ts,jsx,tsx}",
    "./components/**/*.{js,ts,jsx,tsx}",
  ],
  theme: {
    extend: {},
  },
  plugins: [],
}
src directory configuration:
Your tailwind.config.js file should look something like this if you're using the src directory in your Next.js file (check if your project has a src folder before the pages folder):
/** @type {import('tailwindcss').Config} */
module.exports = {
  content: [
    "./src/**/*.{js,ts,jsx,tsx}",
  ],
  theme: {
    extend: {},
  },
  plugins: [],
}
app directory configuration:
If you're using the app directory; your tailwind.config.js file configuration should look something as follows:
/** @type {import('tailwindcss').Config} */
module.exports = {
  content: [
    "./app/**/*.{js,ts,jsx,tsx}",
    "./pages/**/*.{js,ts,jsx,tsx}",
    "./components/**/*.{js,ts,jsx,tsx}",
  ],
  theme: {
    extend: {},
  },
  plugins: [],
}
Step 4: The final step is to open the globals.css file located at the root of your project directory and add the @tailwind directives for each of Tailwind’s layers as shown below:
@tailwind base;
@tailwind components;
@tailwind utilities;
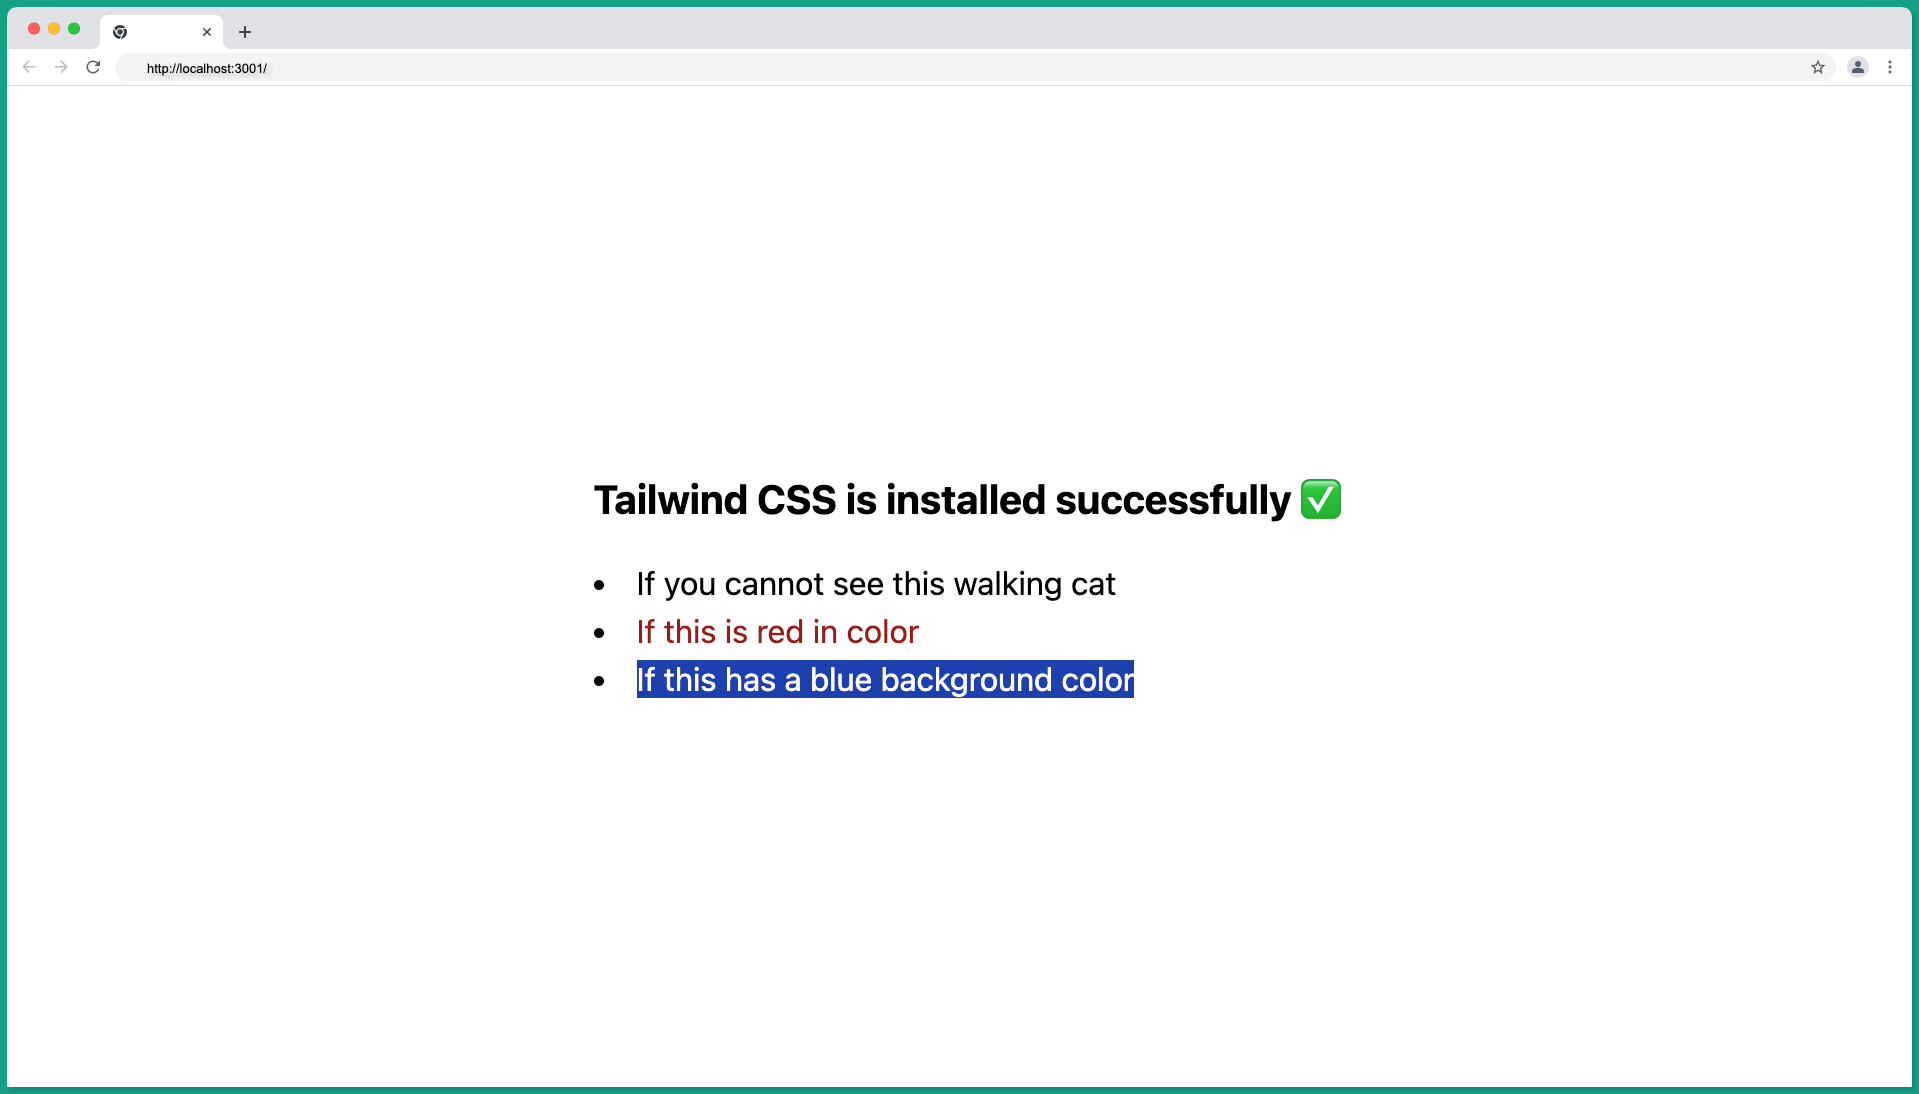
To confirm that Tailwind is properly configured; apply any Tailwind utility classes such as text-red-900 or bg-red-900 in one of your existing components or update your index.js file we created together in this tutorial with the code below:
import Head from "next/head";

export default function Home() {
  return (
    <>
      <Head>
        <title>Create Next App</title>
        <meta name='description' content='Generated by create next app' />
        <meta name='viewport' content='width=device-width, initial-scale=1' />
        <link rel='icon' href='/favicon.ico' />
      </Head>
      <main className='flex justify-center items-center h-screen bg-white'>
        <section>
          <h3 className='font-bold text-xl mb-4'>
            Tailwind CSS is installed successfully ✅
          </h3>
          <ul className='list-disc list-inside'>
            <li>
              <p className='inline'>
                If you cannot see this walking cat
                <span className='hidden'>🐈</span>
              </p>
            </li>

            <li>
              <p className='inline text-red-800'>If this is red in color</p>
            </li>
            <li>
              <p className='inline bg-blue-800 text-white'>
                If this has a blue background color
              </p>
            </li>
          </ul>
        </section>
      </main>
    </>
  );
}
Your browser should reflect the utility class you've added to your existing component or the browser will look something like this for index.js file:
Frequently Asked Questions
Q1: Why should I use Tailwind CSS with Next.js?
Ans: Next.js provides more features on top of React.js and can be used to build both frontend and backend applications, while Tailwind CSS is easy to use and scale in larger projects. This duo will help you build a performant web application faster.
Q2: My Tailwind utility classes don't reflect after setting it up
Ans: Retrace your steps by going through the setup guide, and ensure you're using a valid Tailwind utility class and you're using the right configuration. Restart your server if none of this works.
Q3: Will Tailwind work in Next.js 13
Ans: Yes, and the steps highlighted in this tutorial apply to Next.js version 13 as well.
Wrapping Up
This article provides various steps to set up a Tailwind CSS in your existing or fresh Next.js project using the with-tailwind-css template; a Next.js Tailwind starter, or manually setting it up yourself.
I hope you're able to understand how Tailwind CSS configuration works in Next.js and this article will be a go-to when you need to set up Tailwind CSS in your next Next.js projects.
Happy Coding 👨💻
Enjoyed this article?
Subscribe to my YouTube channel for coding tutorials, live project builds, and tech discussions.
Subscribe