
How to Integrate Grammarly Text Editor SDK into React App
Provide real-time writing assistance in your app with a few lines of code.
4 years ago
6 mins readAuthor's update
Grammarly is a cloud-based typing assistant that helps writers develop content with accurate spelling, punctuation, and grammar within a text editor.
Check out my favorite Grammarly for business Ads on YouTube.
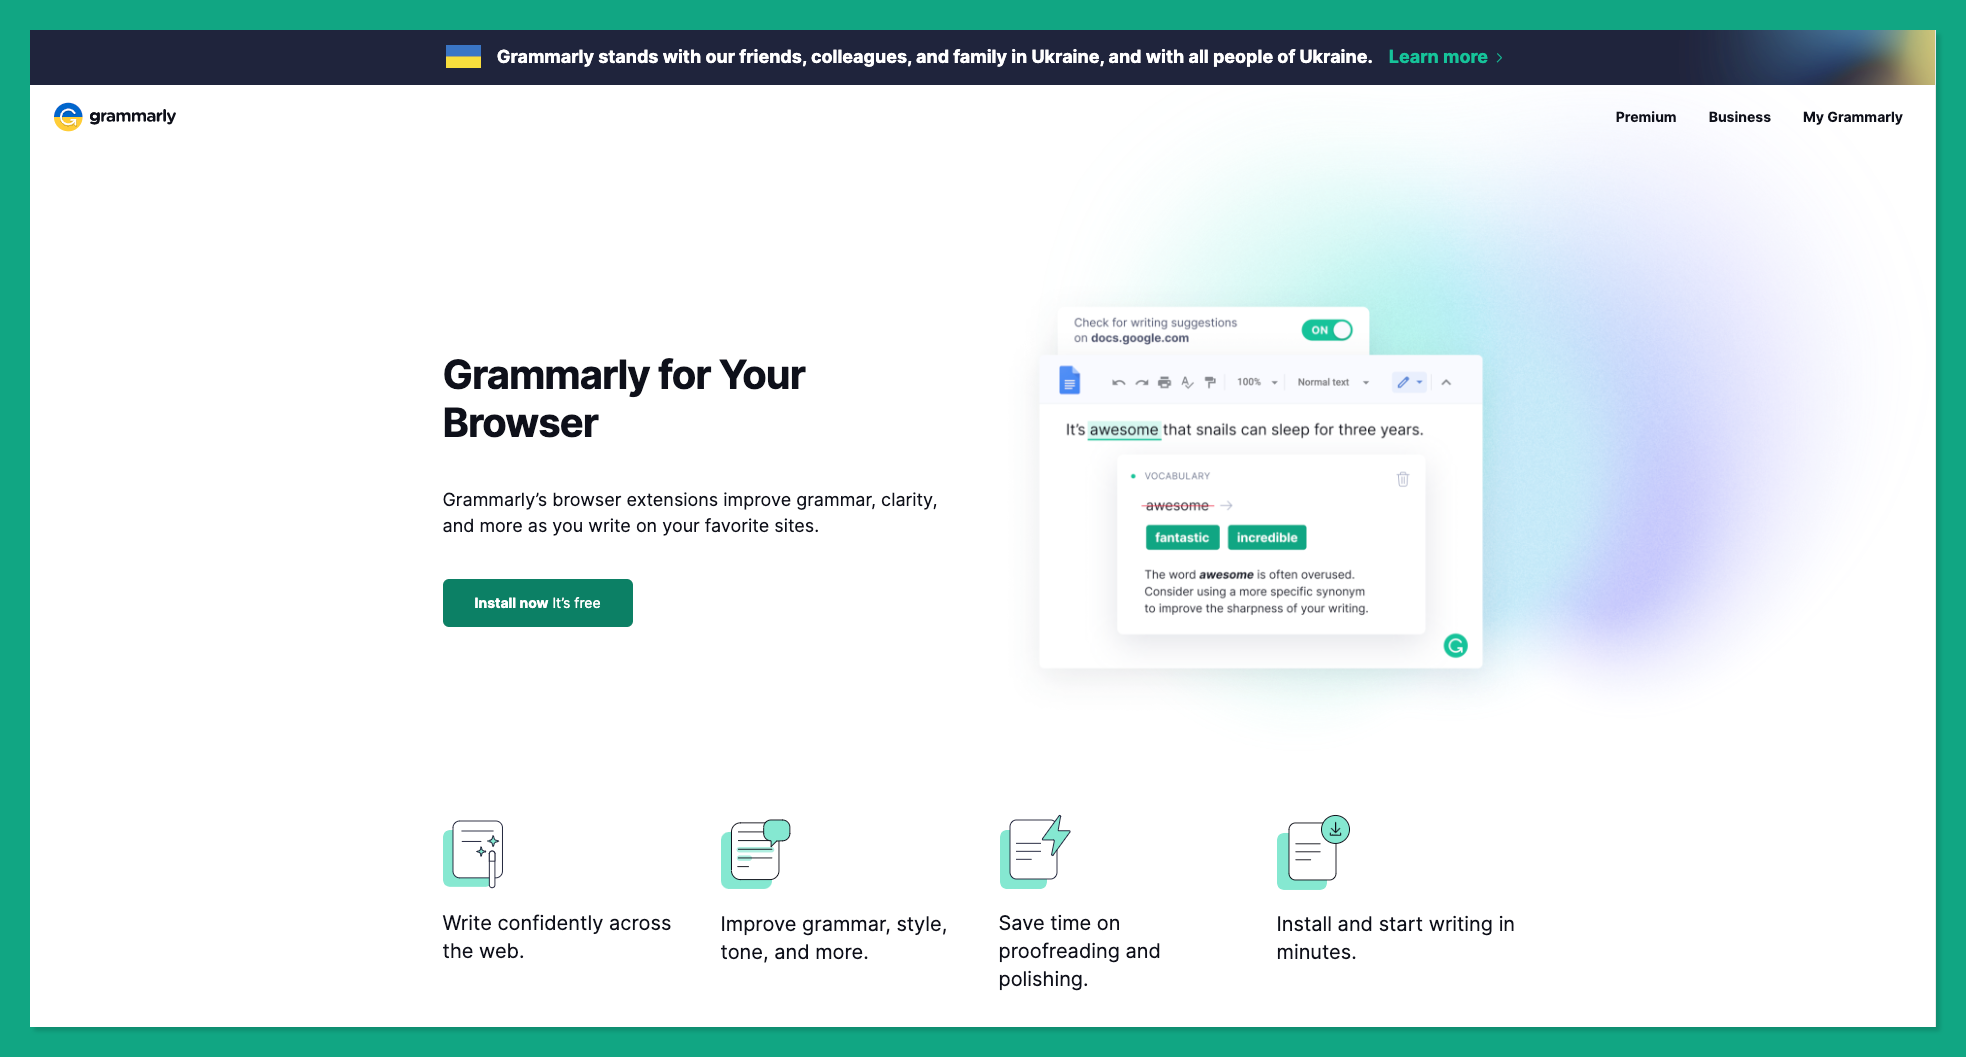
What is Grammarly for Browser?
Grammarly is popularly known for fixing grammatical errors within a website's text editor through its browser extensions and it's compatible with popular websites such as Hashnode, Twitter, LinkedIn, Notion, Gmail and other websites that support third-party plugins like Grammarly browser extension.
You can install the Grammarly browser extension for your browser here.
What is Grammarly for Developers?
Grammarly for developers is a newly created feature on Grammarly that enables developers to develop an in-built real-time typing assistance into their web app text editors using Grammarly's SDK.
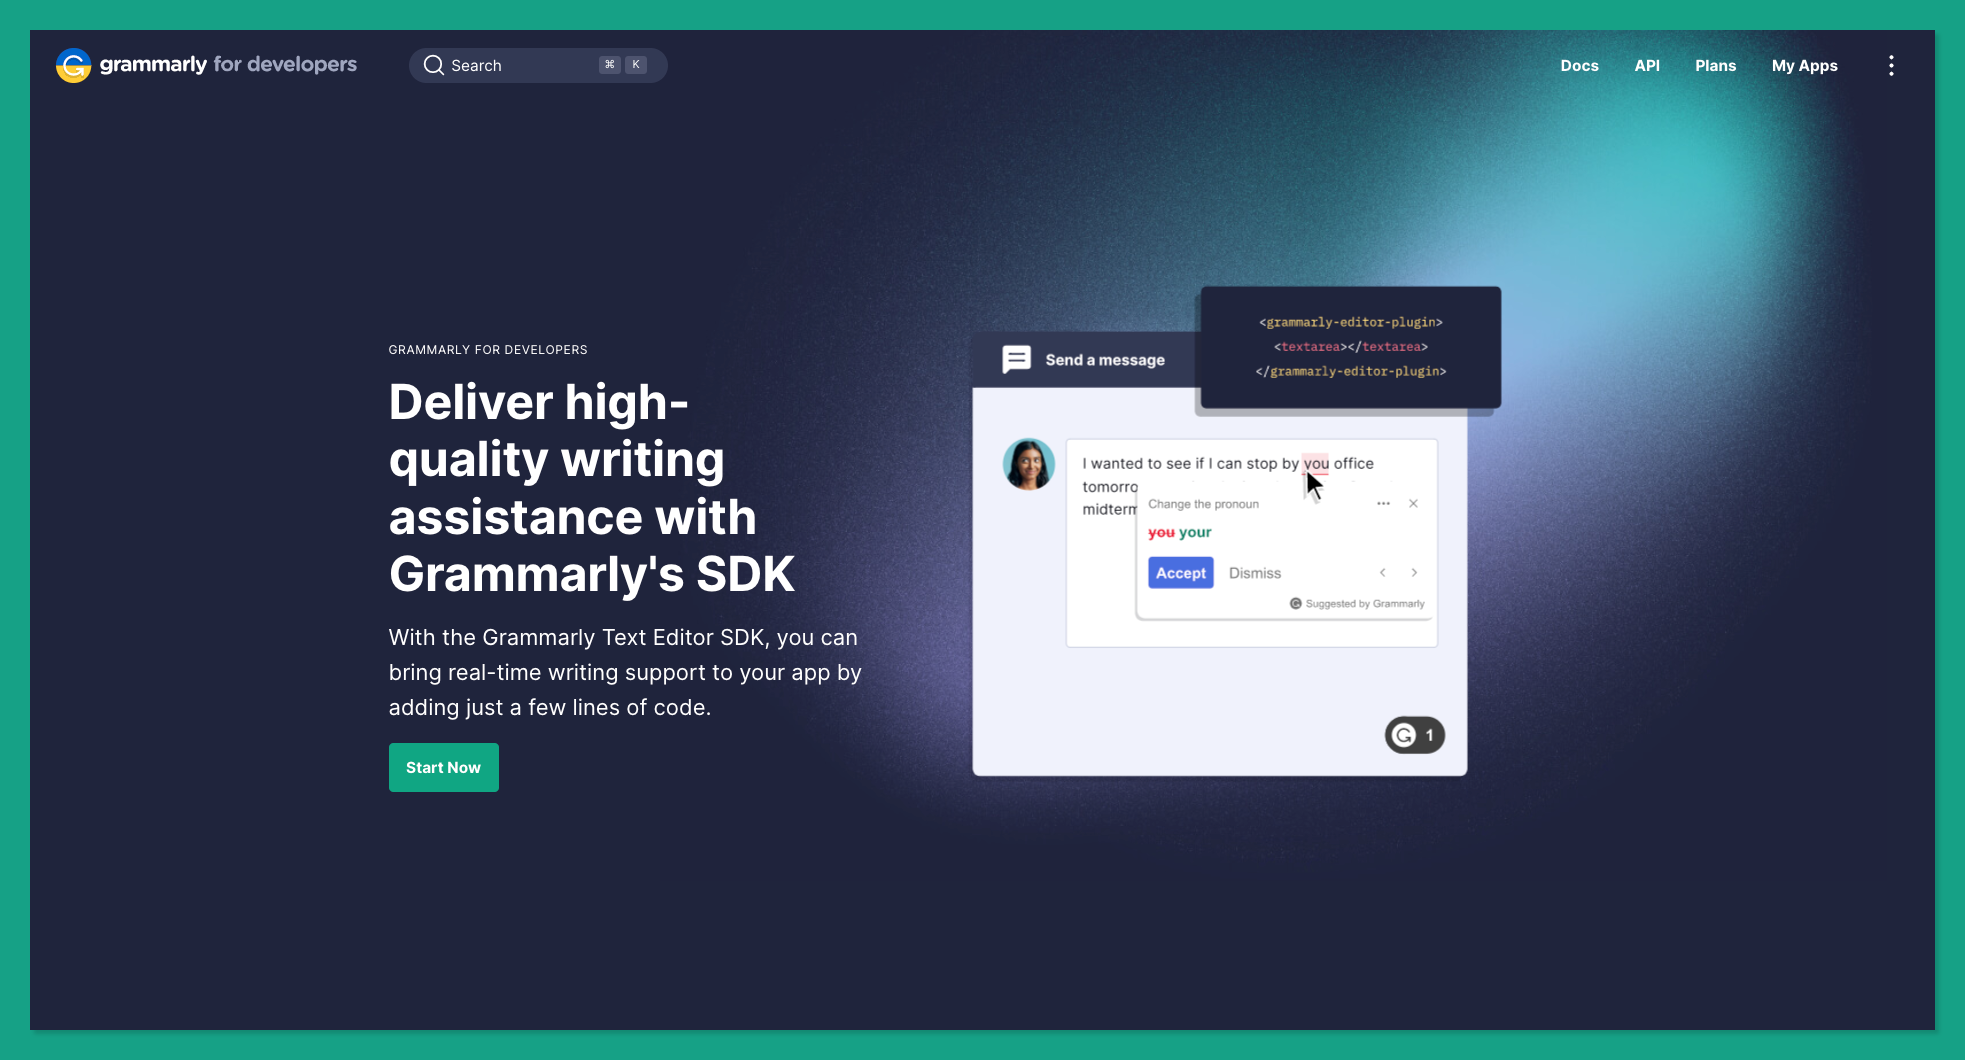
With Grammarly SDK, you can deliver real-time writing suggestions and all the Grammarly features out of the box for your end users (they don't need to download the Grammarly browser extension).
⚠️ Note: Some suggestions may only be available to paid Grammarly users who connect their accounts.
The Grammarly SDK is available for clients like JavaScript, React, Vue, and Electron (for desktop clients). We'll explore the Grammarly React SDK in this article.
Step 1 - Creating a New Grammarly for Developer App
Before using the Grammarly SDK, you must first create a Grammarly app and generate a unique client ID for your project. These credentials will be used for accessing Grammarly's services from either web or desktop applications.
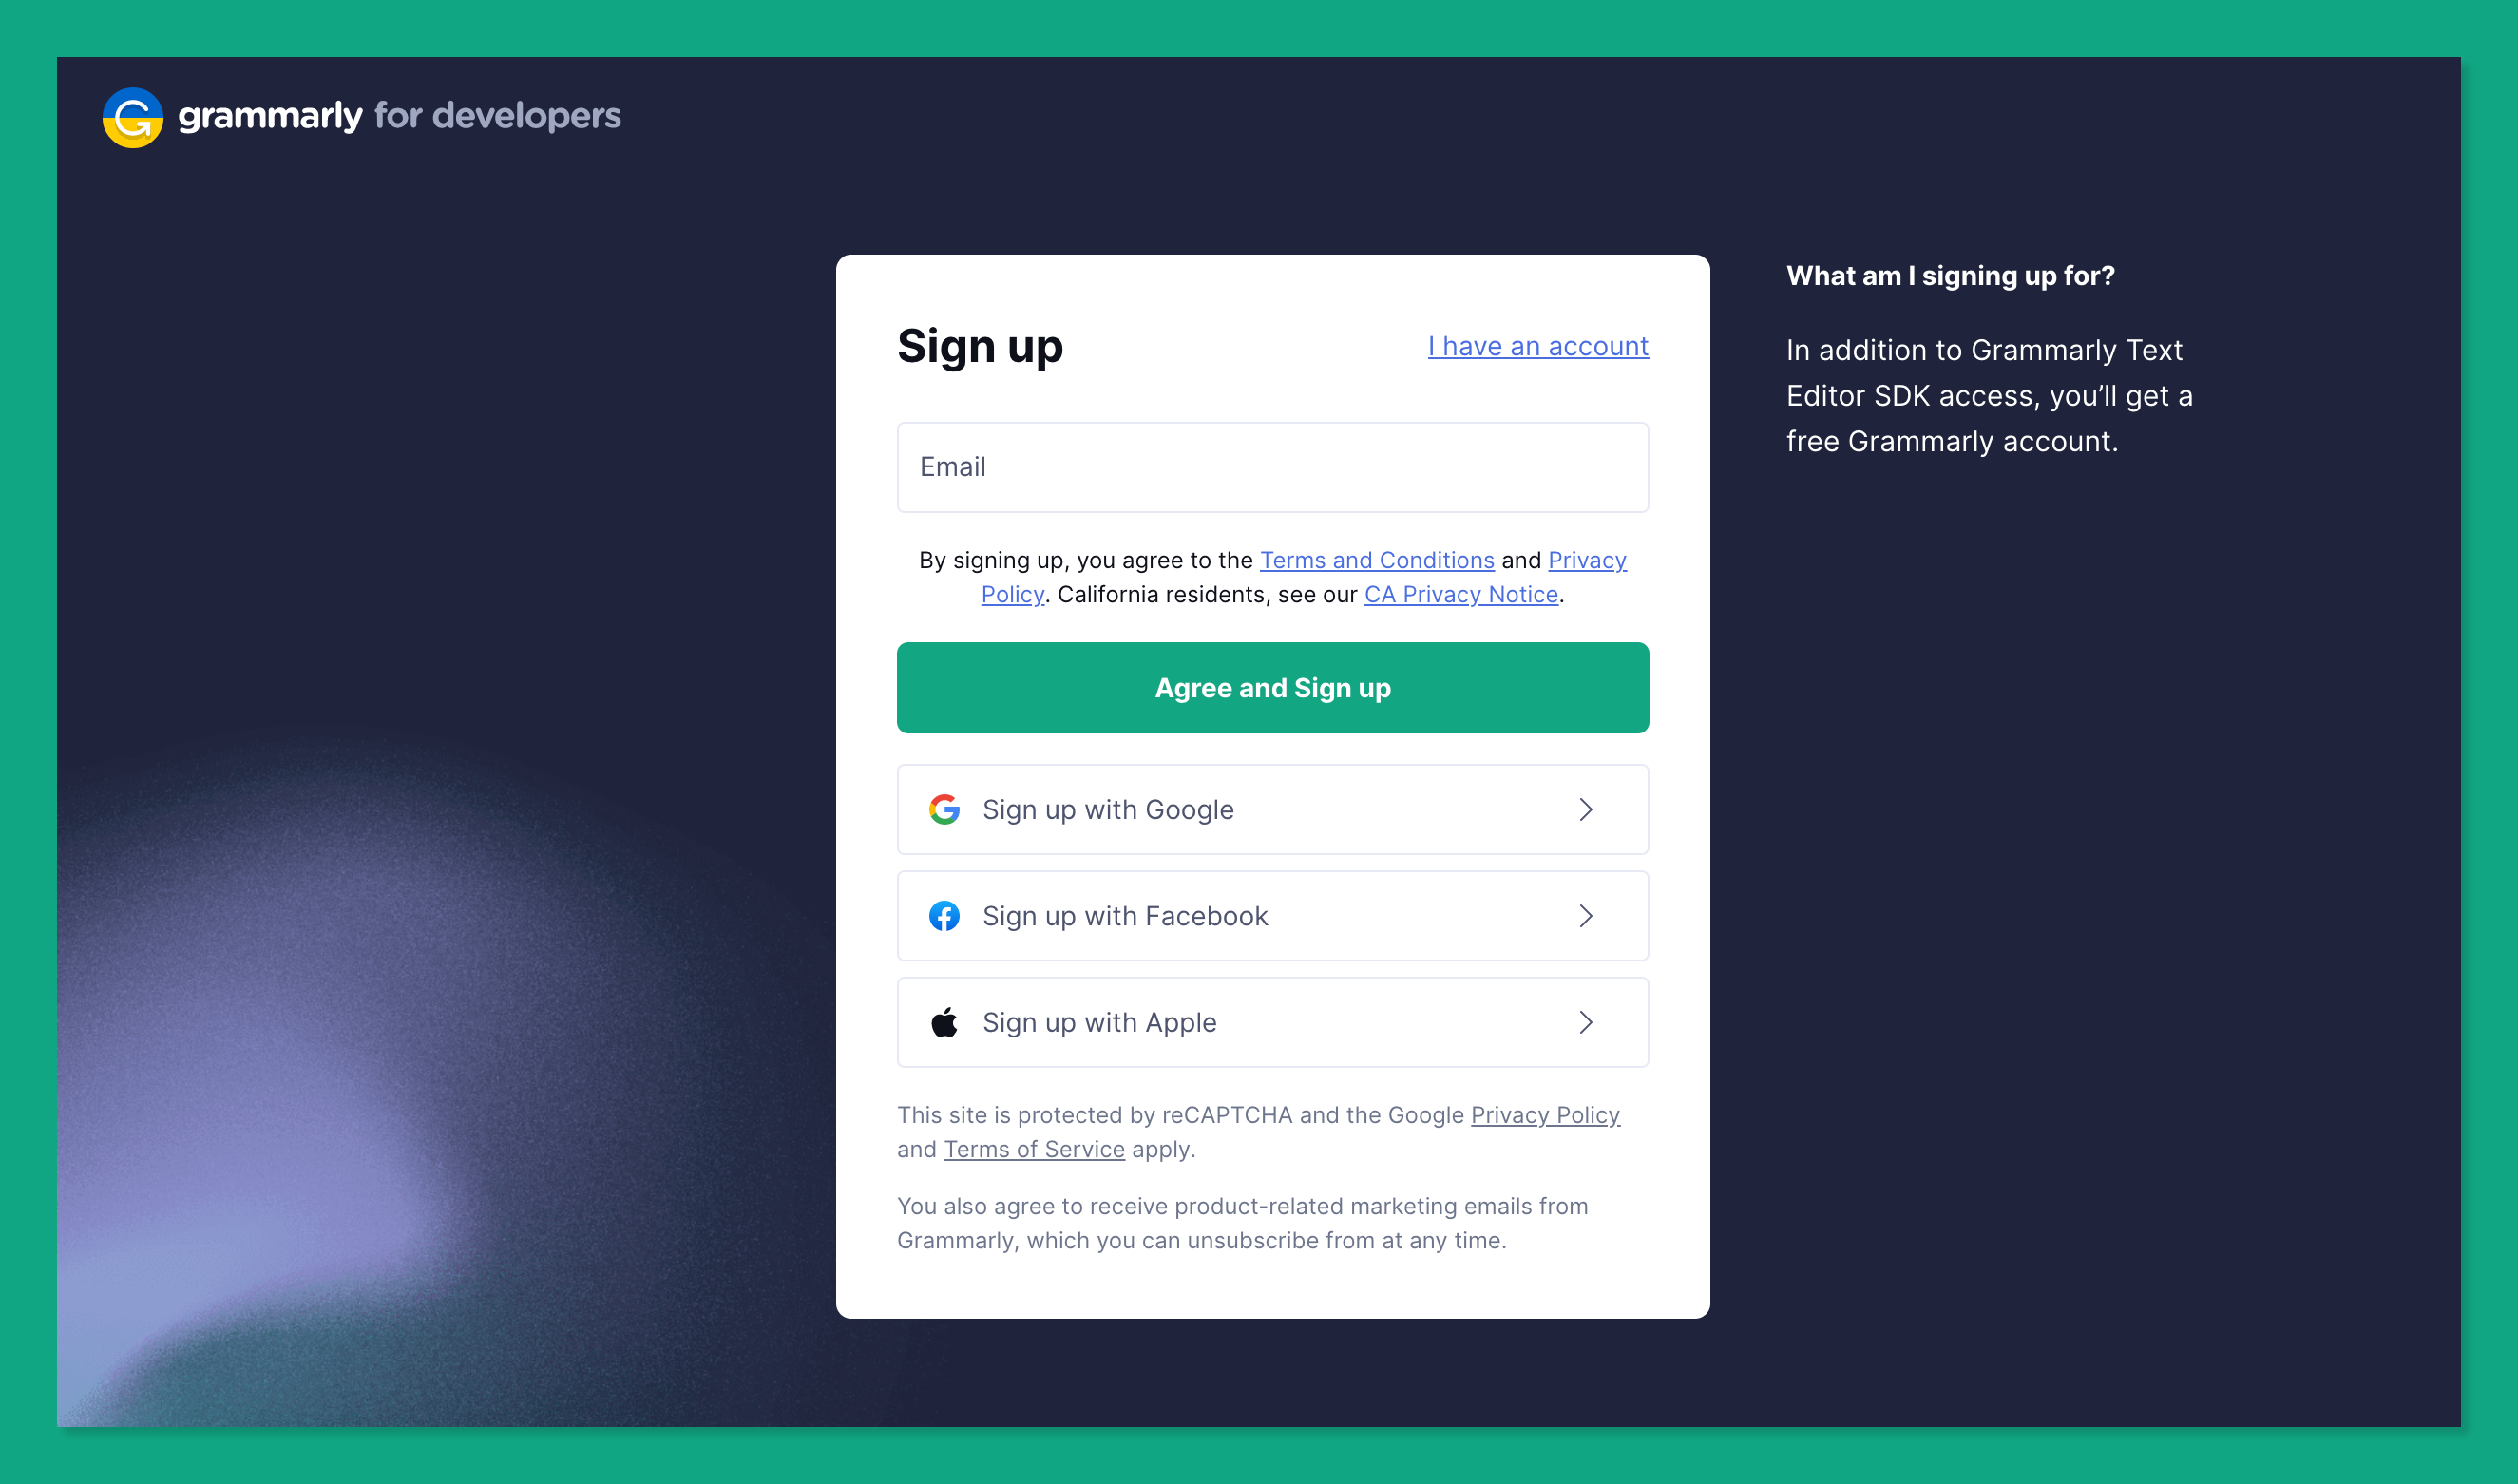
Visit www.grammarly.com/signin to log in with your existing Grammarly account or create a new account here:
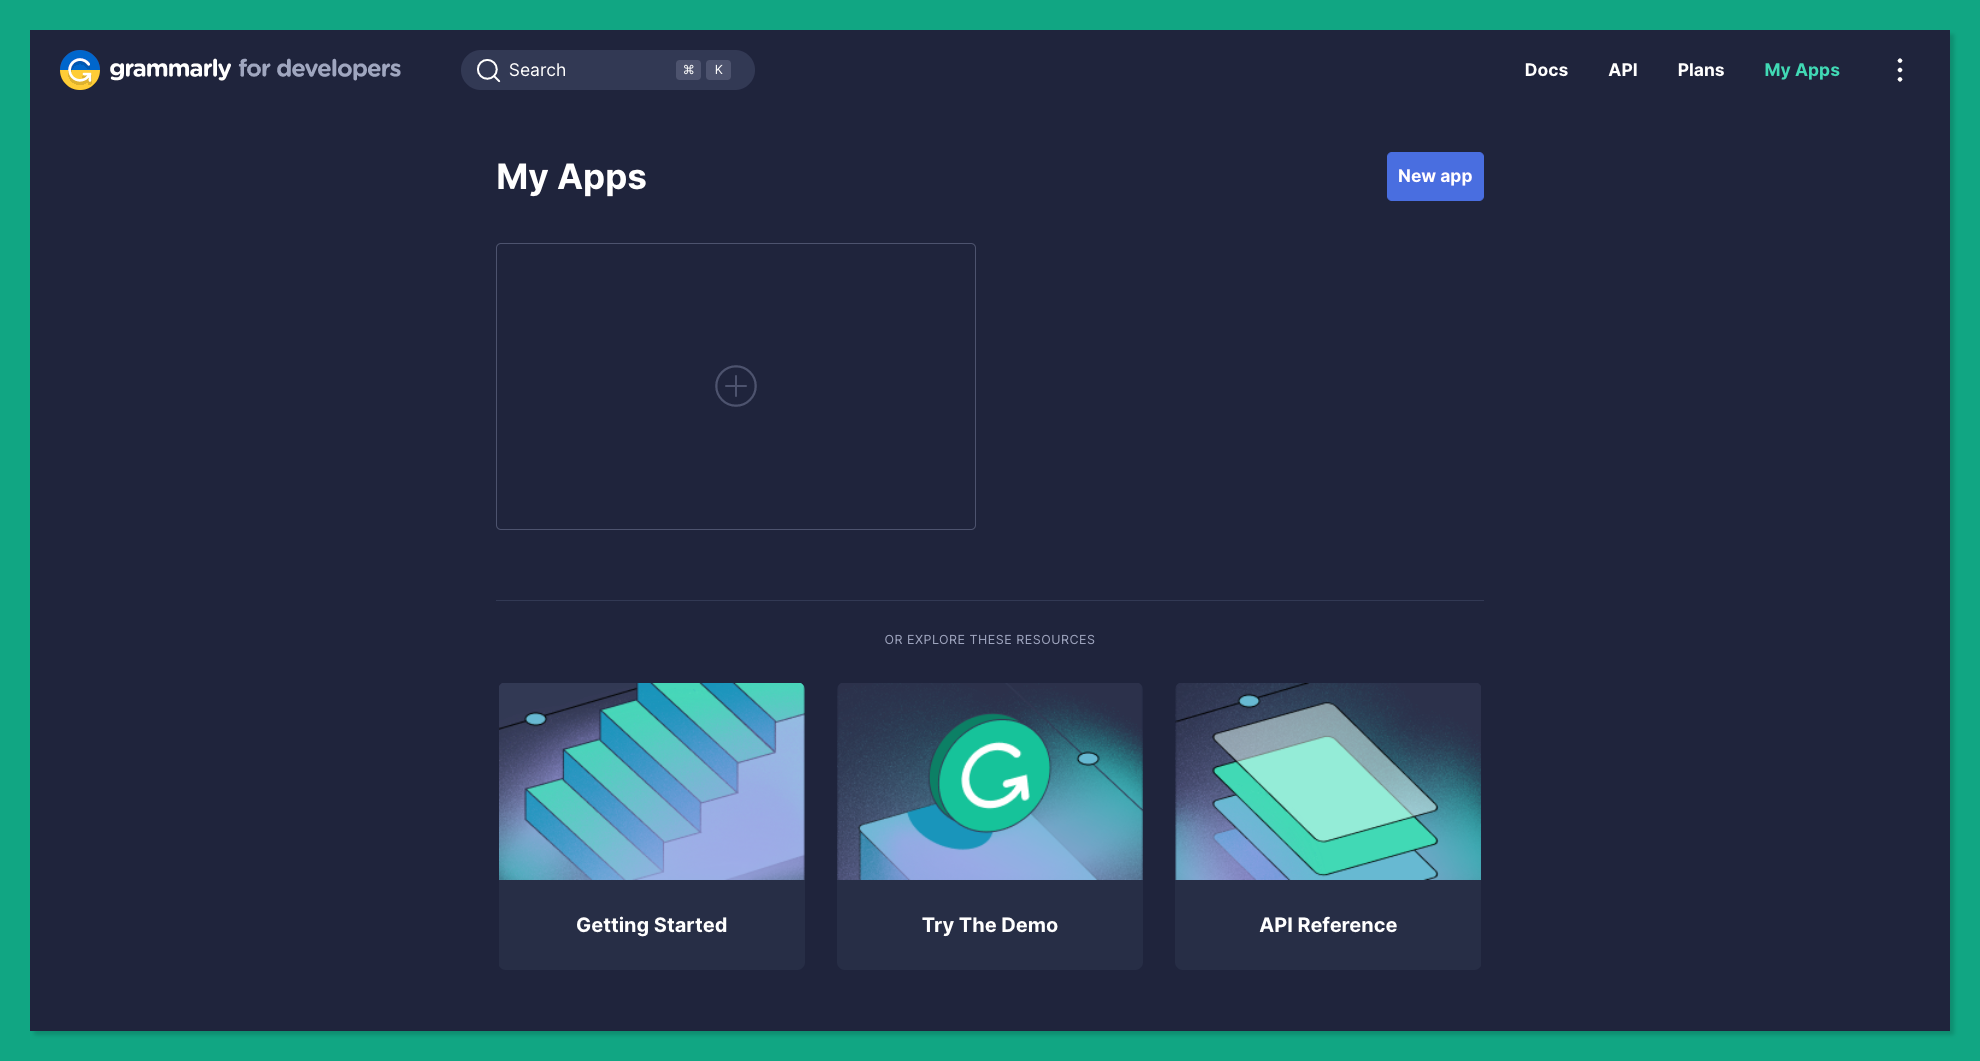
After the authentication, navigate to the Grammarly My apps dashboard, which looks something like this:
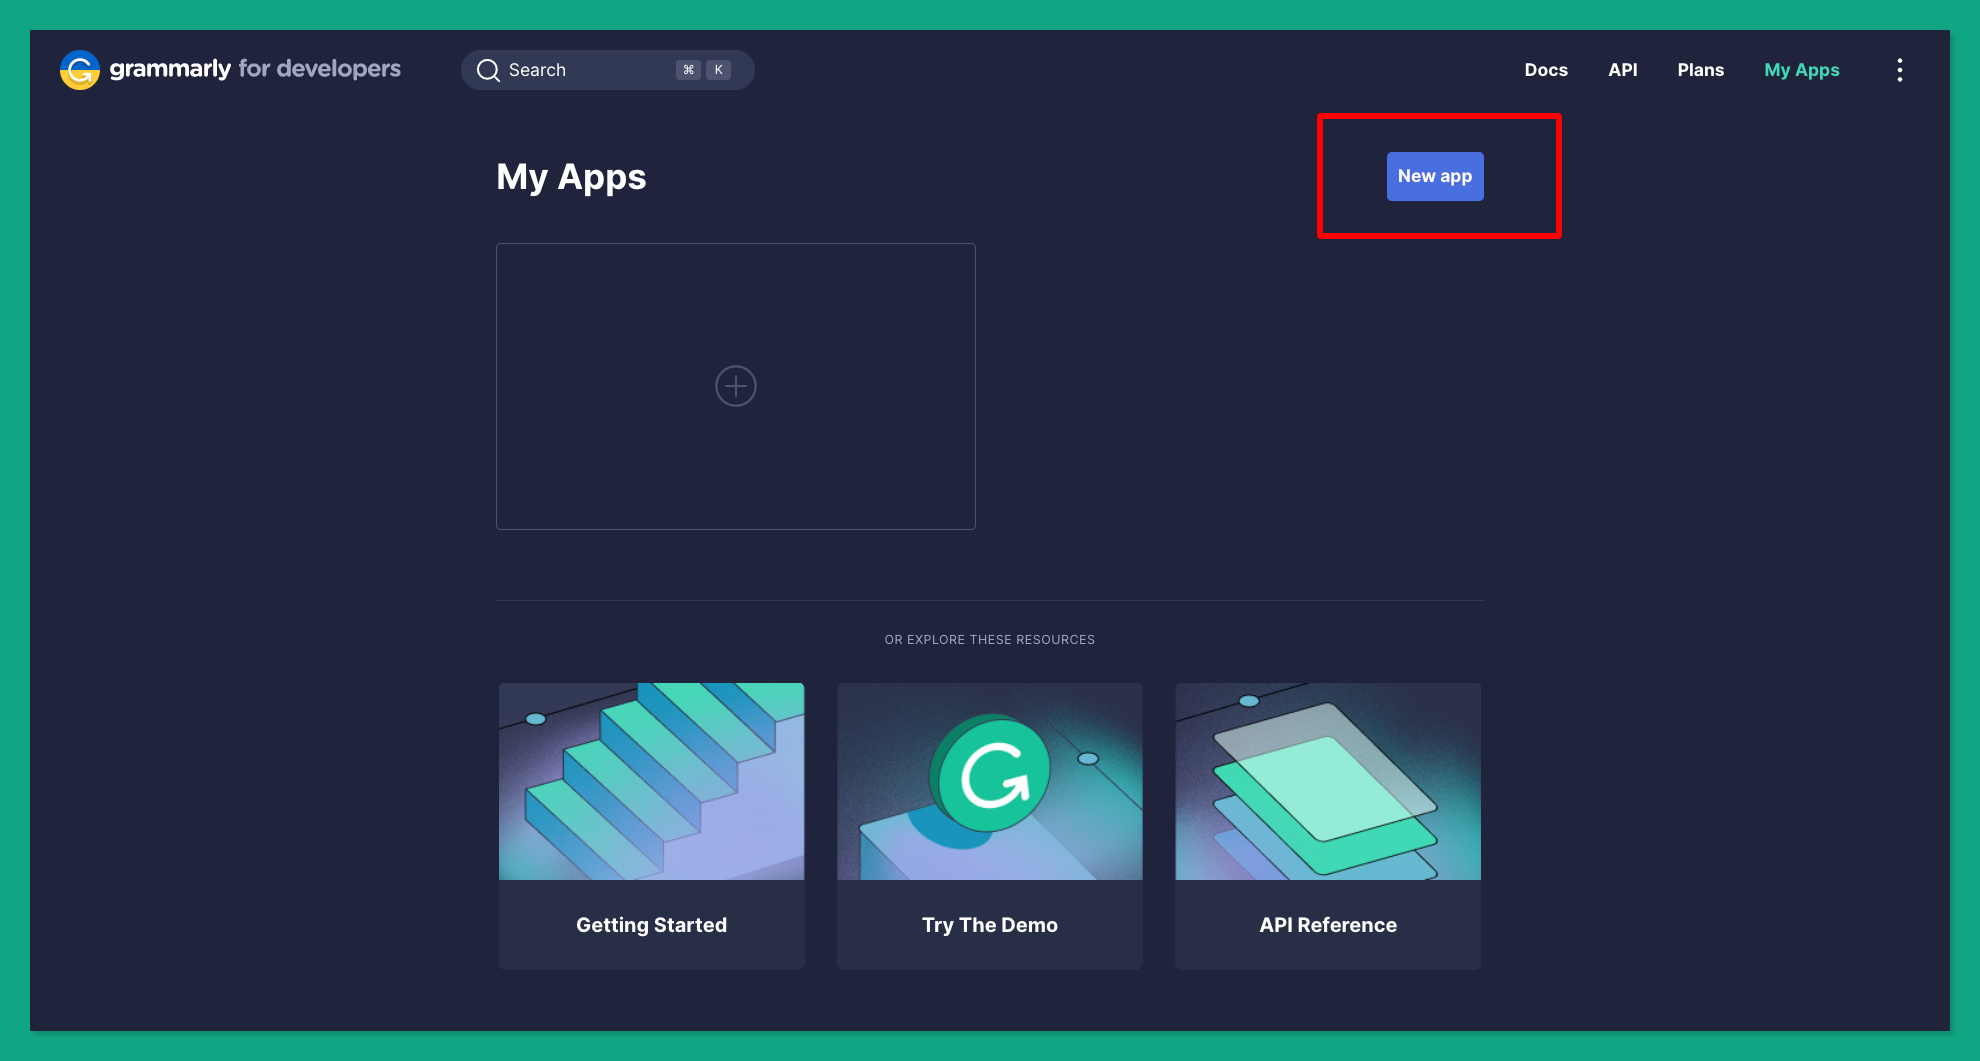
Next, click on the New app button:
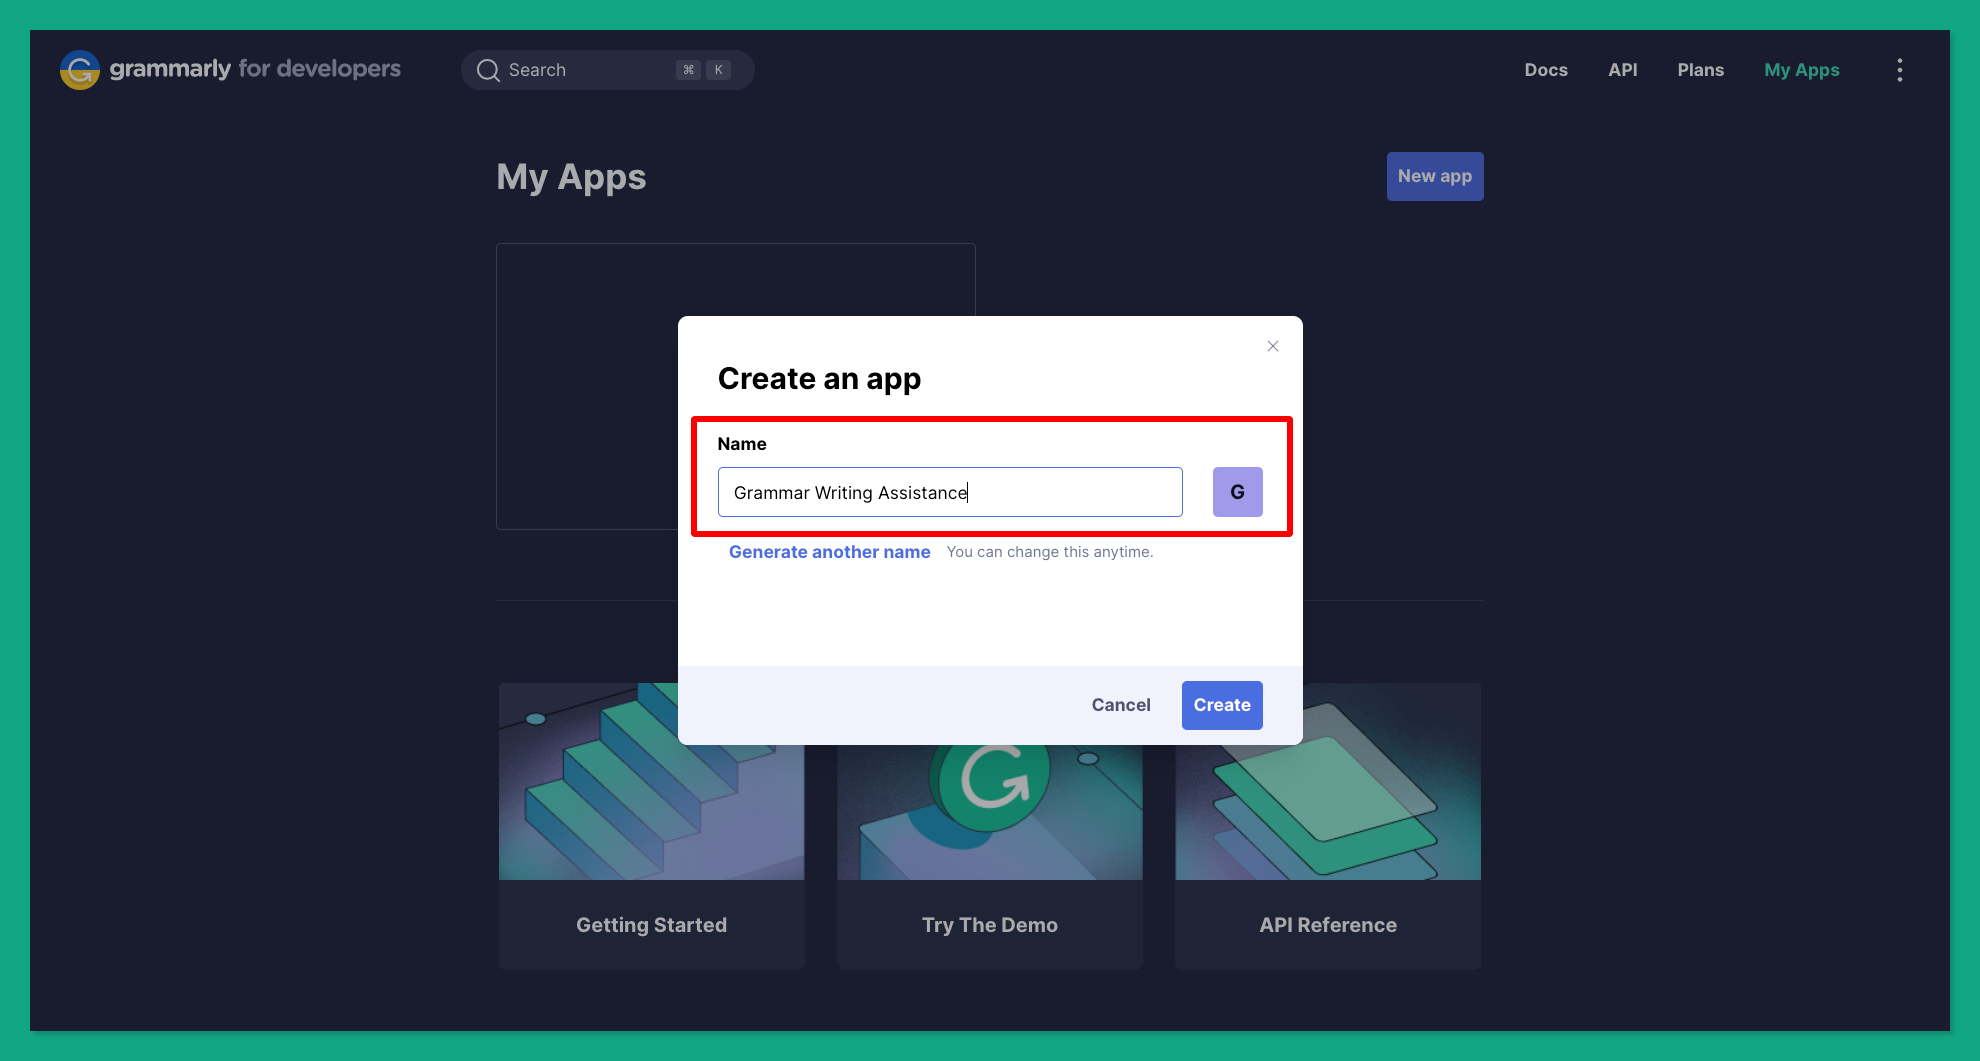
Give your new app a name and click on the Create button:
Next, you'll be redirected to your app dashboard where you can access your app client ID:
We'll use the client ID in our React application.
Step 2 - Creating a New React App
[Skip](#Step 3 - Installing Grammarly React SDK) this step if you want to set up Grammarly for an existing React app.
- Run the
create-react-appcommand below to create a new React app:
yarn create react-app grammarly-writing-assistance
- After installation, navigate into the newly created directory with the command below:
cd grammarly-writing-assistance
- Finally, run the command below to start your server:
yarn run start

## Step 3 - Installing Grammarly React SDK
Run the command below to install the Grammarly React Text Editor SDK in your app:
- Using `yarn` package manager:
yarn add @grammarly/editor-sdk-react
- Using `npm` package manager:
npm install @grammarly/editor-sdk-react
## Step 4 - Creating a Text Editor

After installing the `@grammarly/editor-sdk-react` library:

- Open your project folder in your favorite code editor (I love VScode 🥳).
- Next, create a new `components` folder in the `src` folder.
- Create a new `InputTextEditor.jsx` inside the `components` folder with the following lines of code:
import React from "react";
export const InputTextEditor = () => { return ( <React.Fragment> </React.Fragment> ); };
- Next, render the `InputTextEditor` in the `App.js` file:
import "./App.css"; import { InputTextEditor } from "./components/InputTextEditor";
function App() { return (
export default App;
- Finally, add the following CSS to your `App.css` file:

```css
input{
  padding: 10px;
  width: 50%;
  font-size: 1.5rem;
}
Our text editor app should now look something like this:
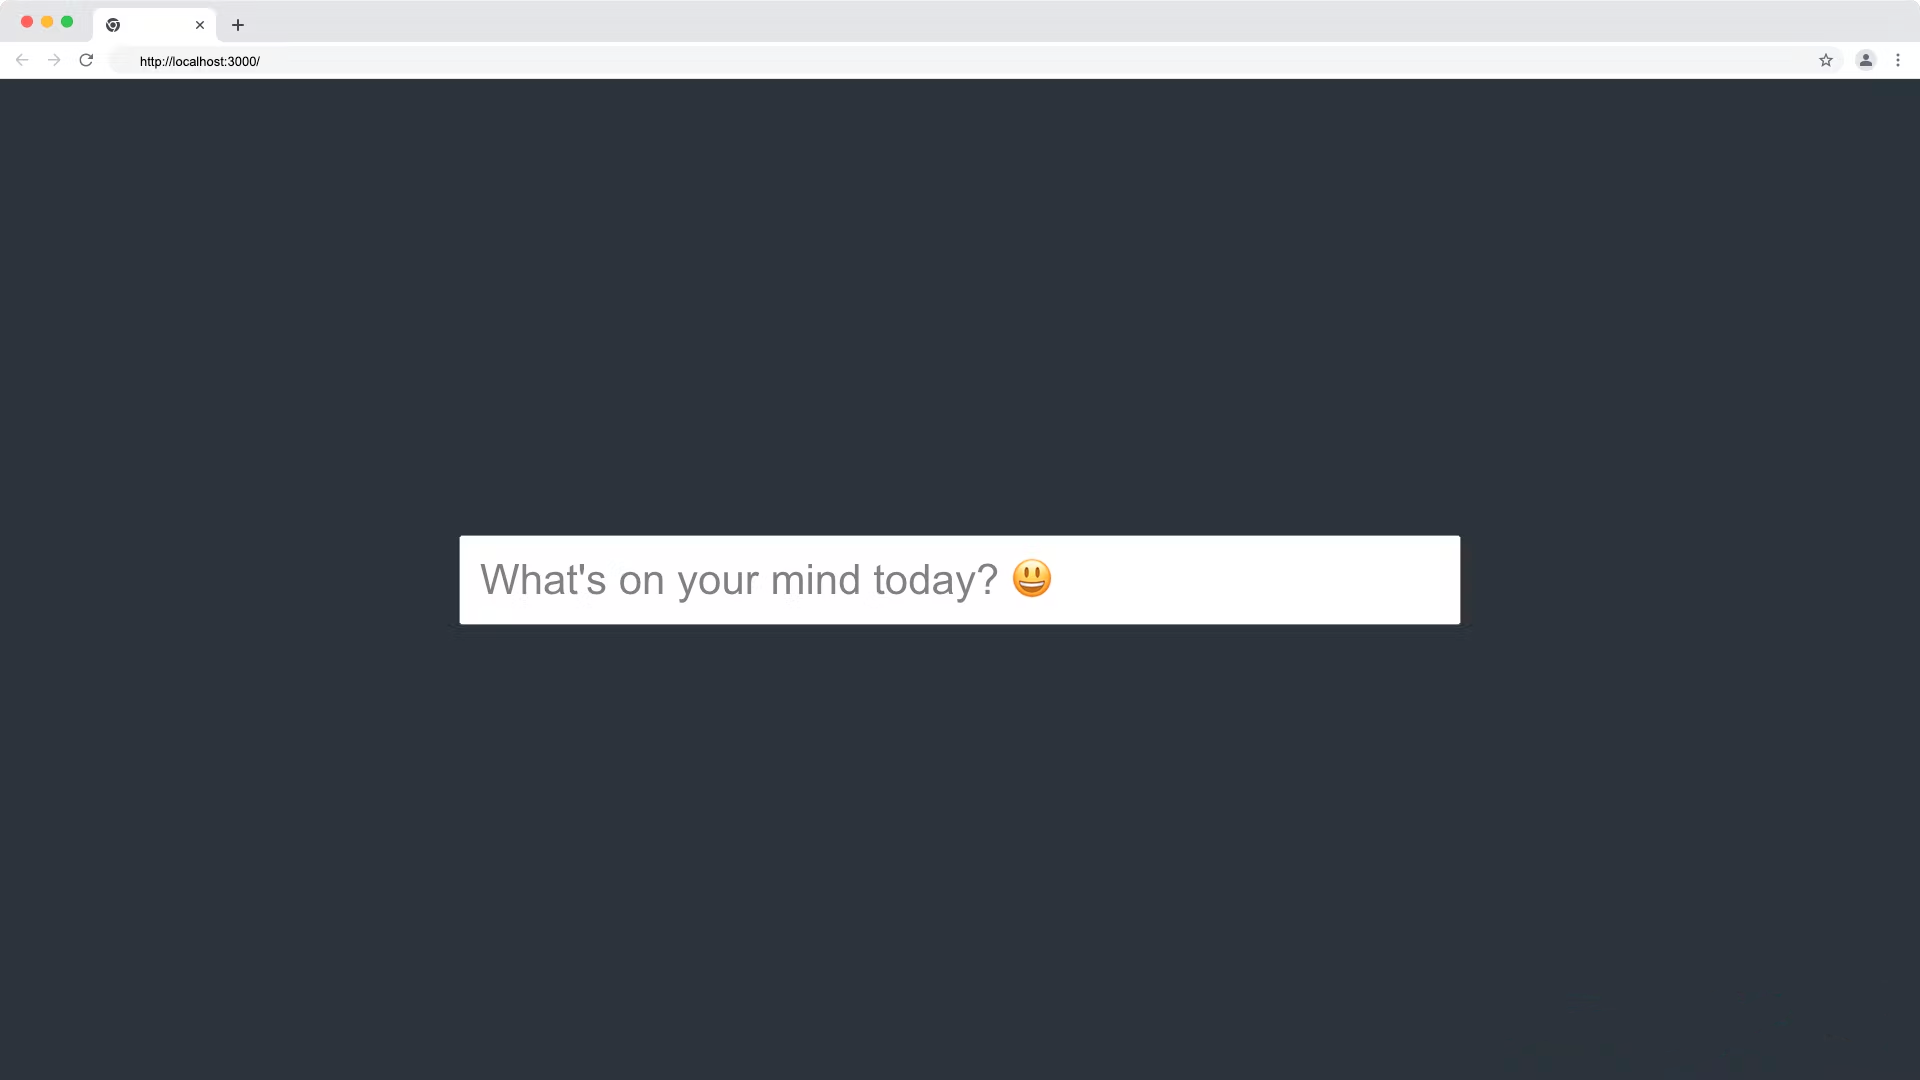
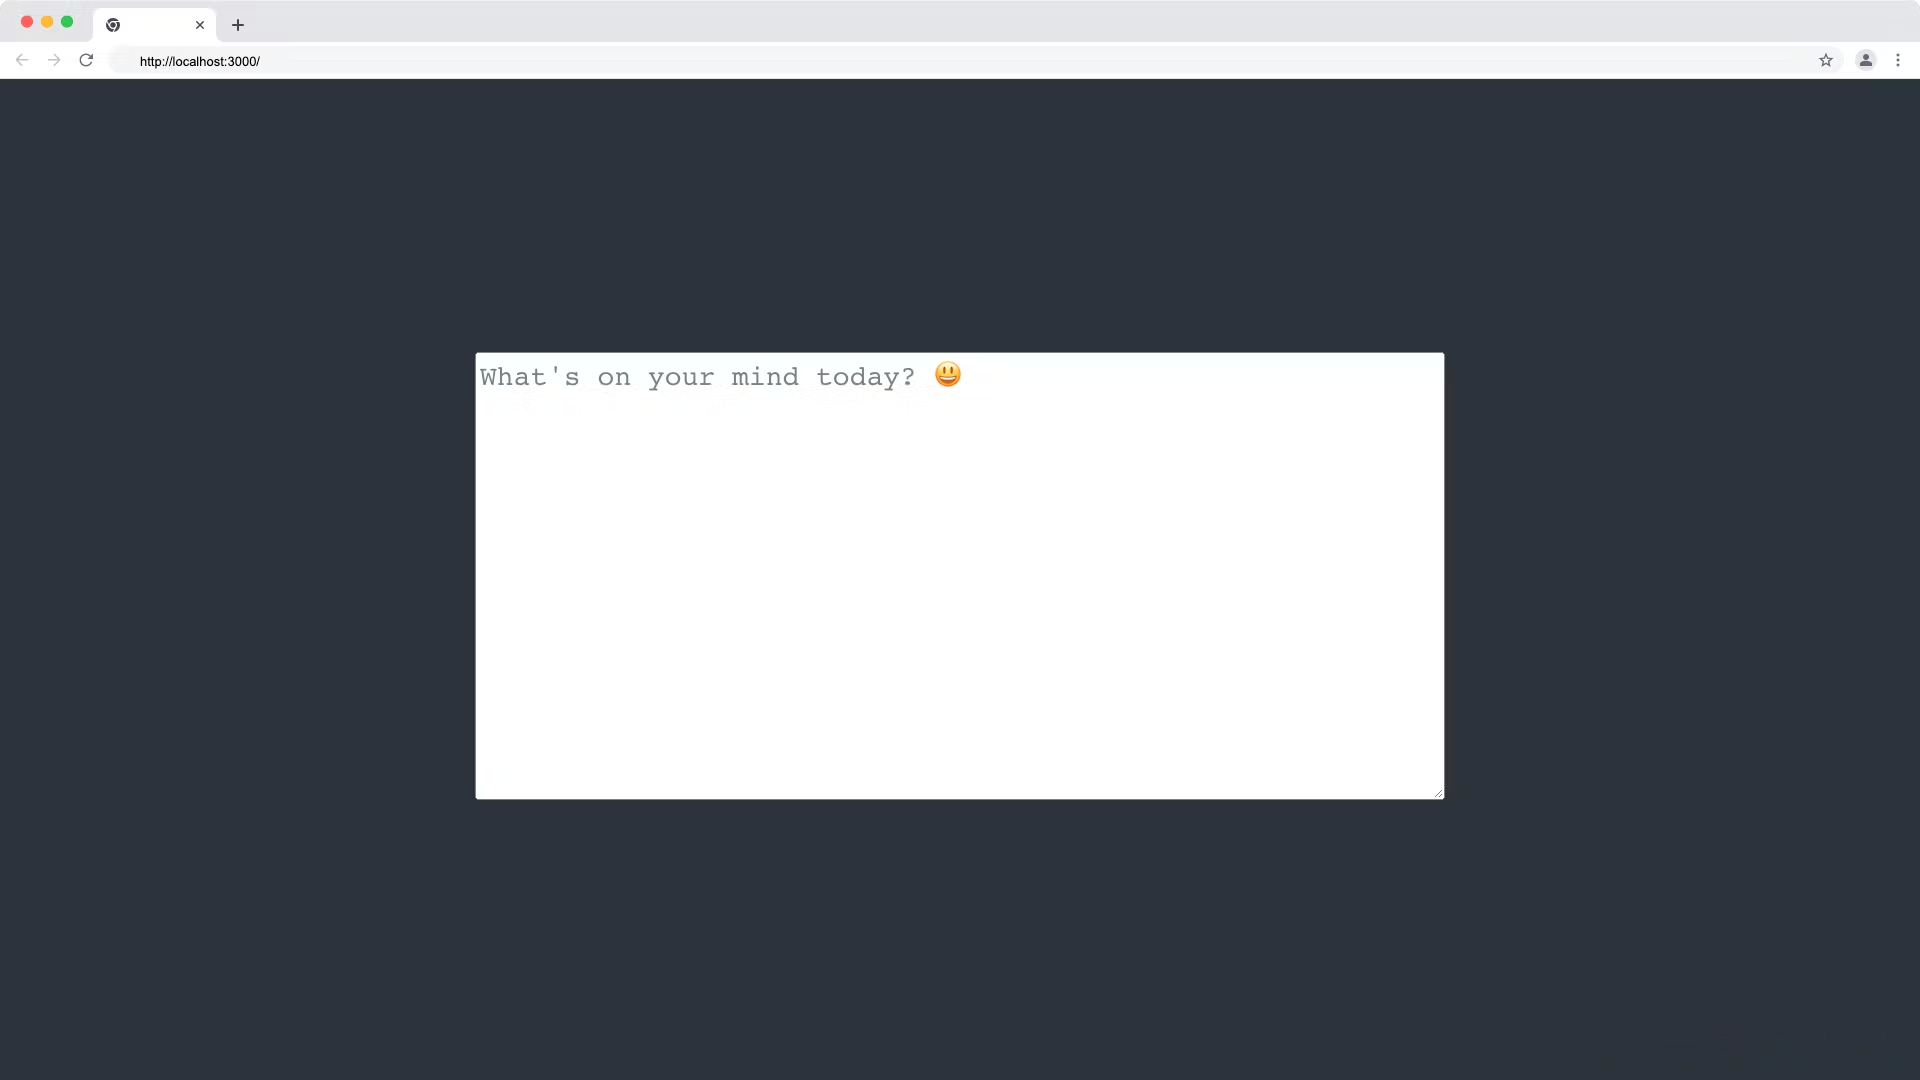
If you prefer a textarea tag, replace the input tag with the following code:
import React from "react";
import { GrammarlyEditorPlugin } from "@grammarly/editor-sdk-react";

export const InputTextEditor = () => {
  return (
    <React.Fragment>
        <textarea placeholder="What's on your mind today? 😃" />
    </React.Fragment>
  );
};
And add the following CSS code to your App.css file:
textarea{
  height: 250px;
  width: 50%;
  font-size: 1rem;
}
Our text editor app should now look something like this:
Step 5 - Integrating Grammarly into Text Editor
Import the
GrammarlyEditorPlugincomponent in the editor component and wrap it around theinputtag, like this:import React from "react"; import { GrammarlyEditorPlugin } from "@grammarly/editor-sdk-react"; export const InputTextEditor = () => { return ( <React.Fragment> <GrammarlyEditorPlugin clientId={process.env.REACT_APP_GRAMMARLY_CLIENT_ID} style={{ width: "100%" }} > <input type='text' placeholder="What's on your mind today? 😃" /> // or textarea </GrammarlyEditorPlugin> </React.Fragment> ); };Create a new
.envfile at the root of your project and add your Grammarly client ID, as shown below:REACT_APP_GRAMMARLY_CLIENT_ID=your-client-id
⚠️ Note: Restart your React app server after updating your .env file.
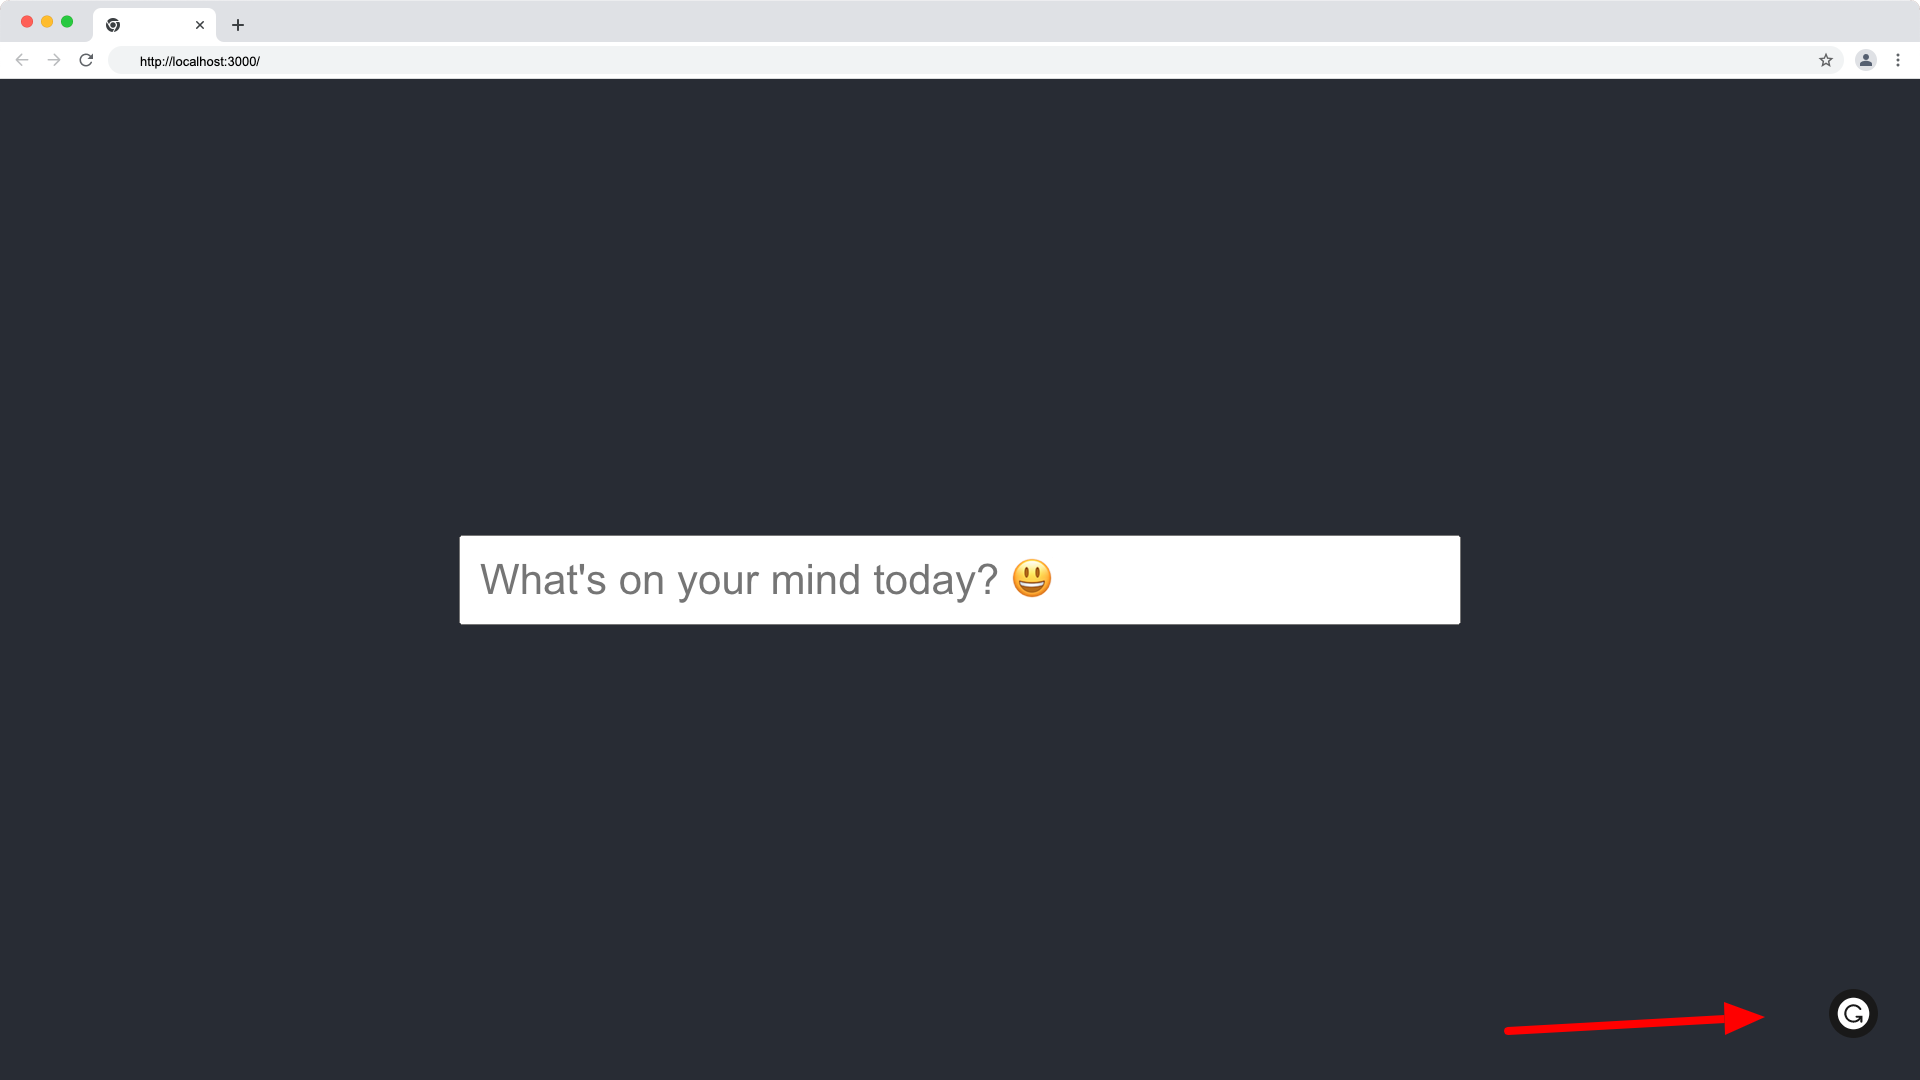
To know that Grammarly is successfully integrated into your project, you'll see the Grammarly button displayed in the lower-right corner of your text editor page.
Click inside the text editor to have the Grammarly icon appear.
If you don't see the Grammarly button on your browser, check your console for any message like this:
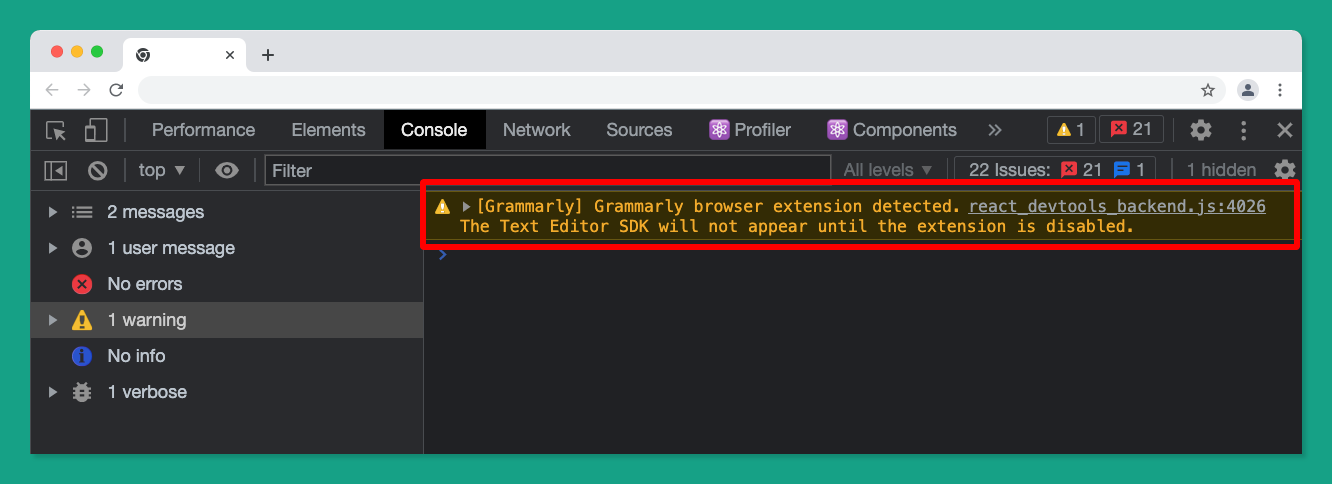
To resolve this error, ensure to disable or uninstall the Grammarly browser extension and click inside the text editor to focus on the editor for the Grammarly icon to show.
Step 6 - Testing the Grammarly Writing Assistance
In this step, we're going to test our Grammar writing assistance by writing incorrect words and sentences.
Test 1 - Inaccurate name capitalization
my name is samuel ❌
Test passed ✅
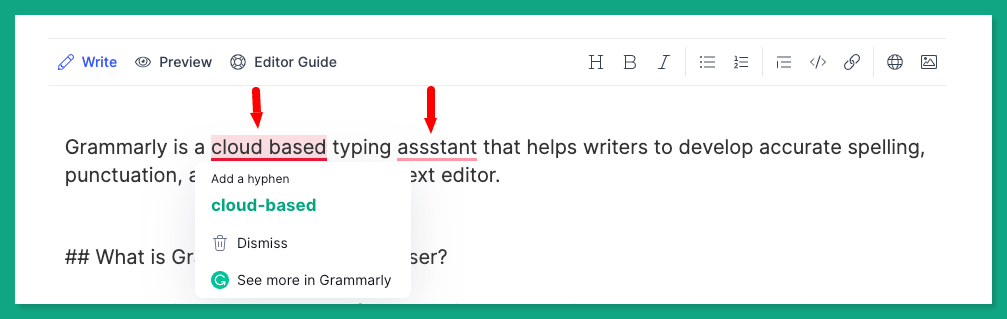
Test 2 - Incorrect spellings
grammarly is a cloud based typing asistant that helps writer to develops content with accurate spellng, punctuations and grammar within a text editors. ❌
Test passed ✅
Test 3 - Sentence Clarity
It goes without saying that sometimes you can actually improve a sentence by completely eliminating words that are basically unnecessary. ❌
Test passed ✅
Frequently Asked Questions on Grammarly
**Q1: Which platform is not supported by Grammarly? **
Ans: Dropbox doesn't support Grammarly or any third-party plugins.
Q2: How can I add the Grammarly tune feature to my editor?
Ans: You can go beyond suggestion by upgrading your account on Grammarly. See the pricing list here.
Q3: How do I enable paid features for my end users?
Ans: To enable premium features for your users who have a premium account with Grammarly. Navigate to your dashboard and turn ON the Connected accounts option:
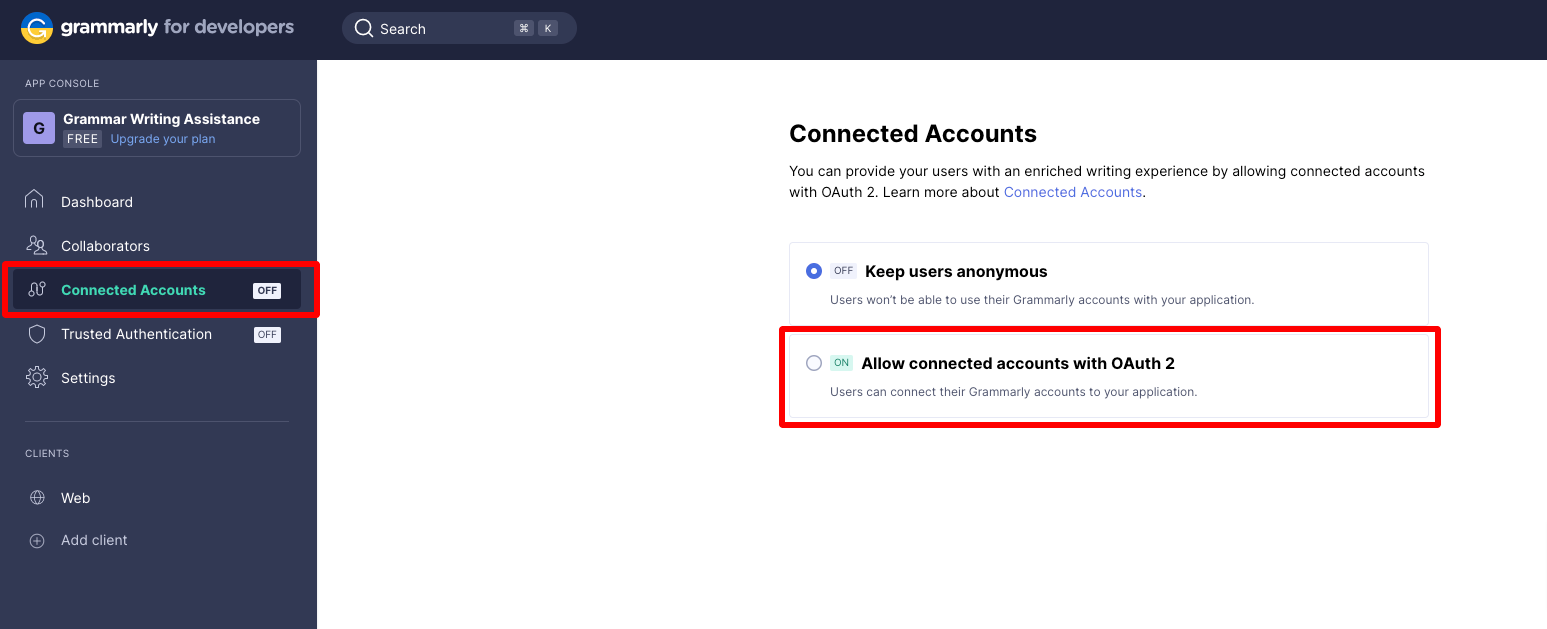
Q4: Will I be charged for my users' Connected accounts?
Ans: No, only accounts with premium plans will be able to use the Grammarly paid features on your app.
Q5: Can I make the Grammarly icon appear on page load instead of clicking the text editor?
Ans: Yes, you can pass the activation: "immediate" to your Grammarly plugin configuration. Read more here.
Wrapping Up ✍🏽
Grammarly is a comprehensive writing tool that helps you write clear and error-free content, and the Grammarly Text Editor SDK allows you to offer all Grammarly features out of the box on your website.
In this article, we covered how to create a Grammarly-for-developer account and how to integrate the Grammarly Text Editor SDK into a React application.
Enjoyed this article?
Subscribe to my YouTube channel for coding tutorials, live project builds, and tech discussions.
Subscribe